Guide to Ghost Mannequin Photography
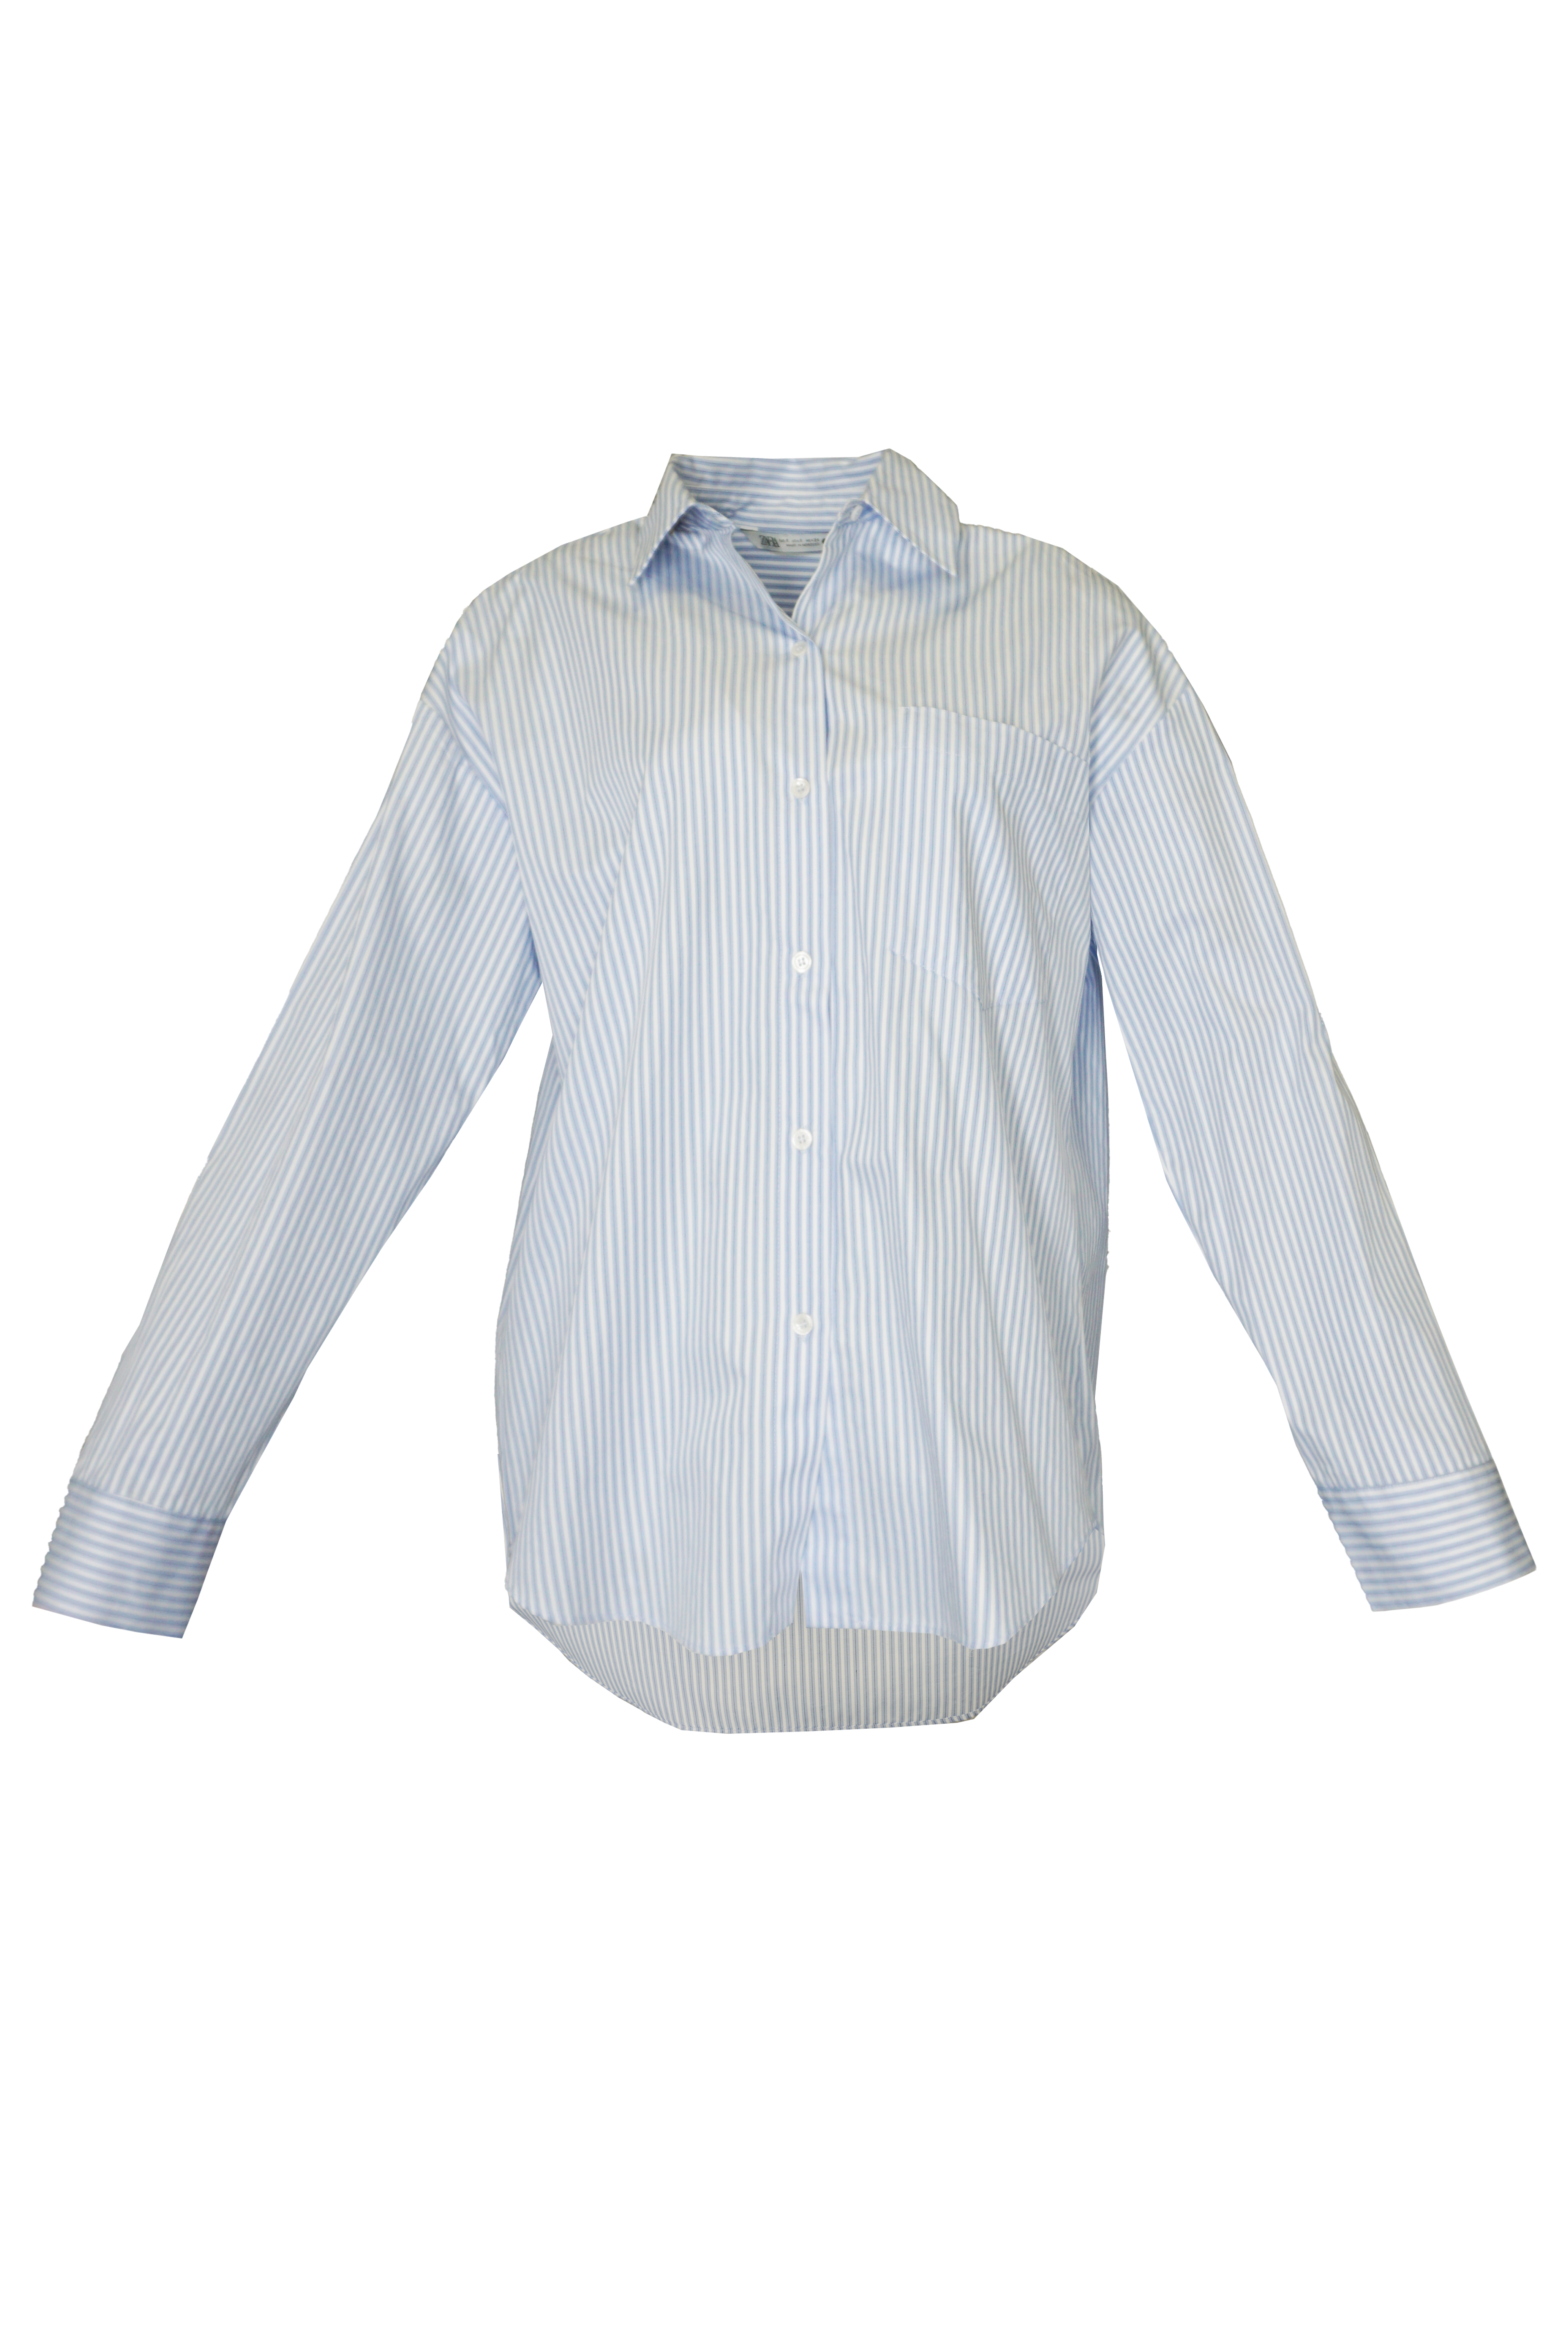
Ghost Mannequin Image
Ghost Mannequin (or invisible mannequin photography) is a post-production technique used by several clothing brands and retailers. The ghost mannequin technique produces garments that look like as an invisible mannequin/human (ghost) is wearing it. This results in a 3D filled effect where also insides of the garments are visible.
Guide to Ghost Mannequin Technique
There are two approaches on how to produce ghost mannequin images. These approaches will depend on the mannequin that you will use.
If you have a mannequin with a full torso (neckt to waist) continue with the section Full mannequin.
If you have a mannequin with a V-Chest insert that can be detached continue with the section V-Chest Mannequin.
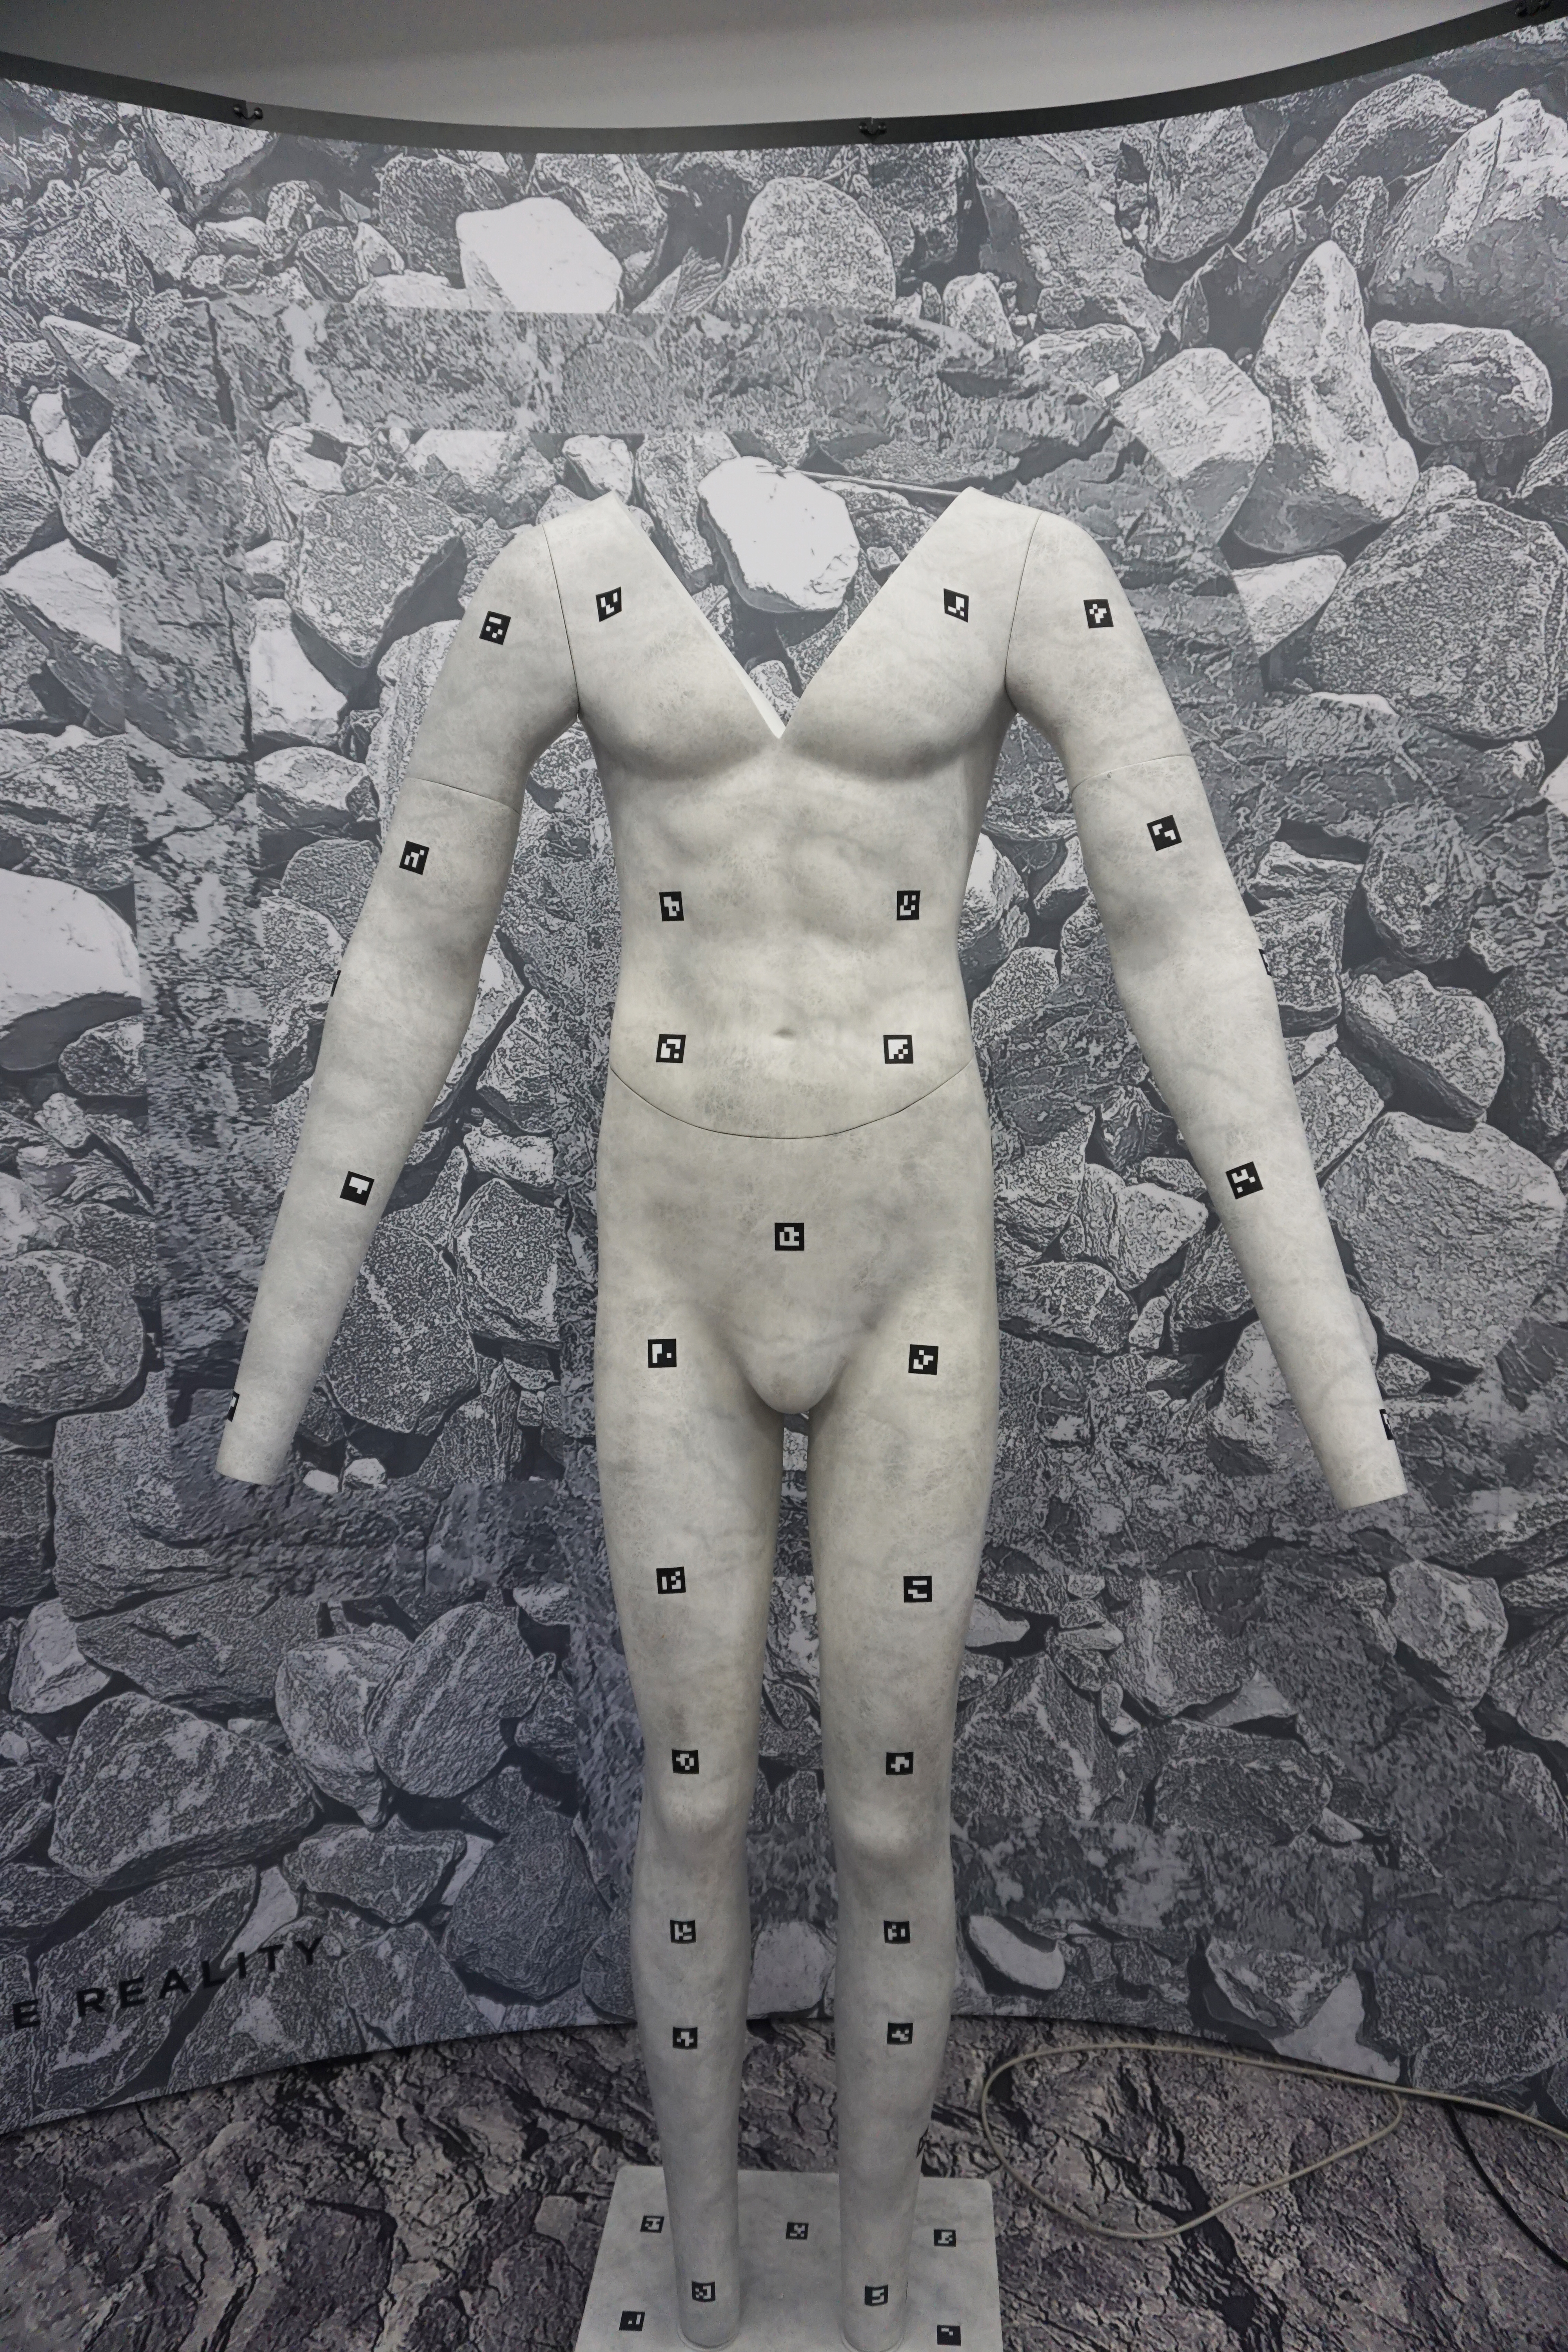
Full Mannequin
If you are using a mannequin with a full torso (neck to waist), this is the method you need to use to produce the ghost mannequin images.
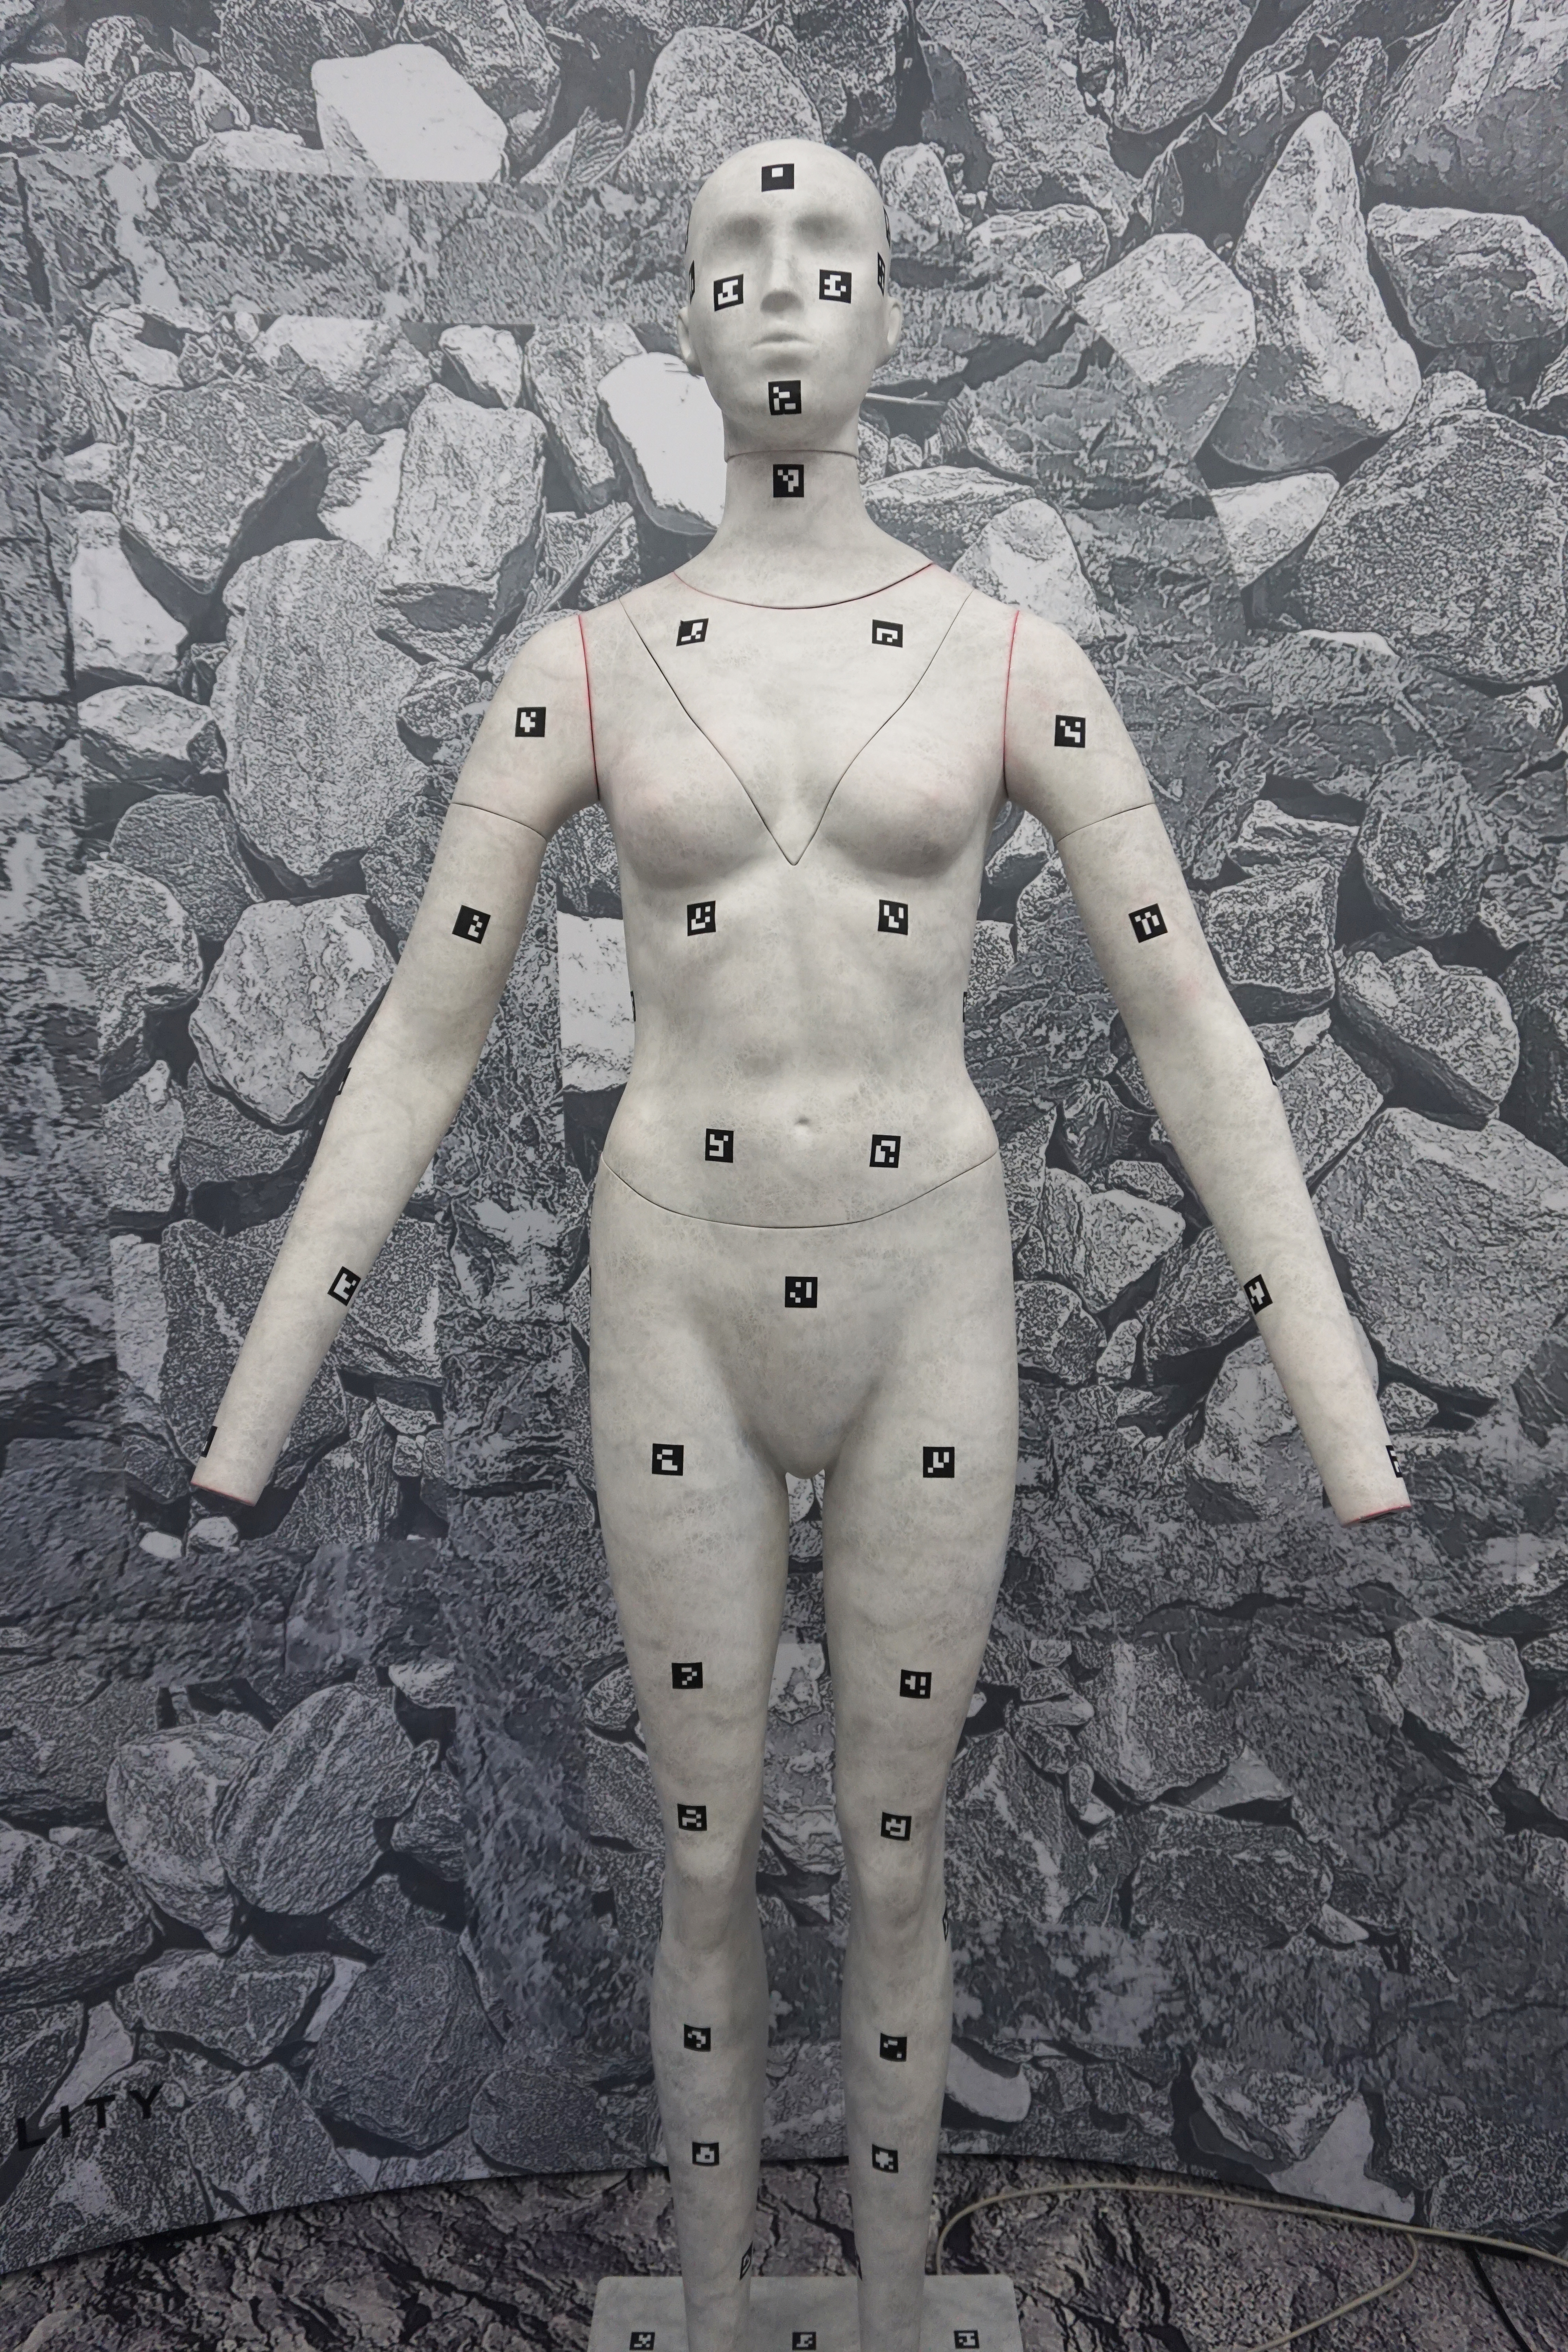
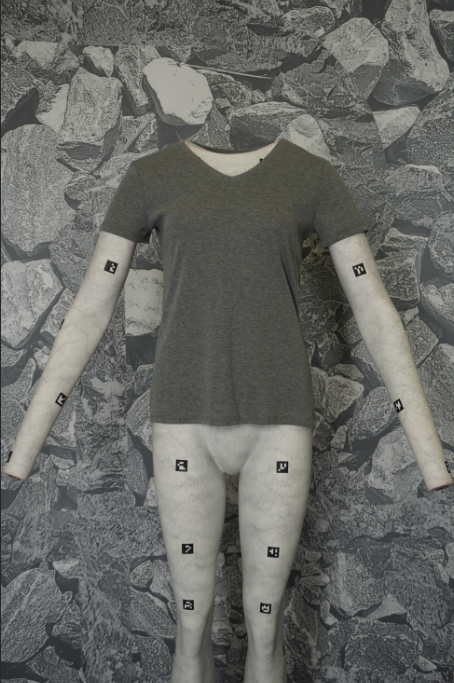
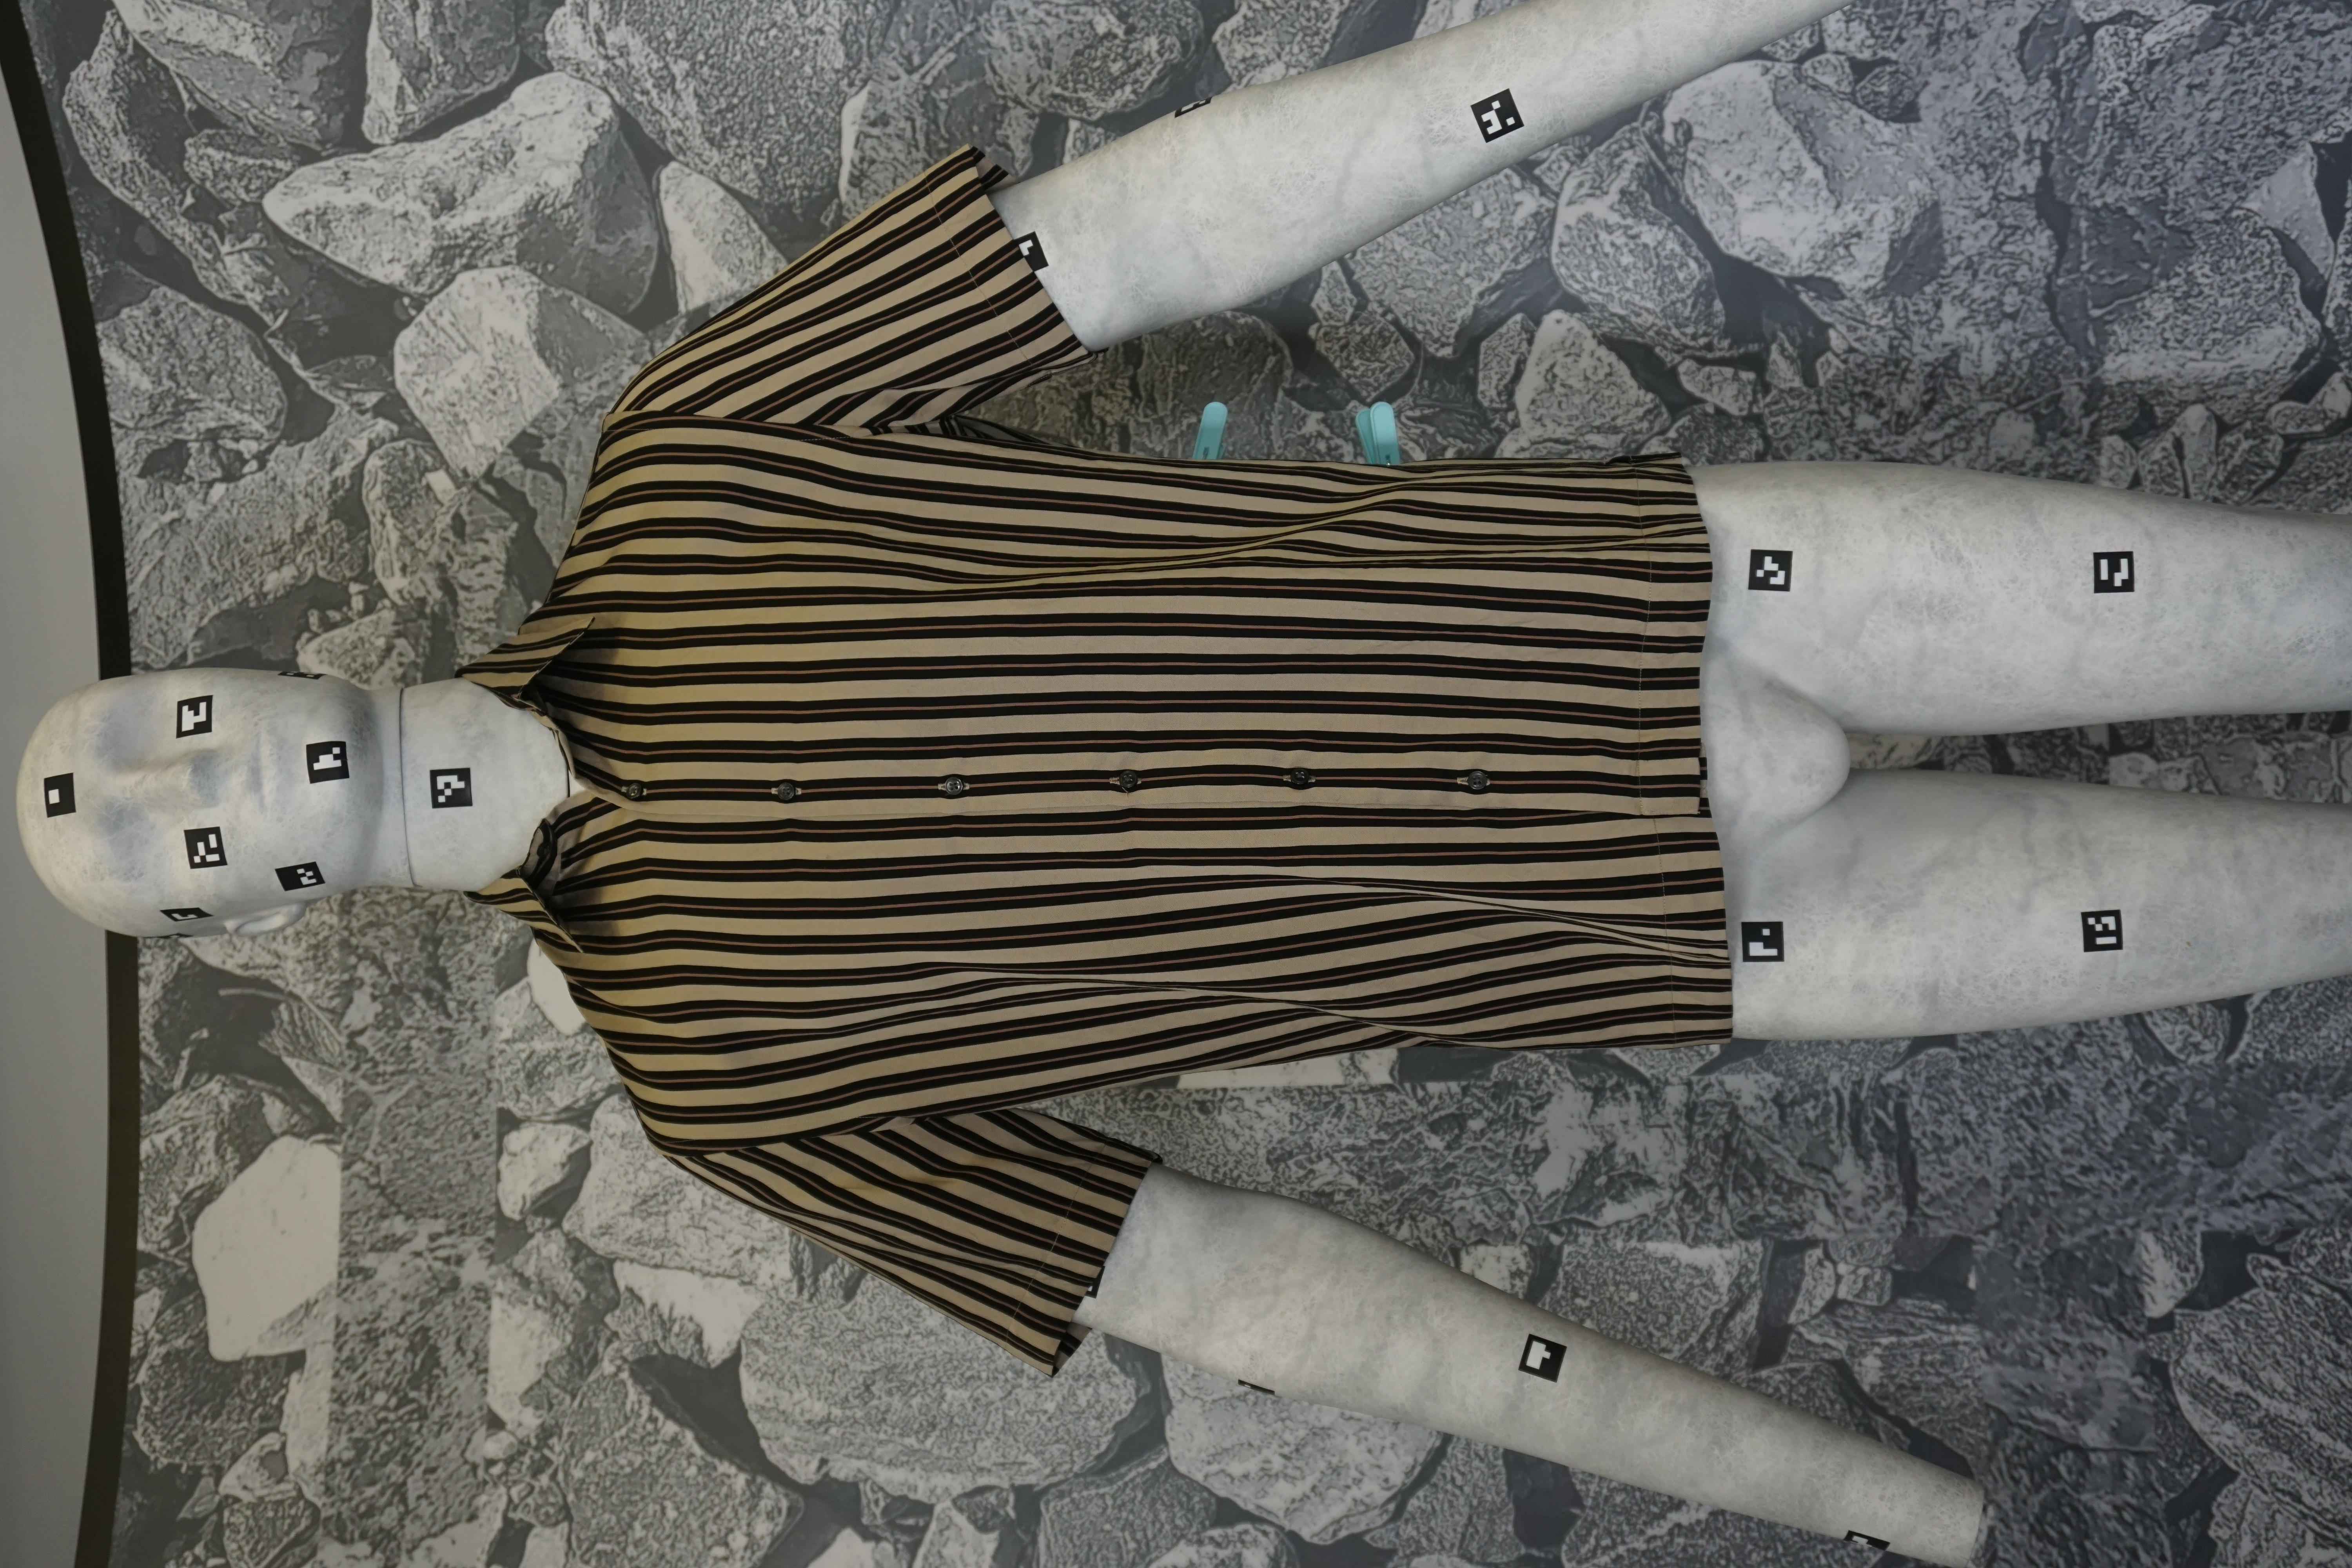
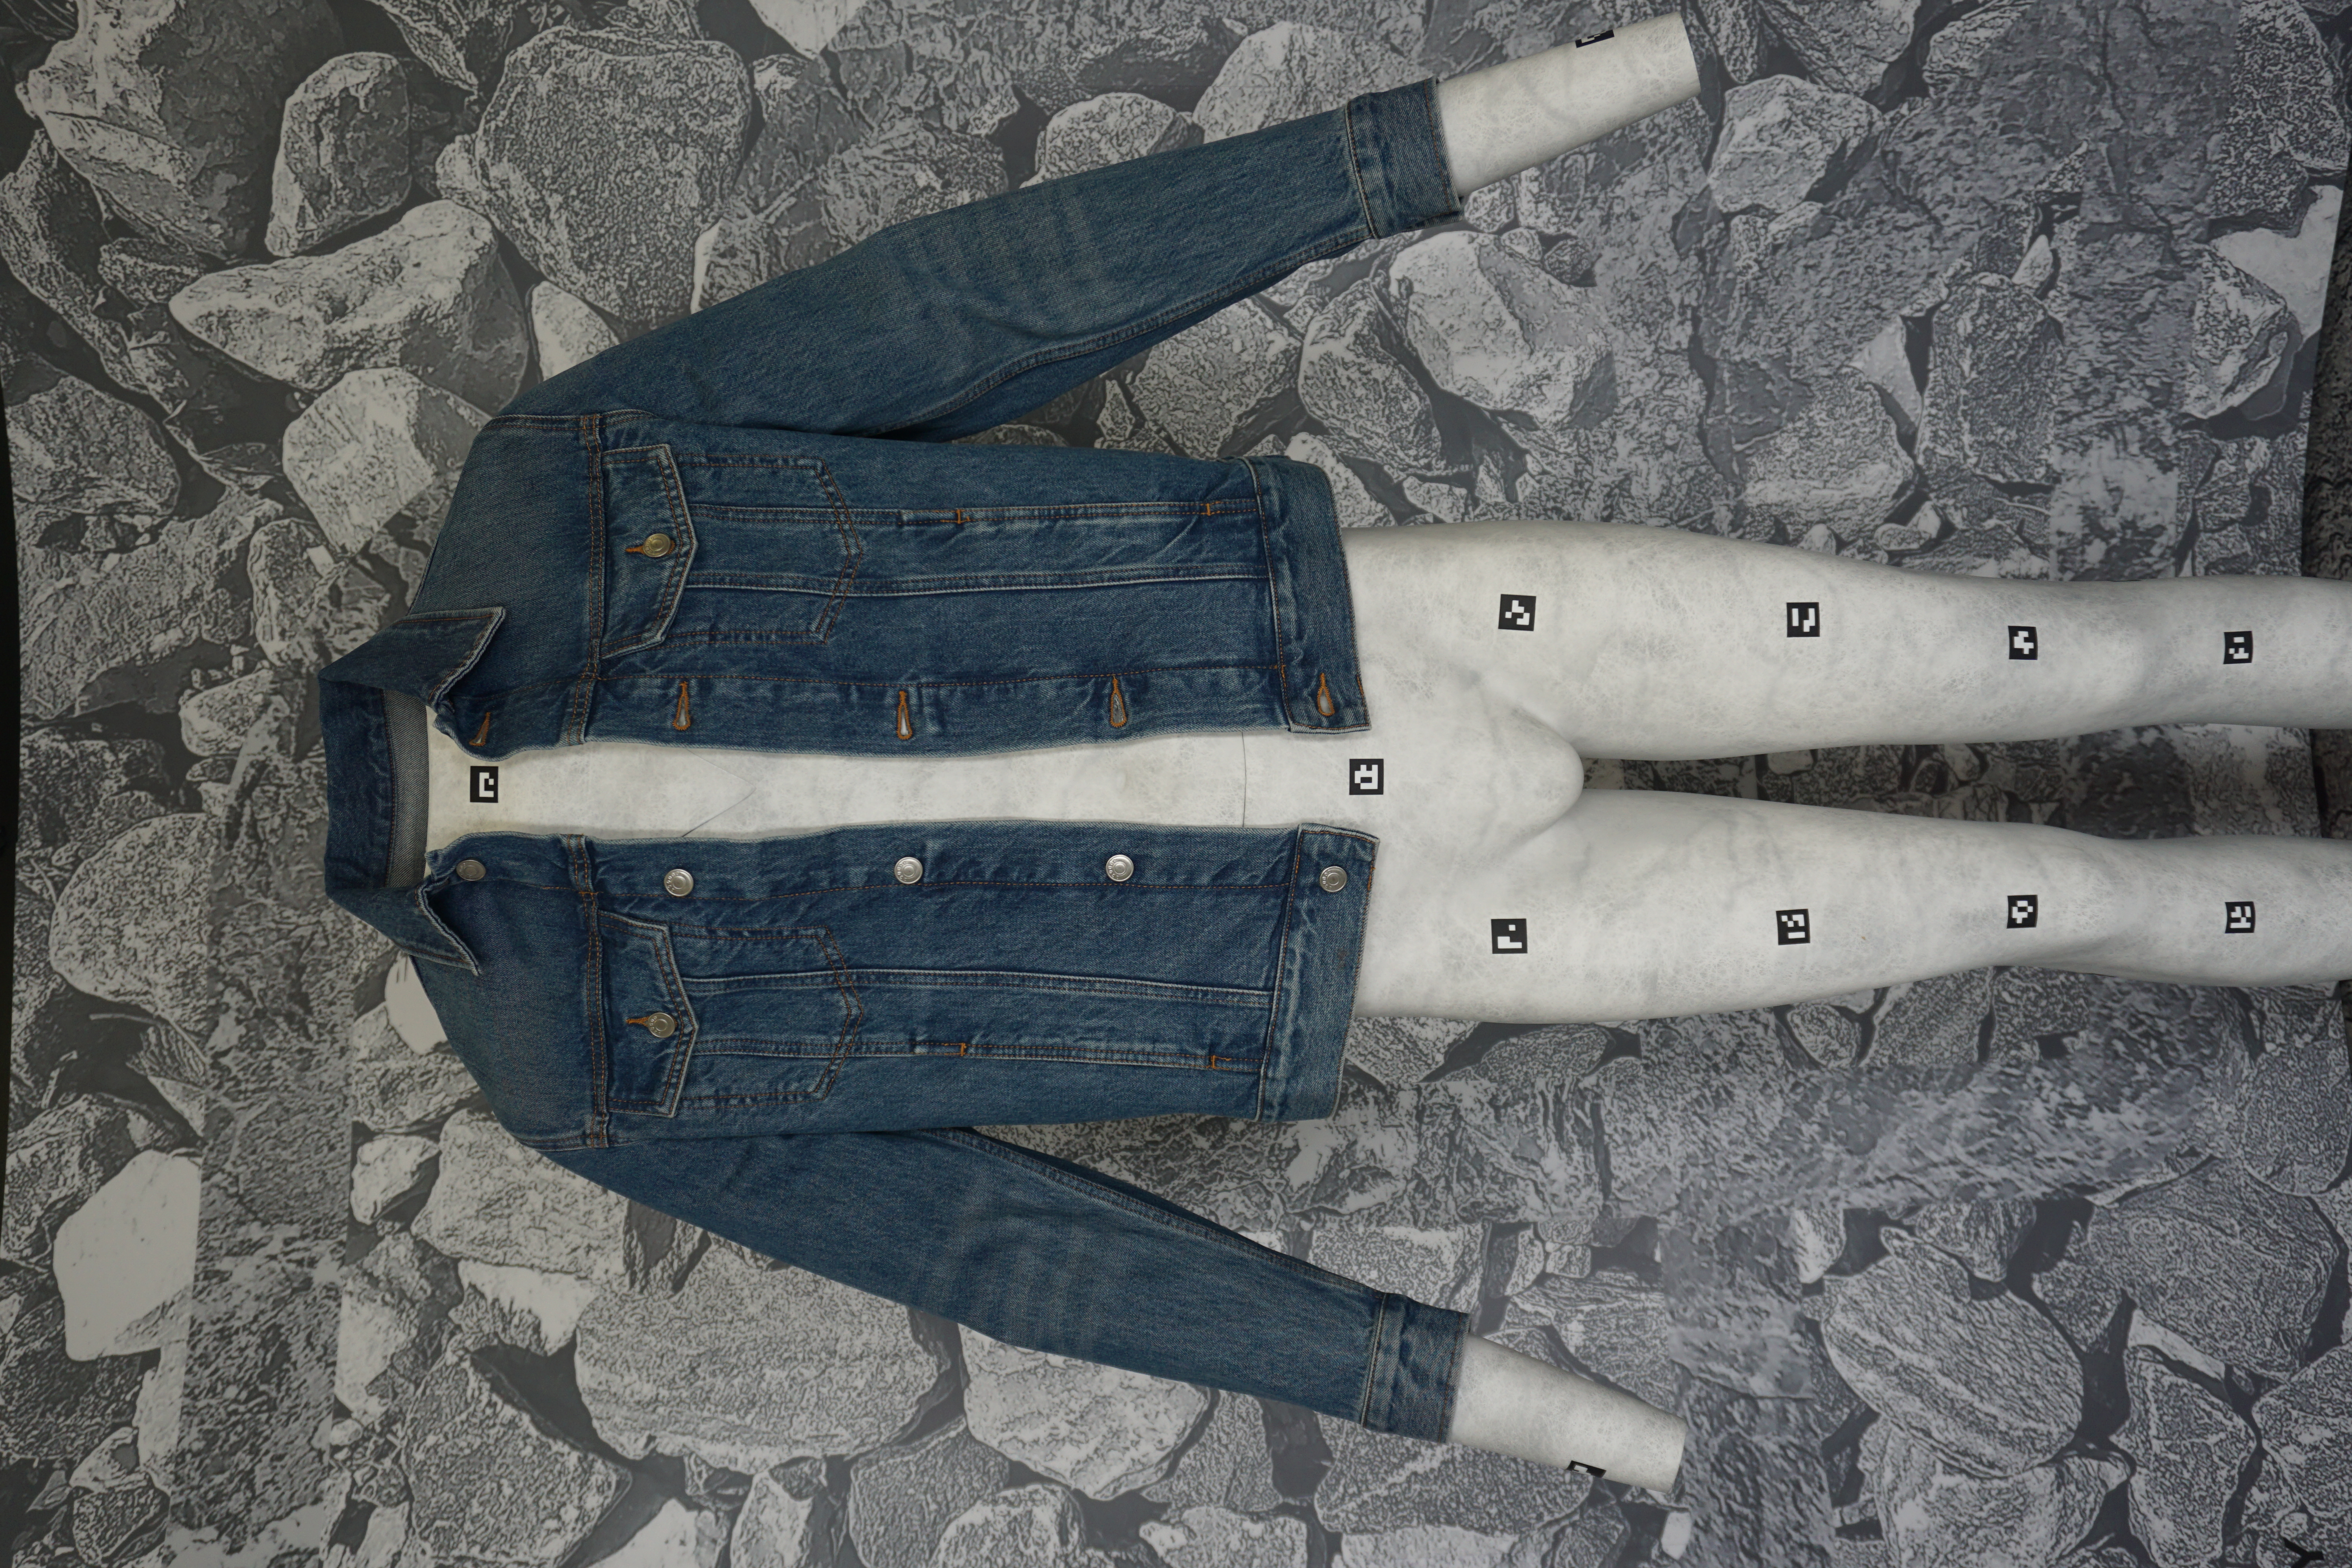
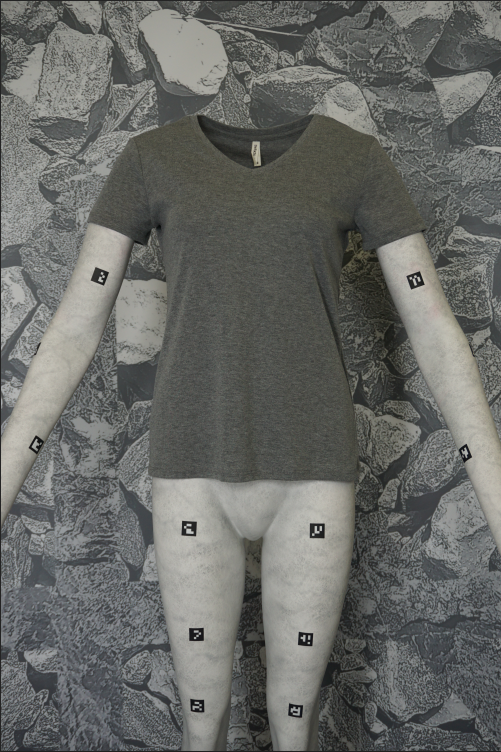
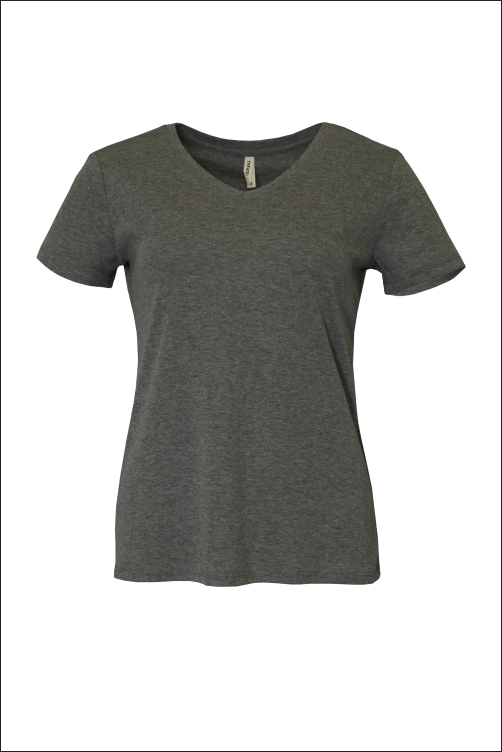
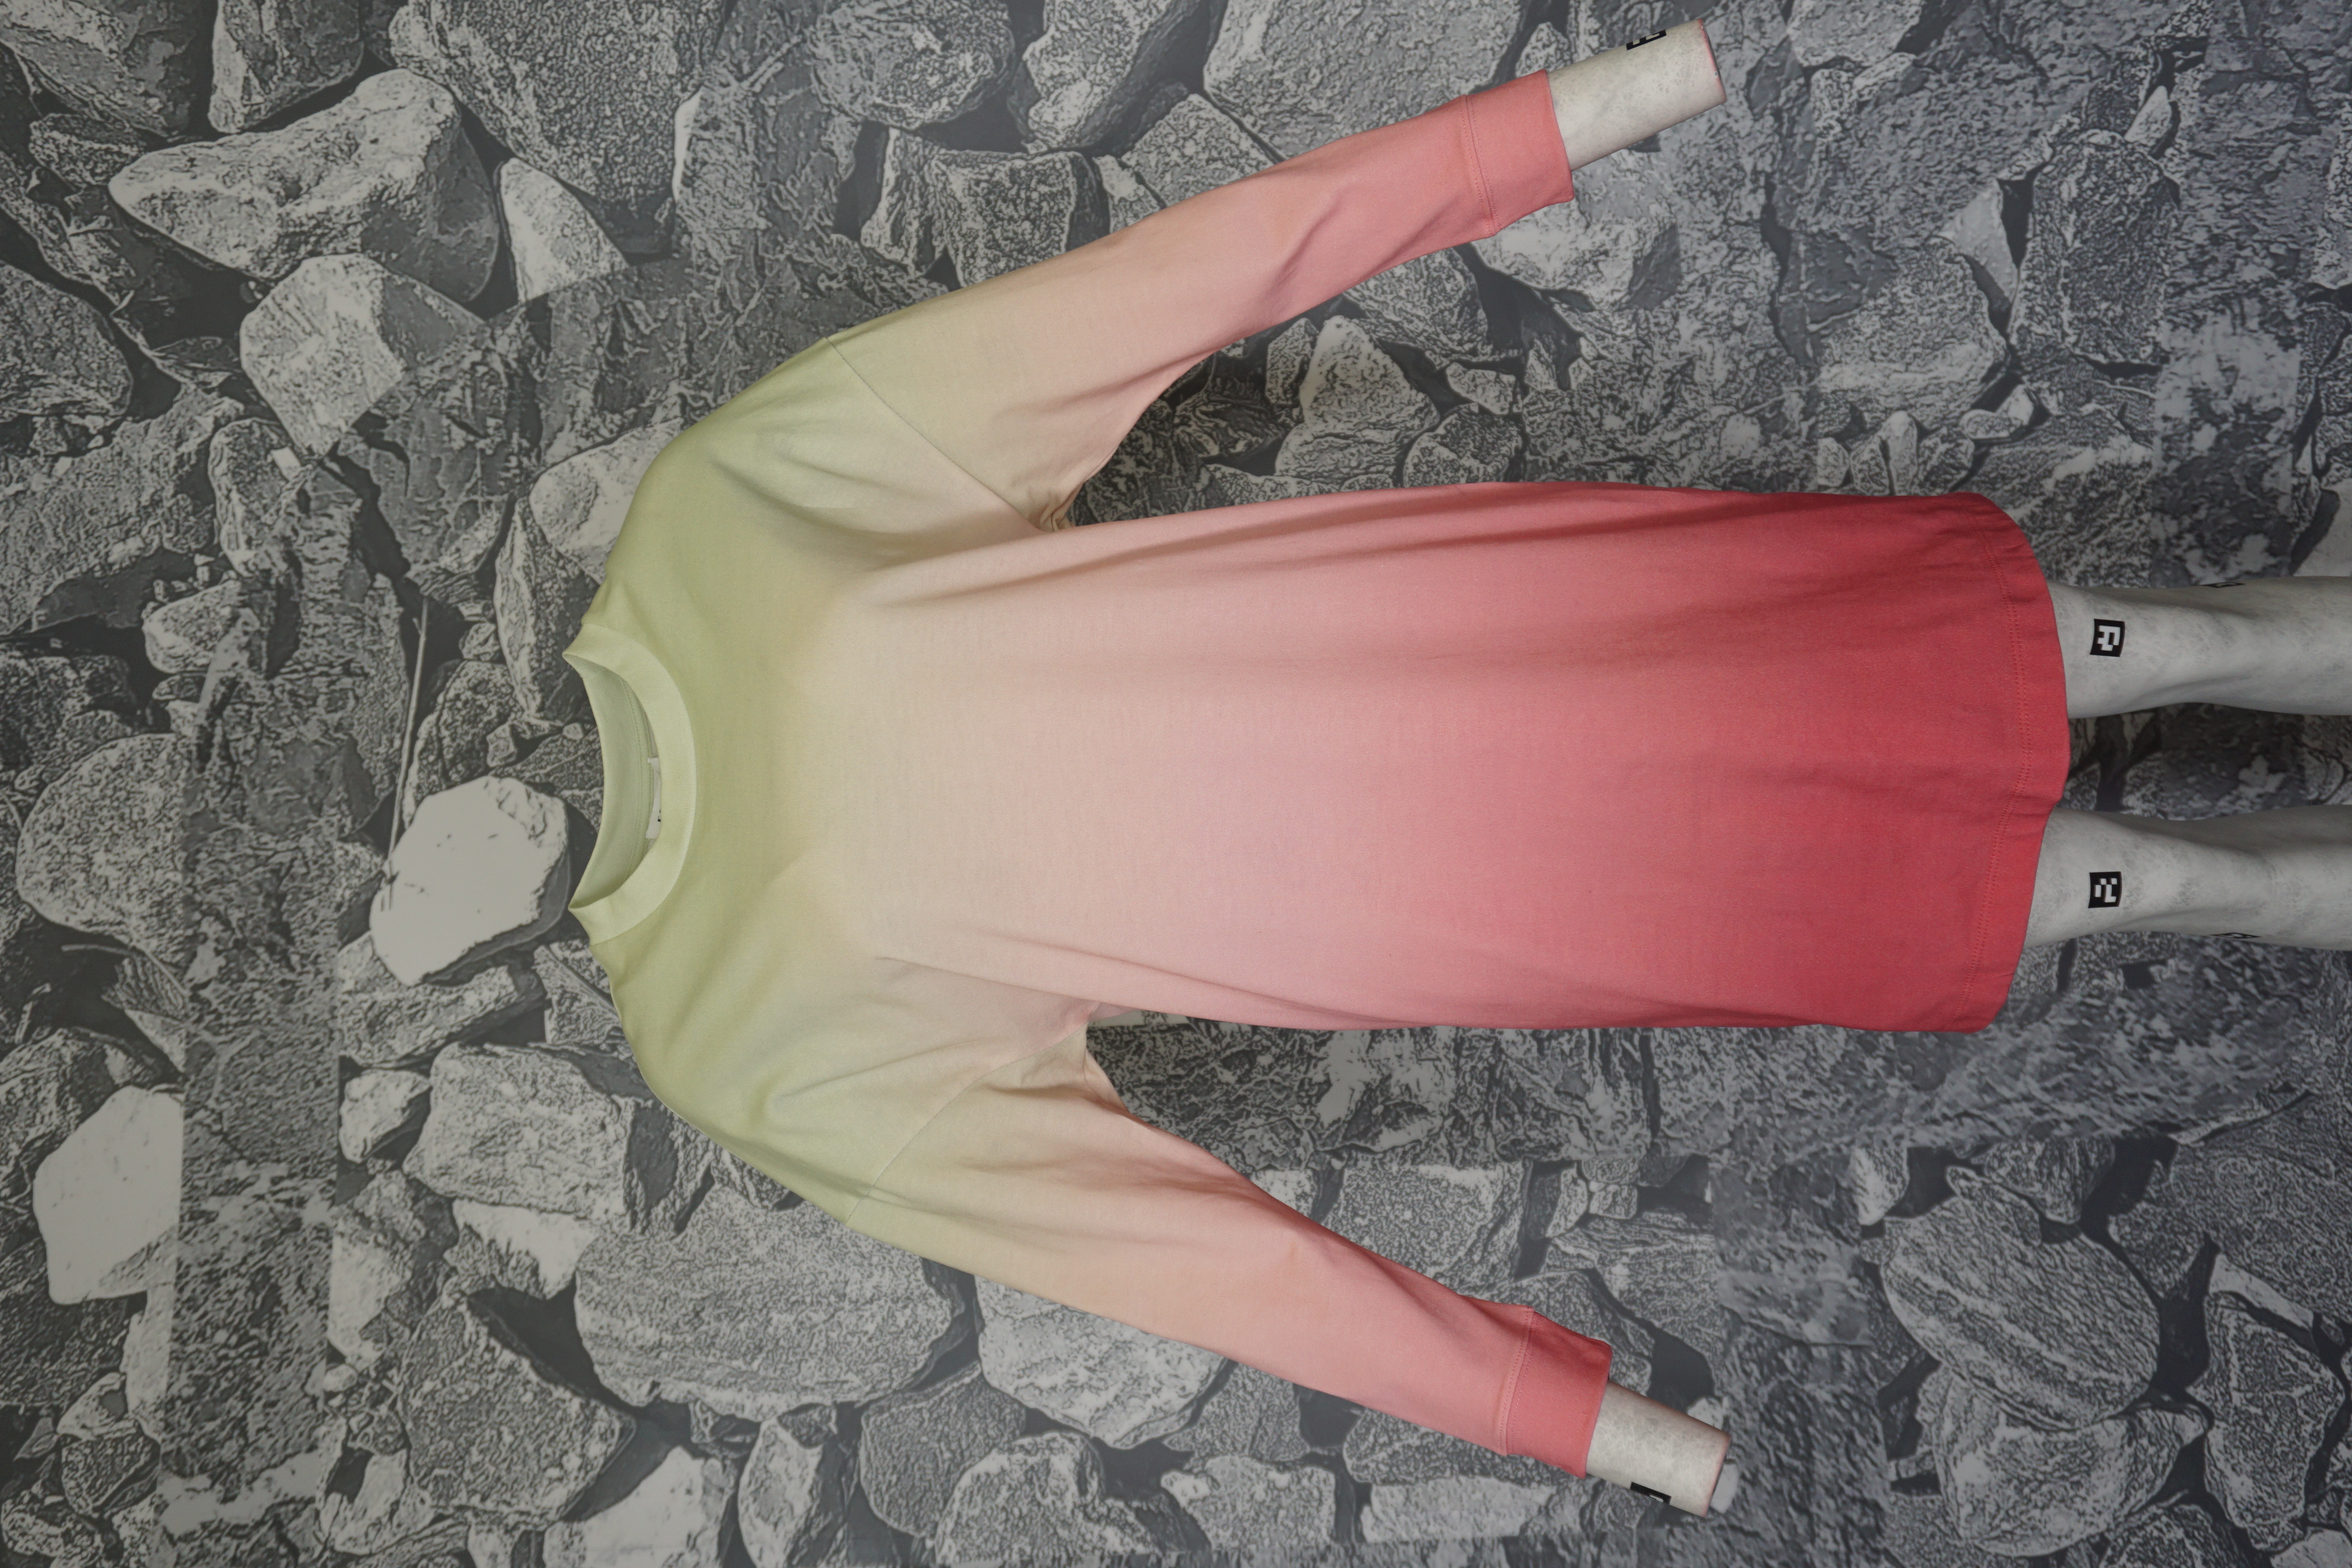
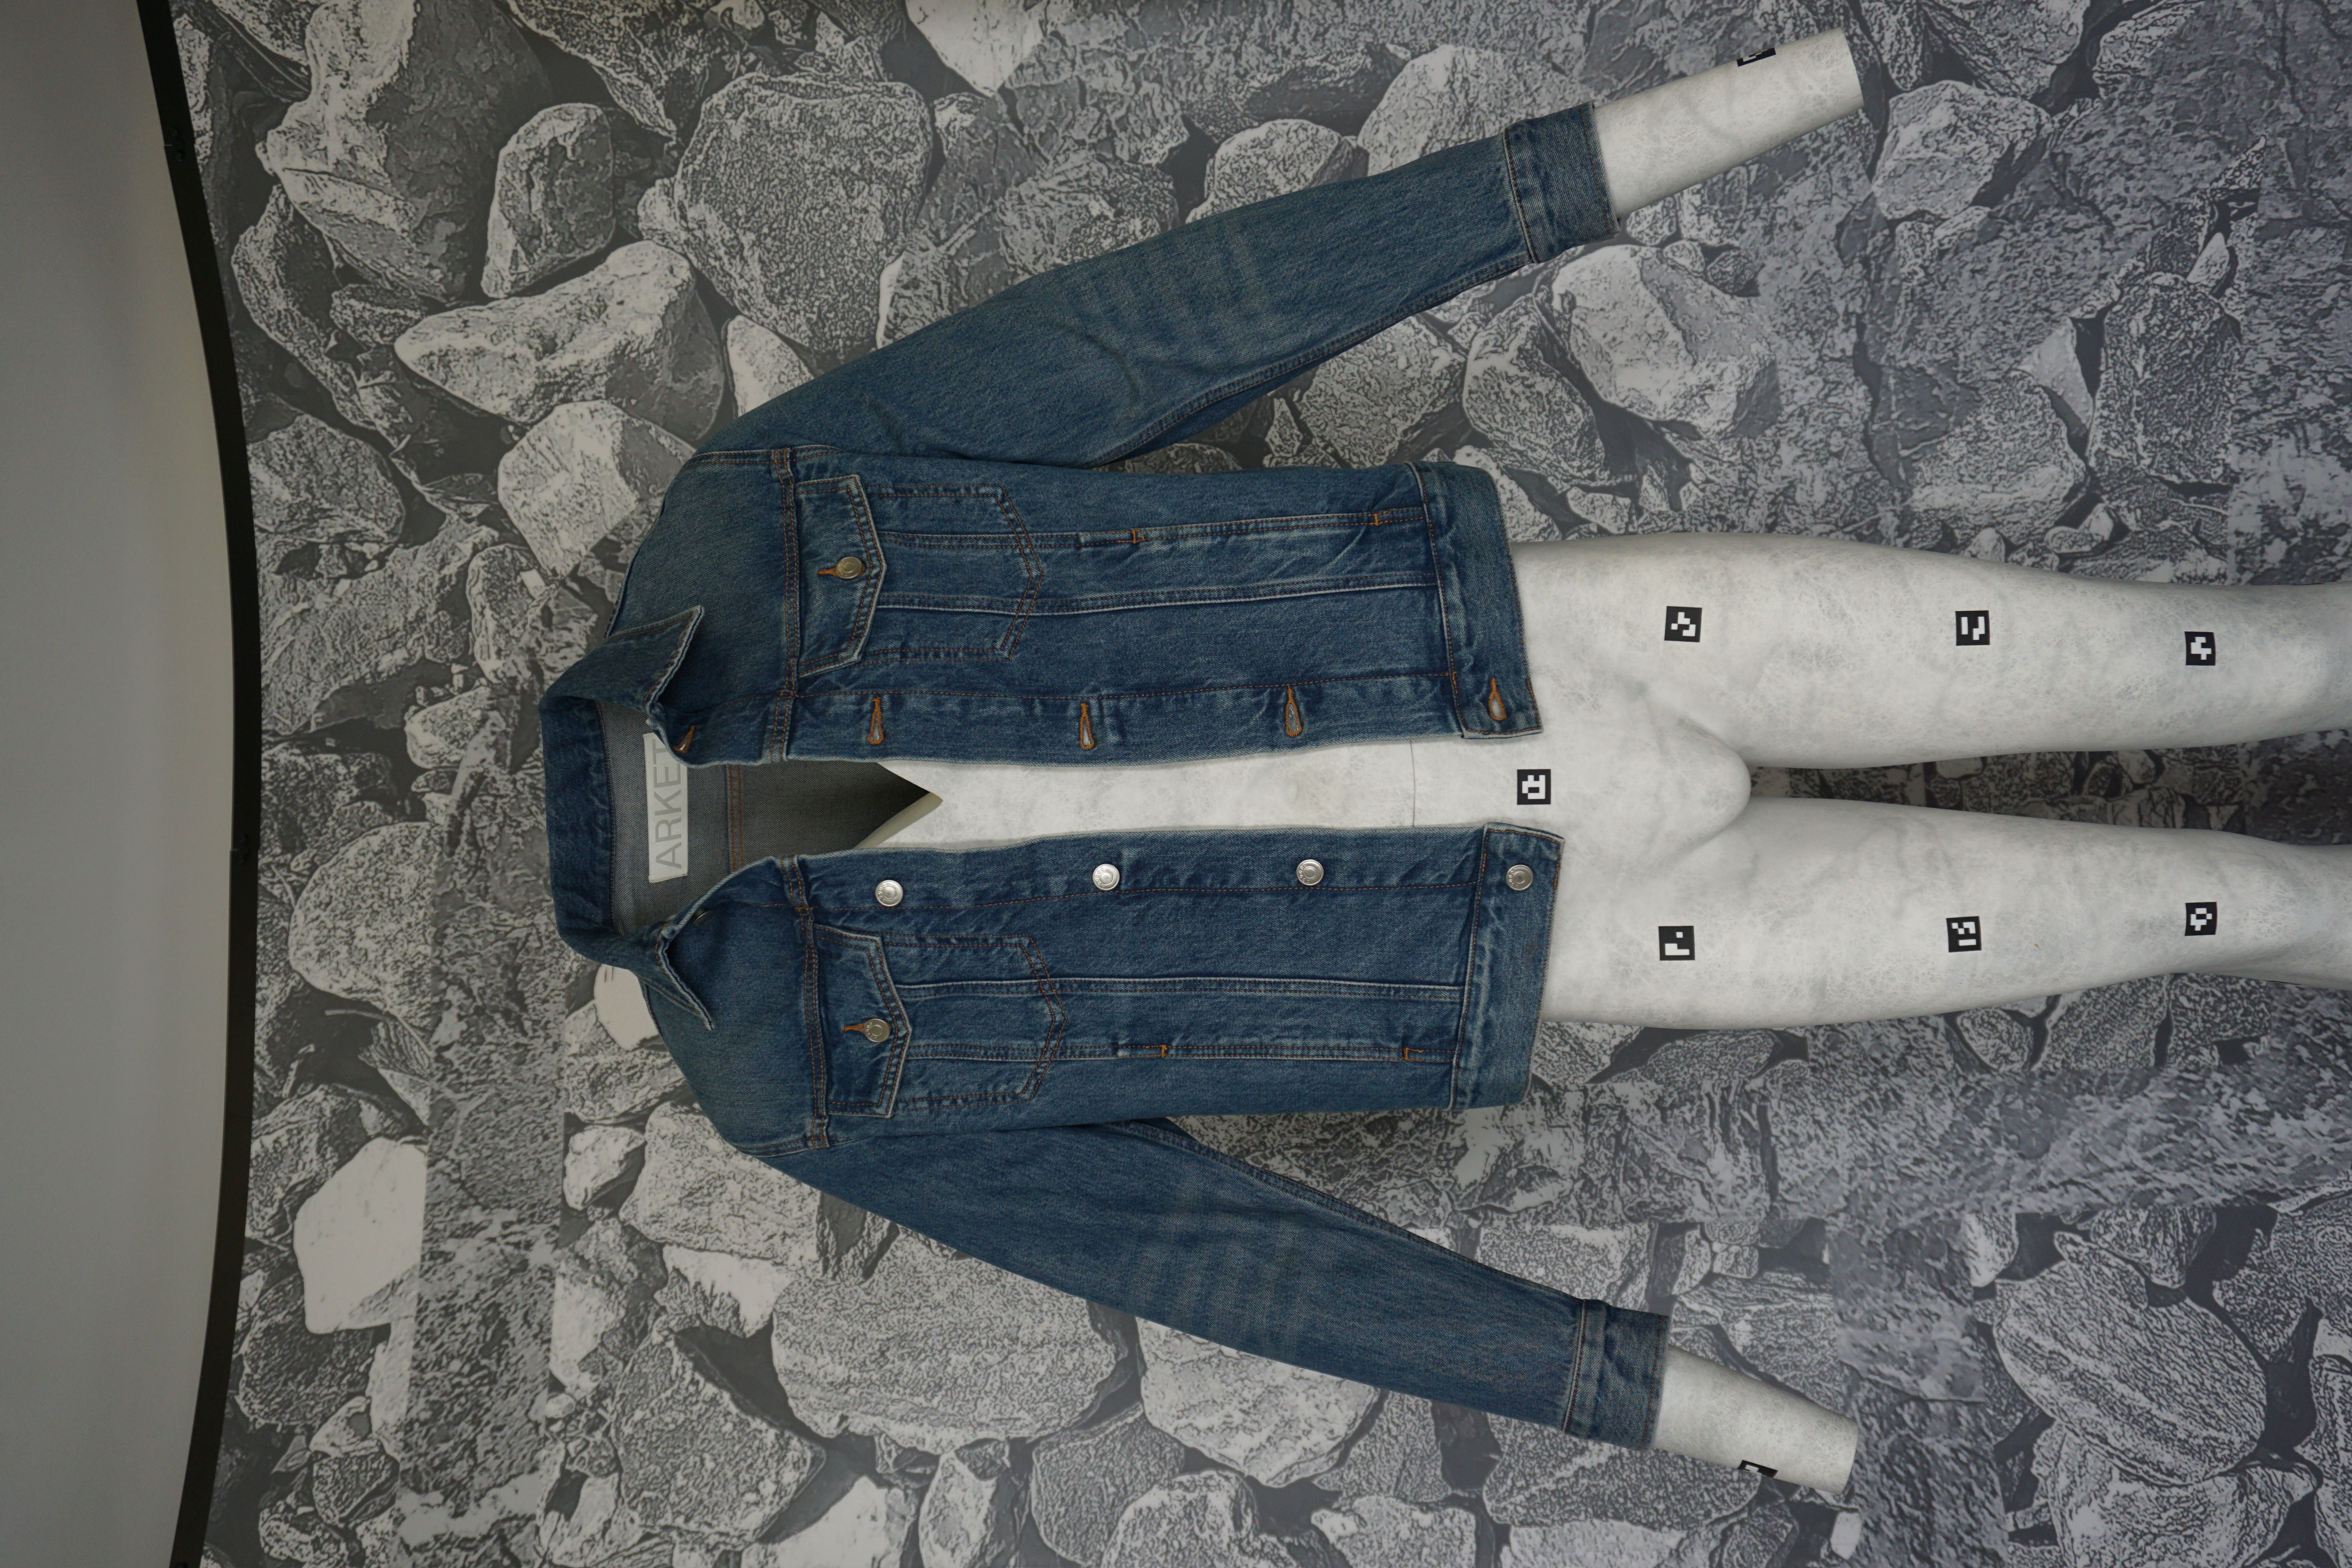
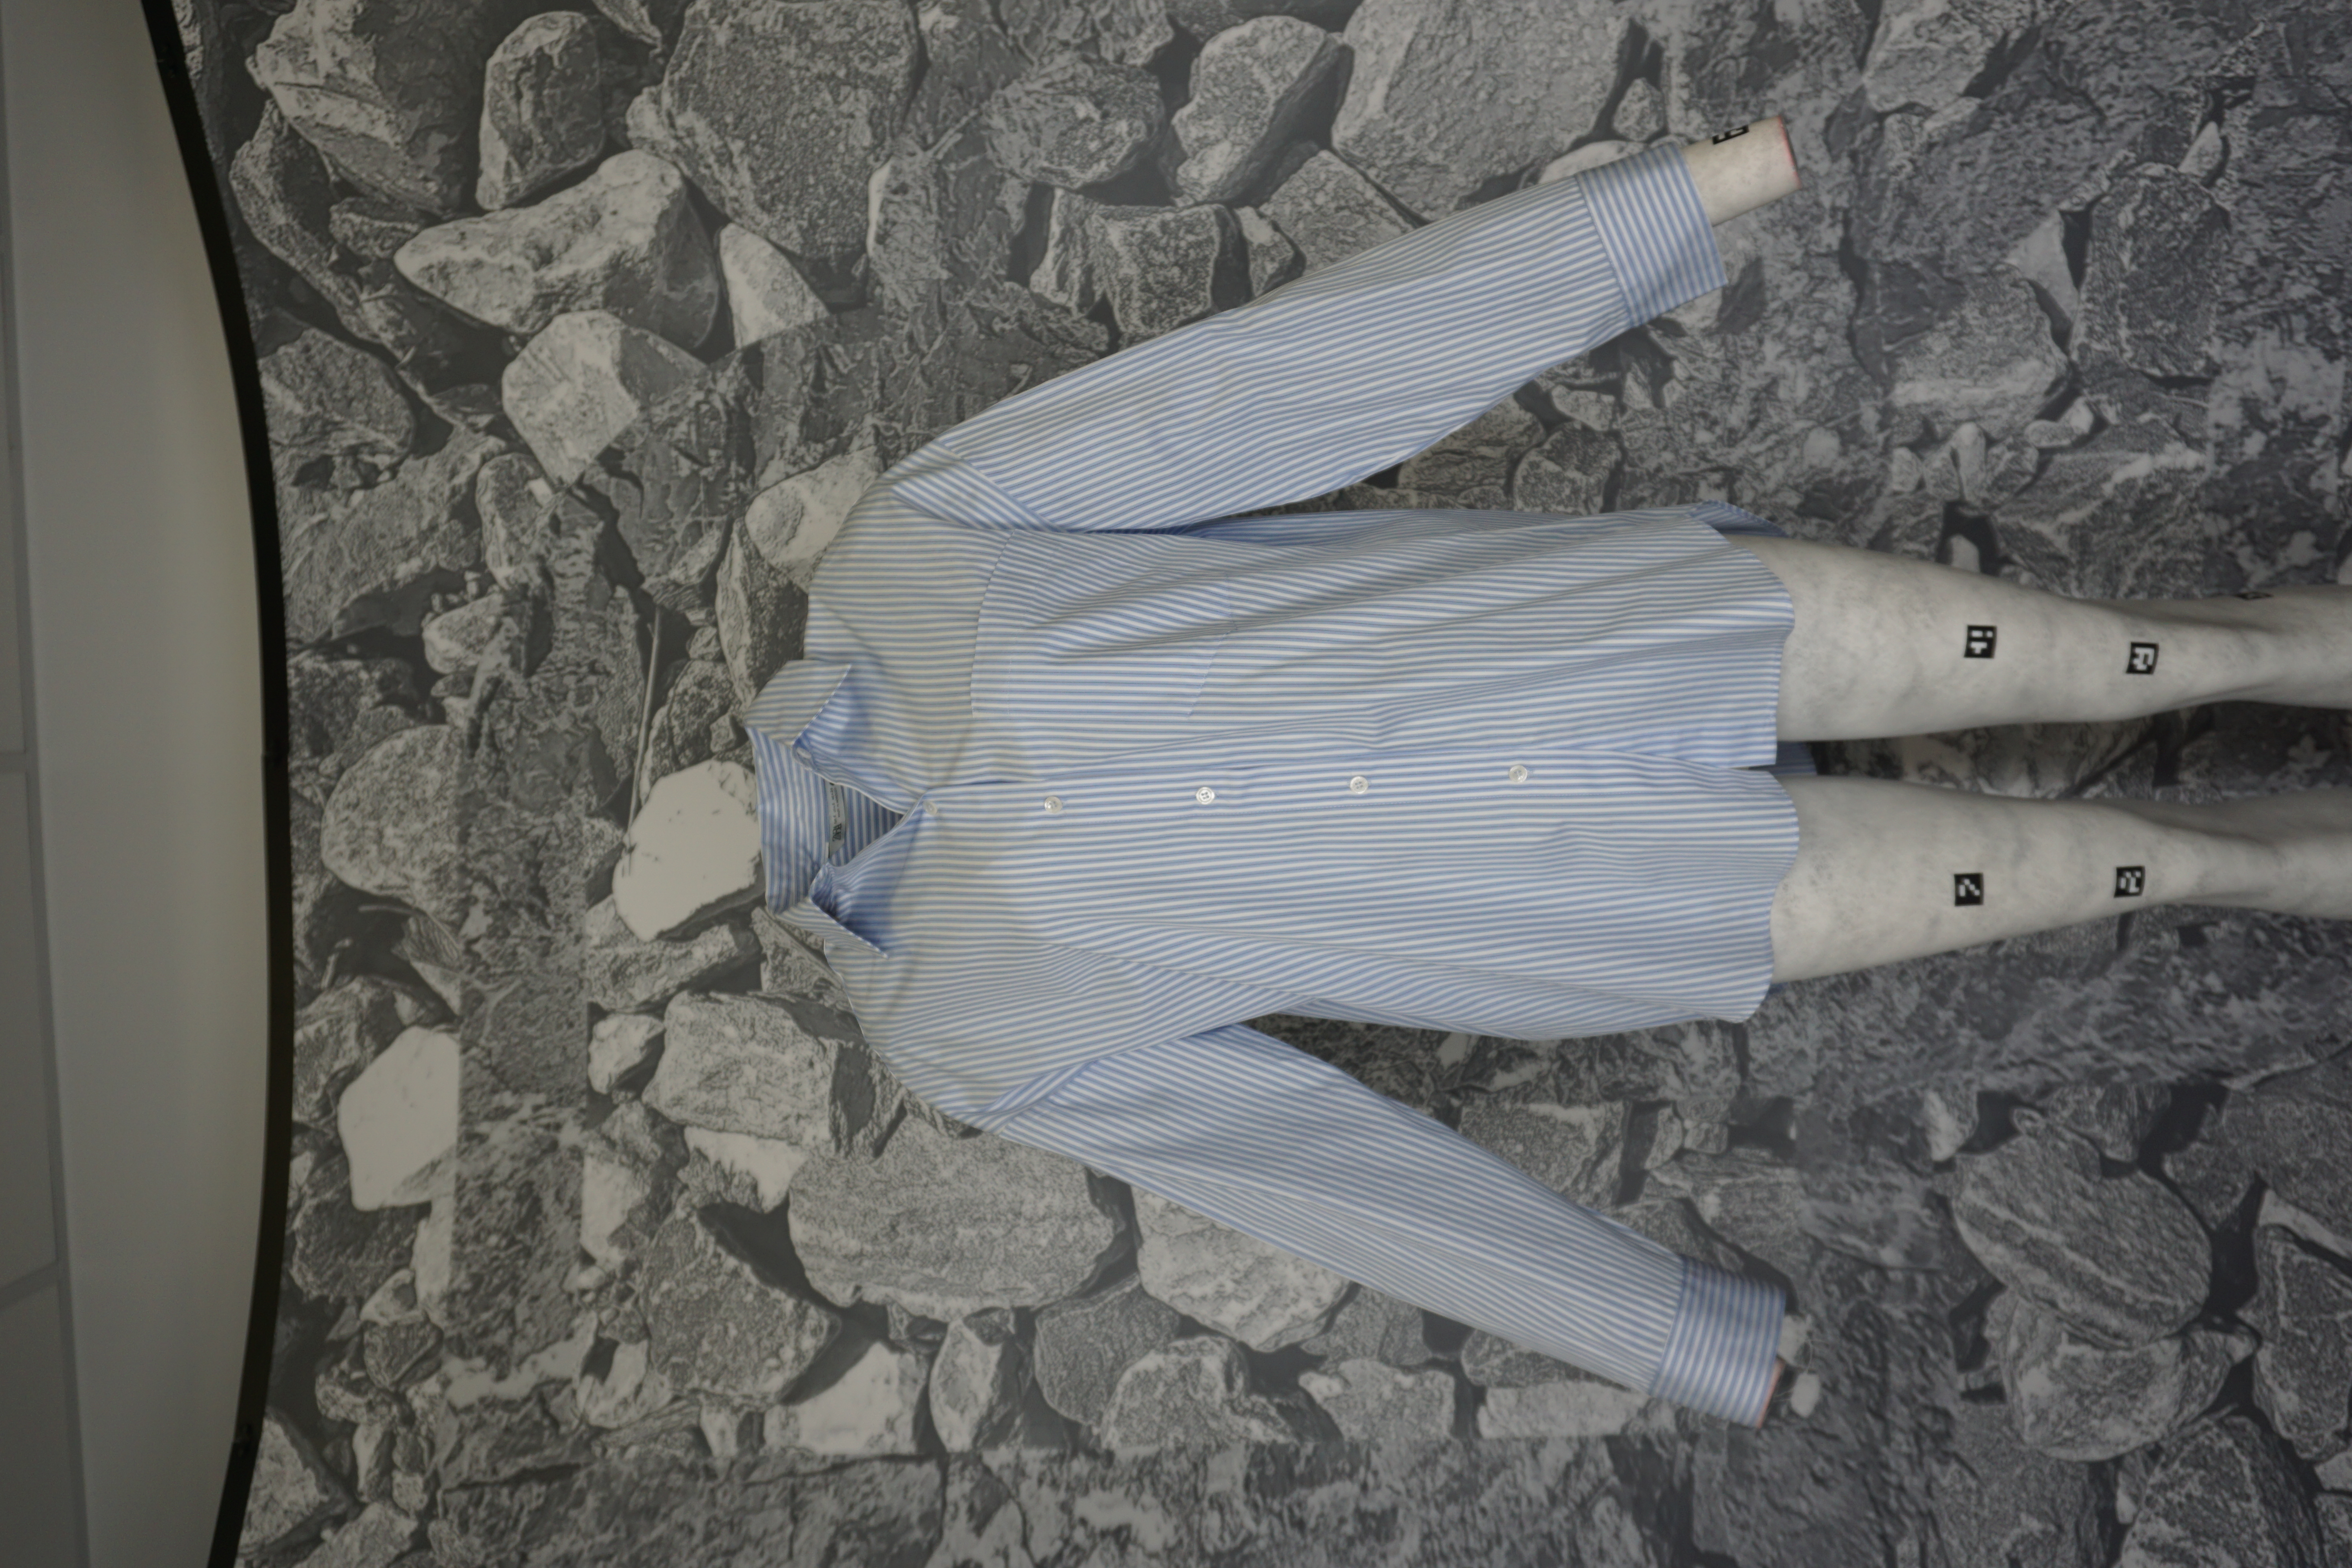
Step 1 | Capture a frontal photo of the garment.
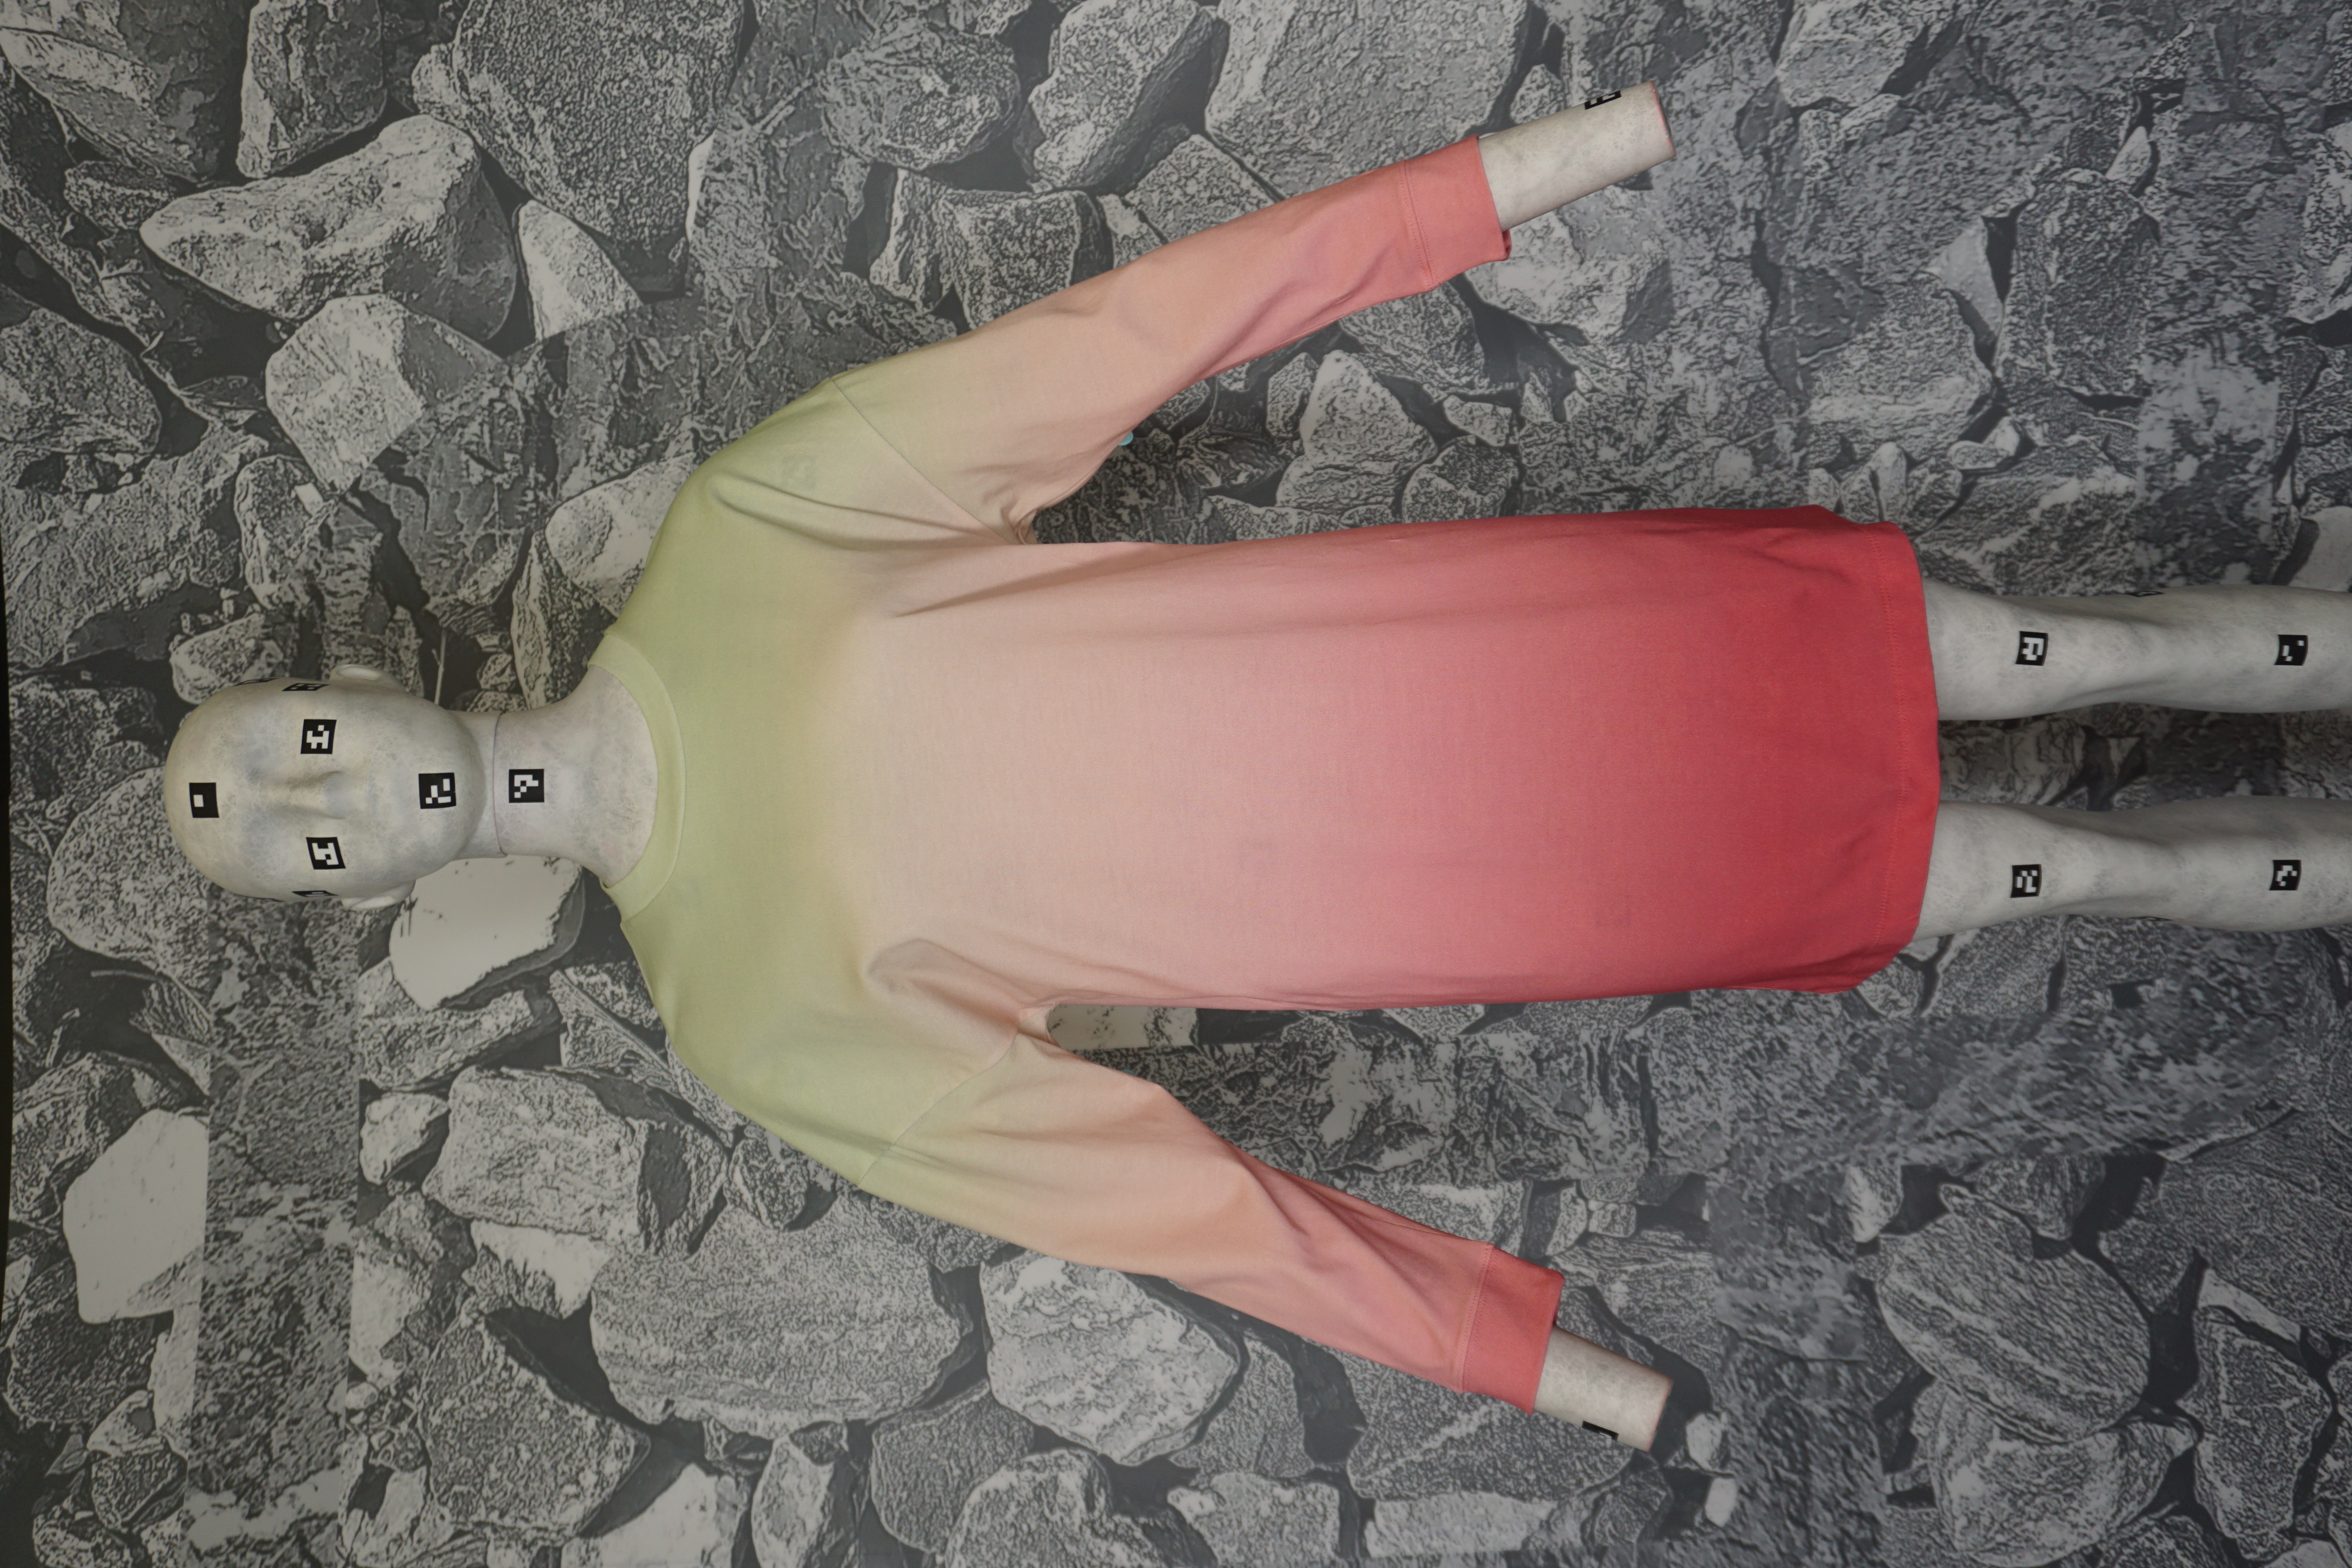
Dress your mannequin. Make sure that the garment is fit properly: no unwanted folds or creases, and the garment is fully facing the camera and symmetrical from left to right. Refer to your camera while adjusting the garment.
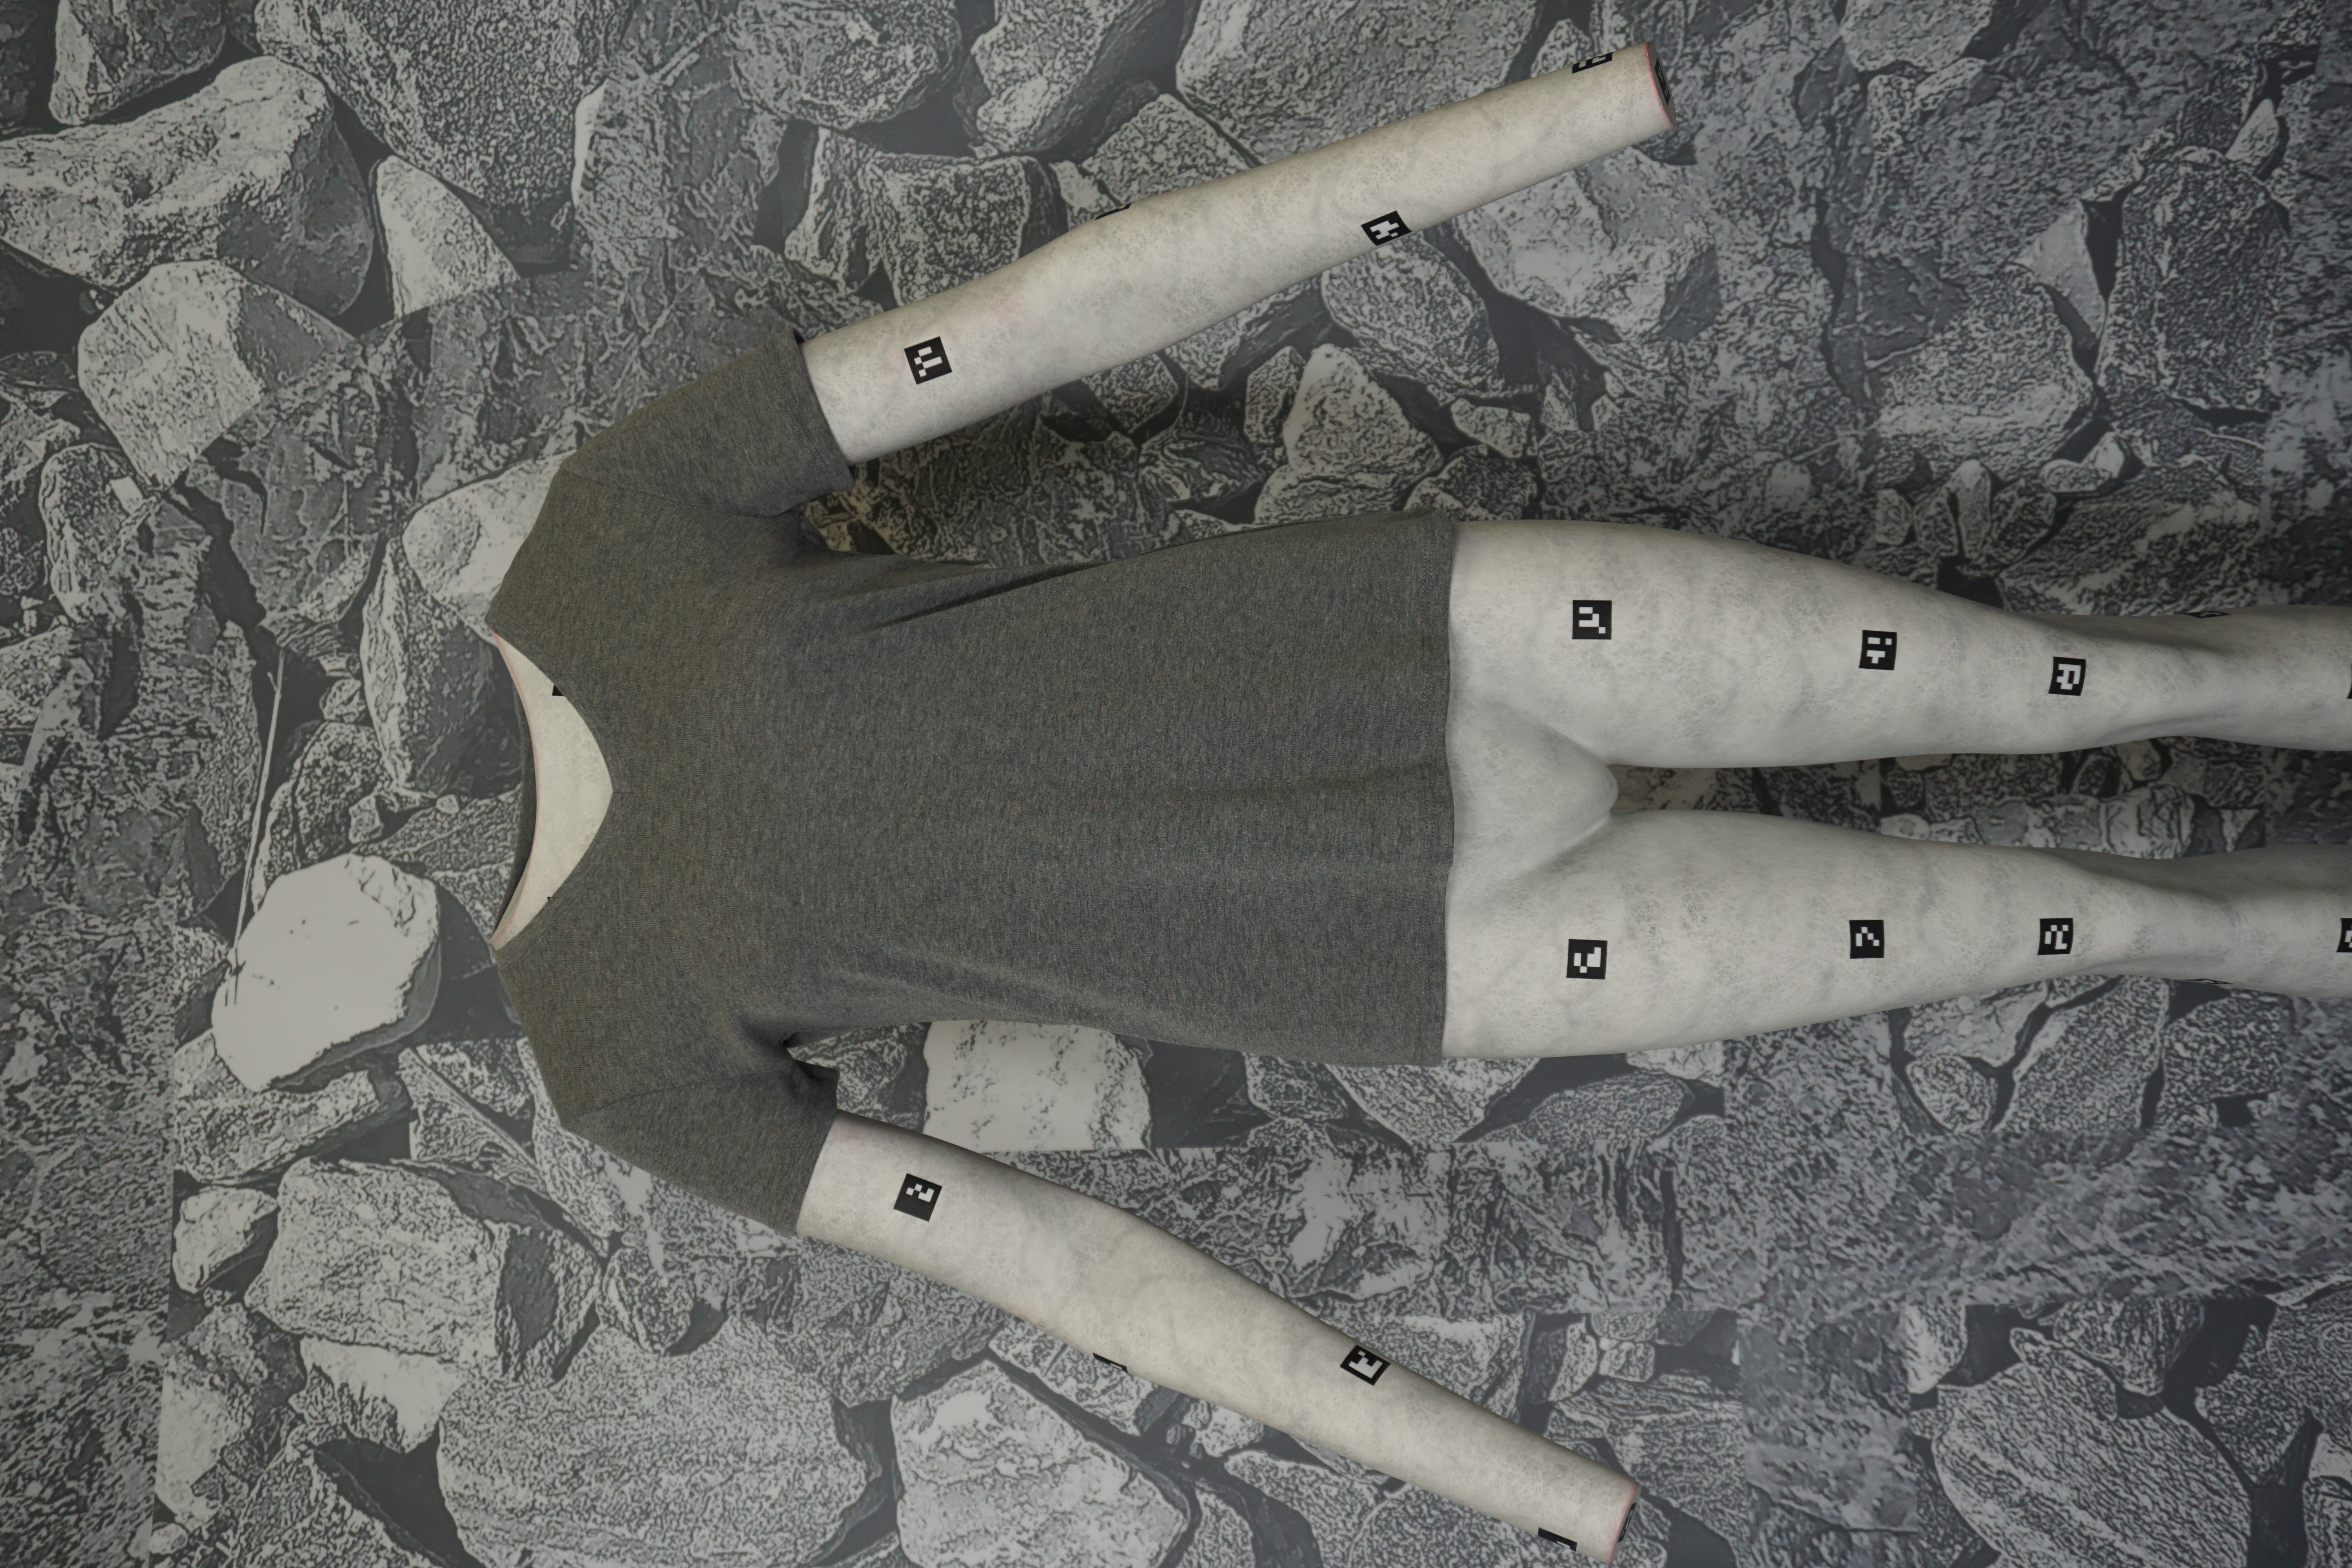
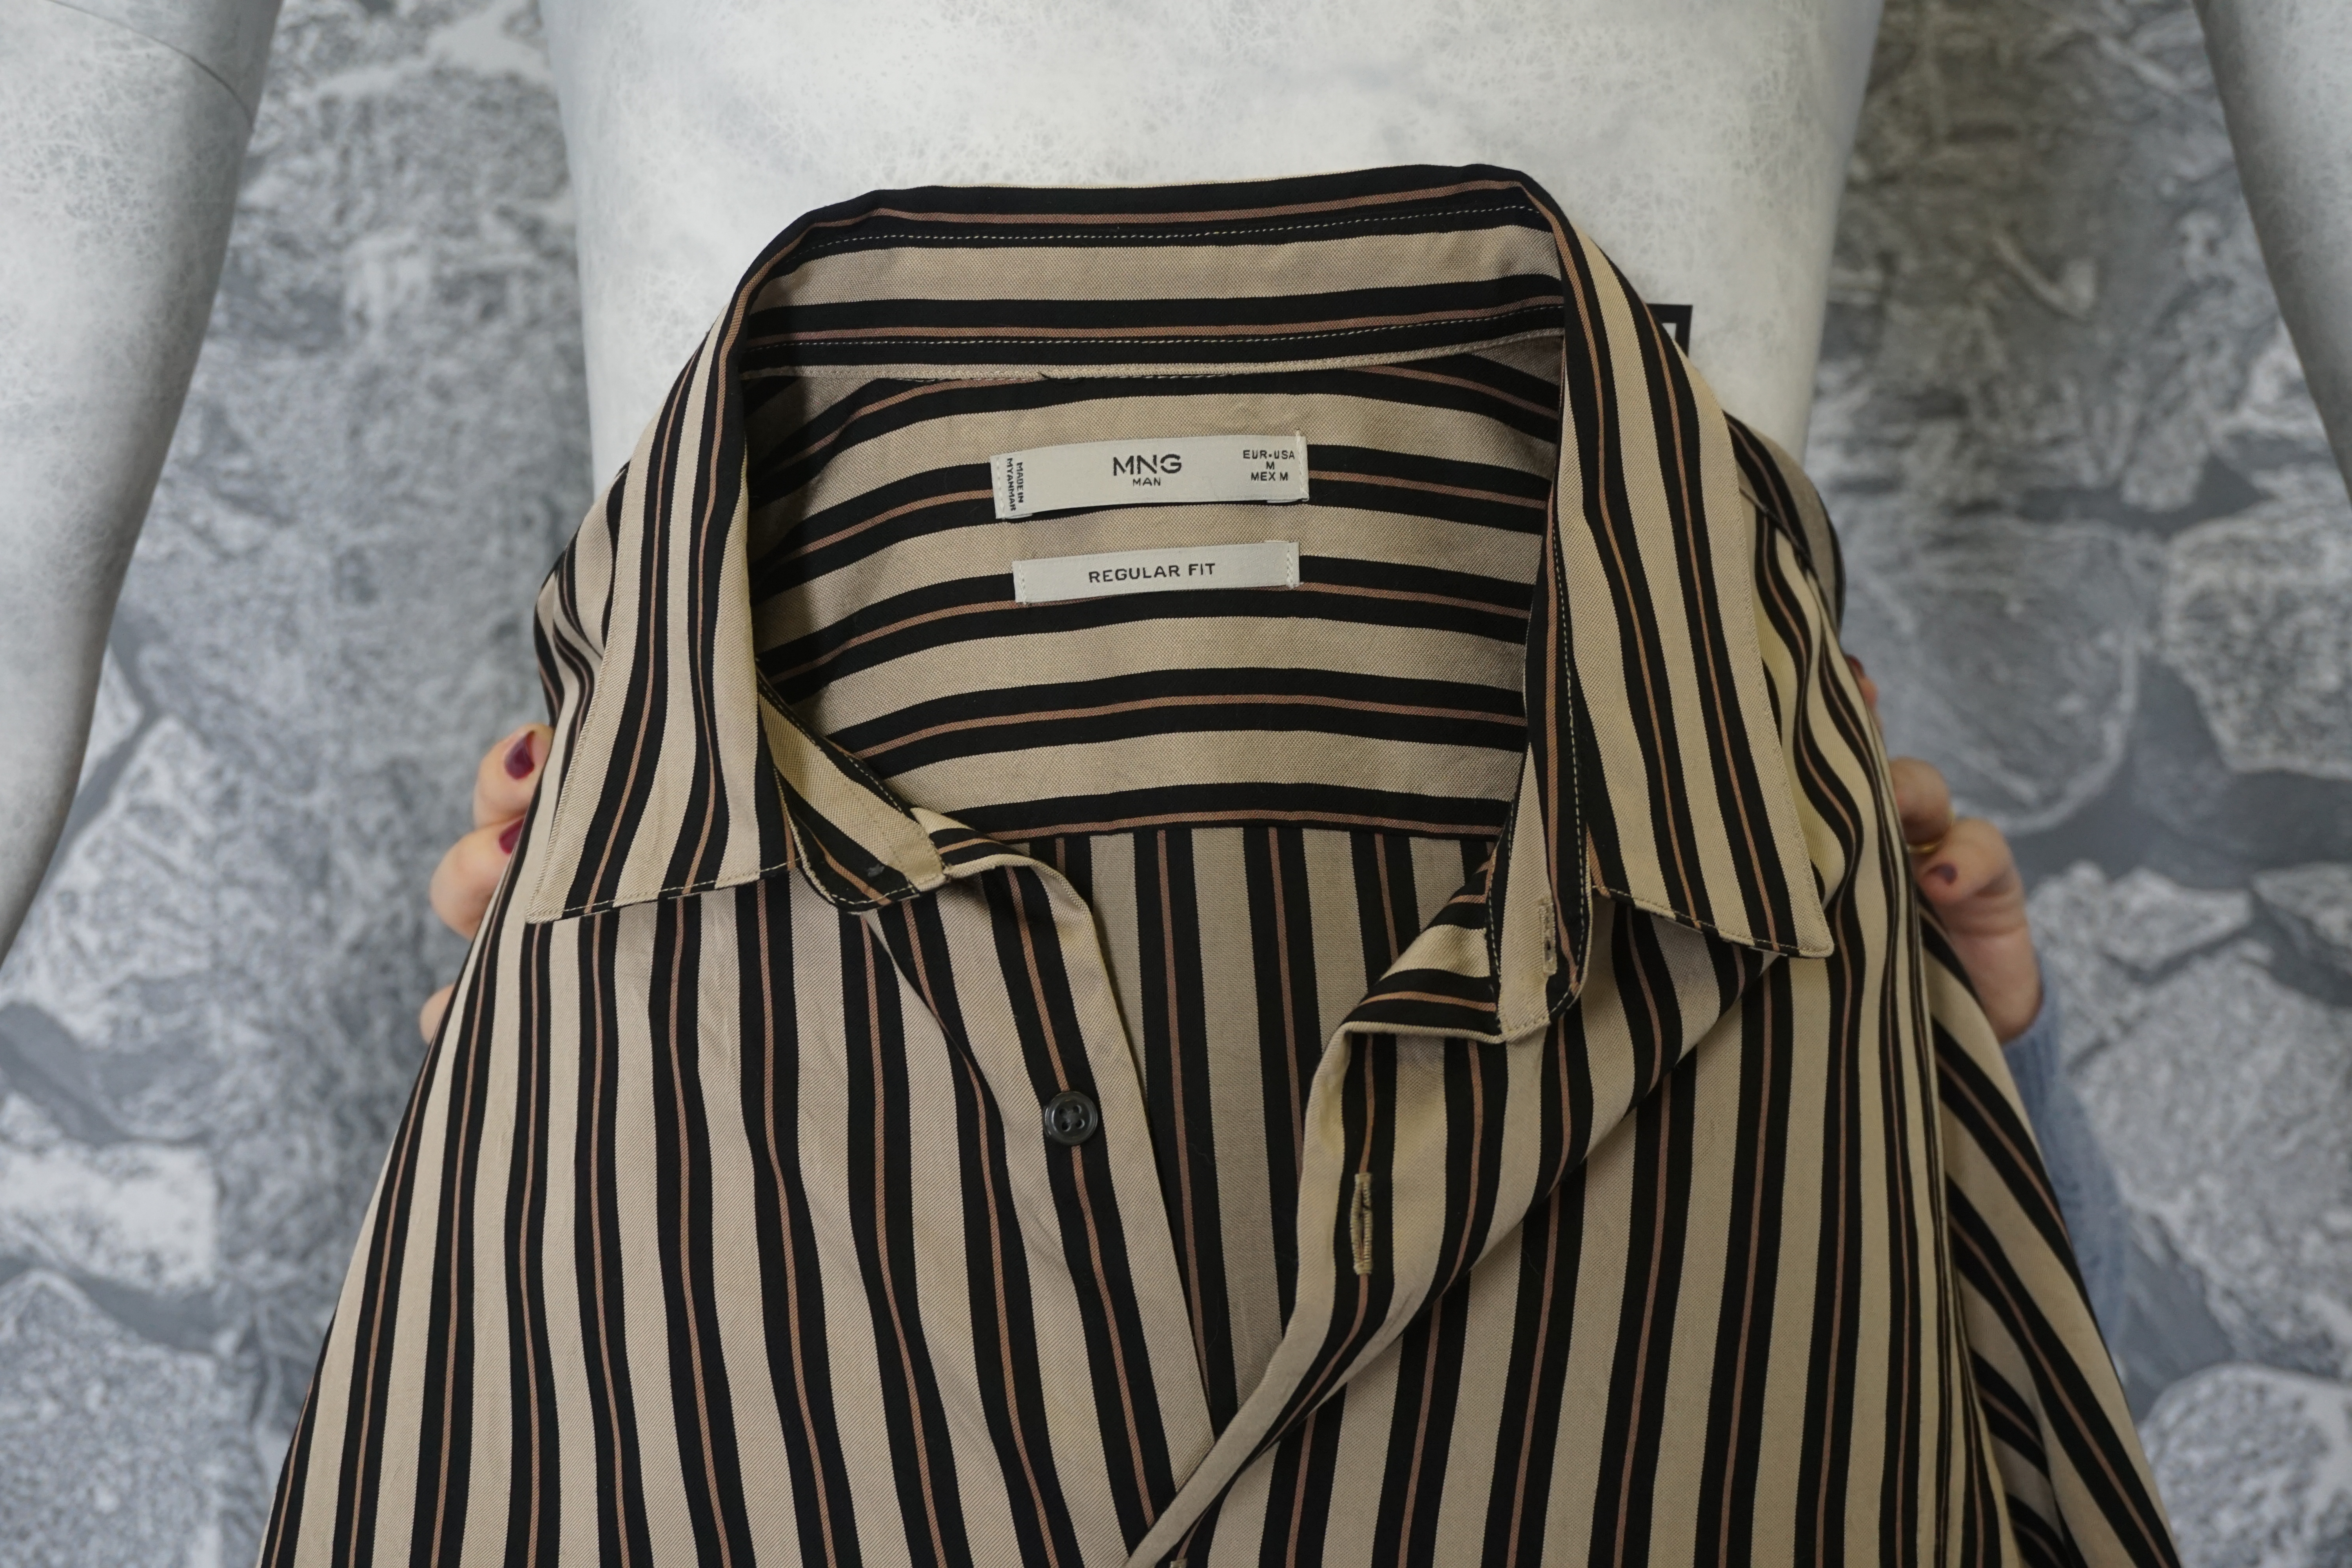
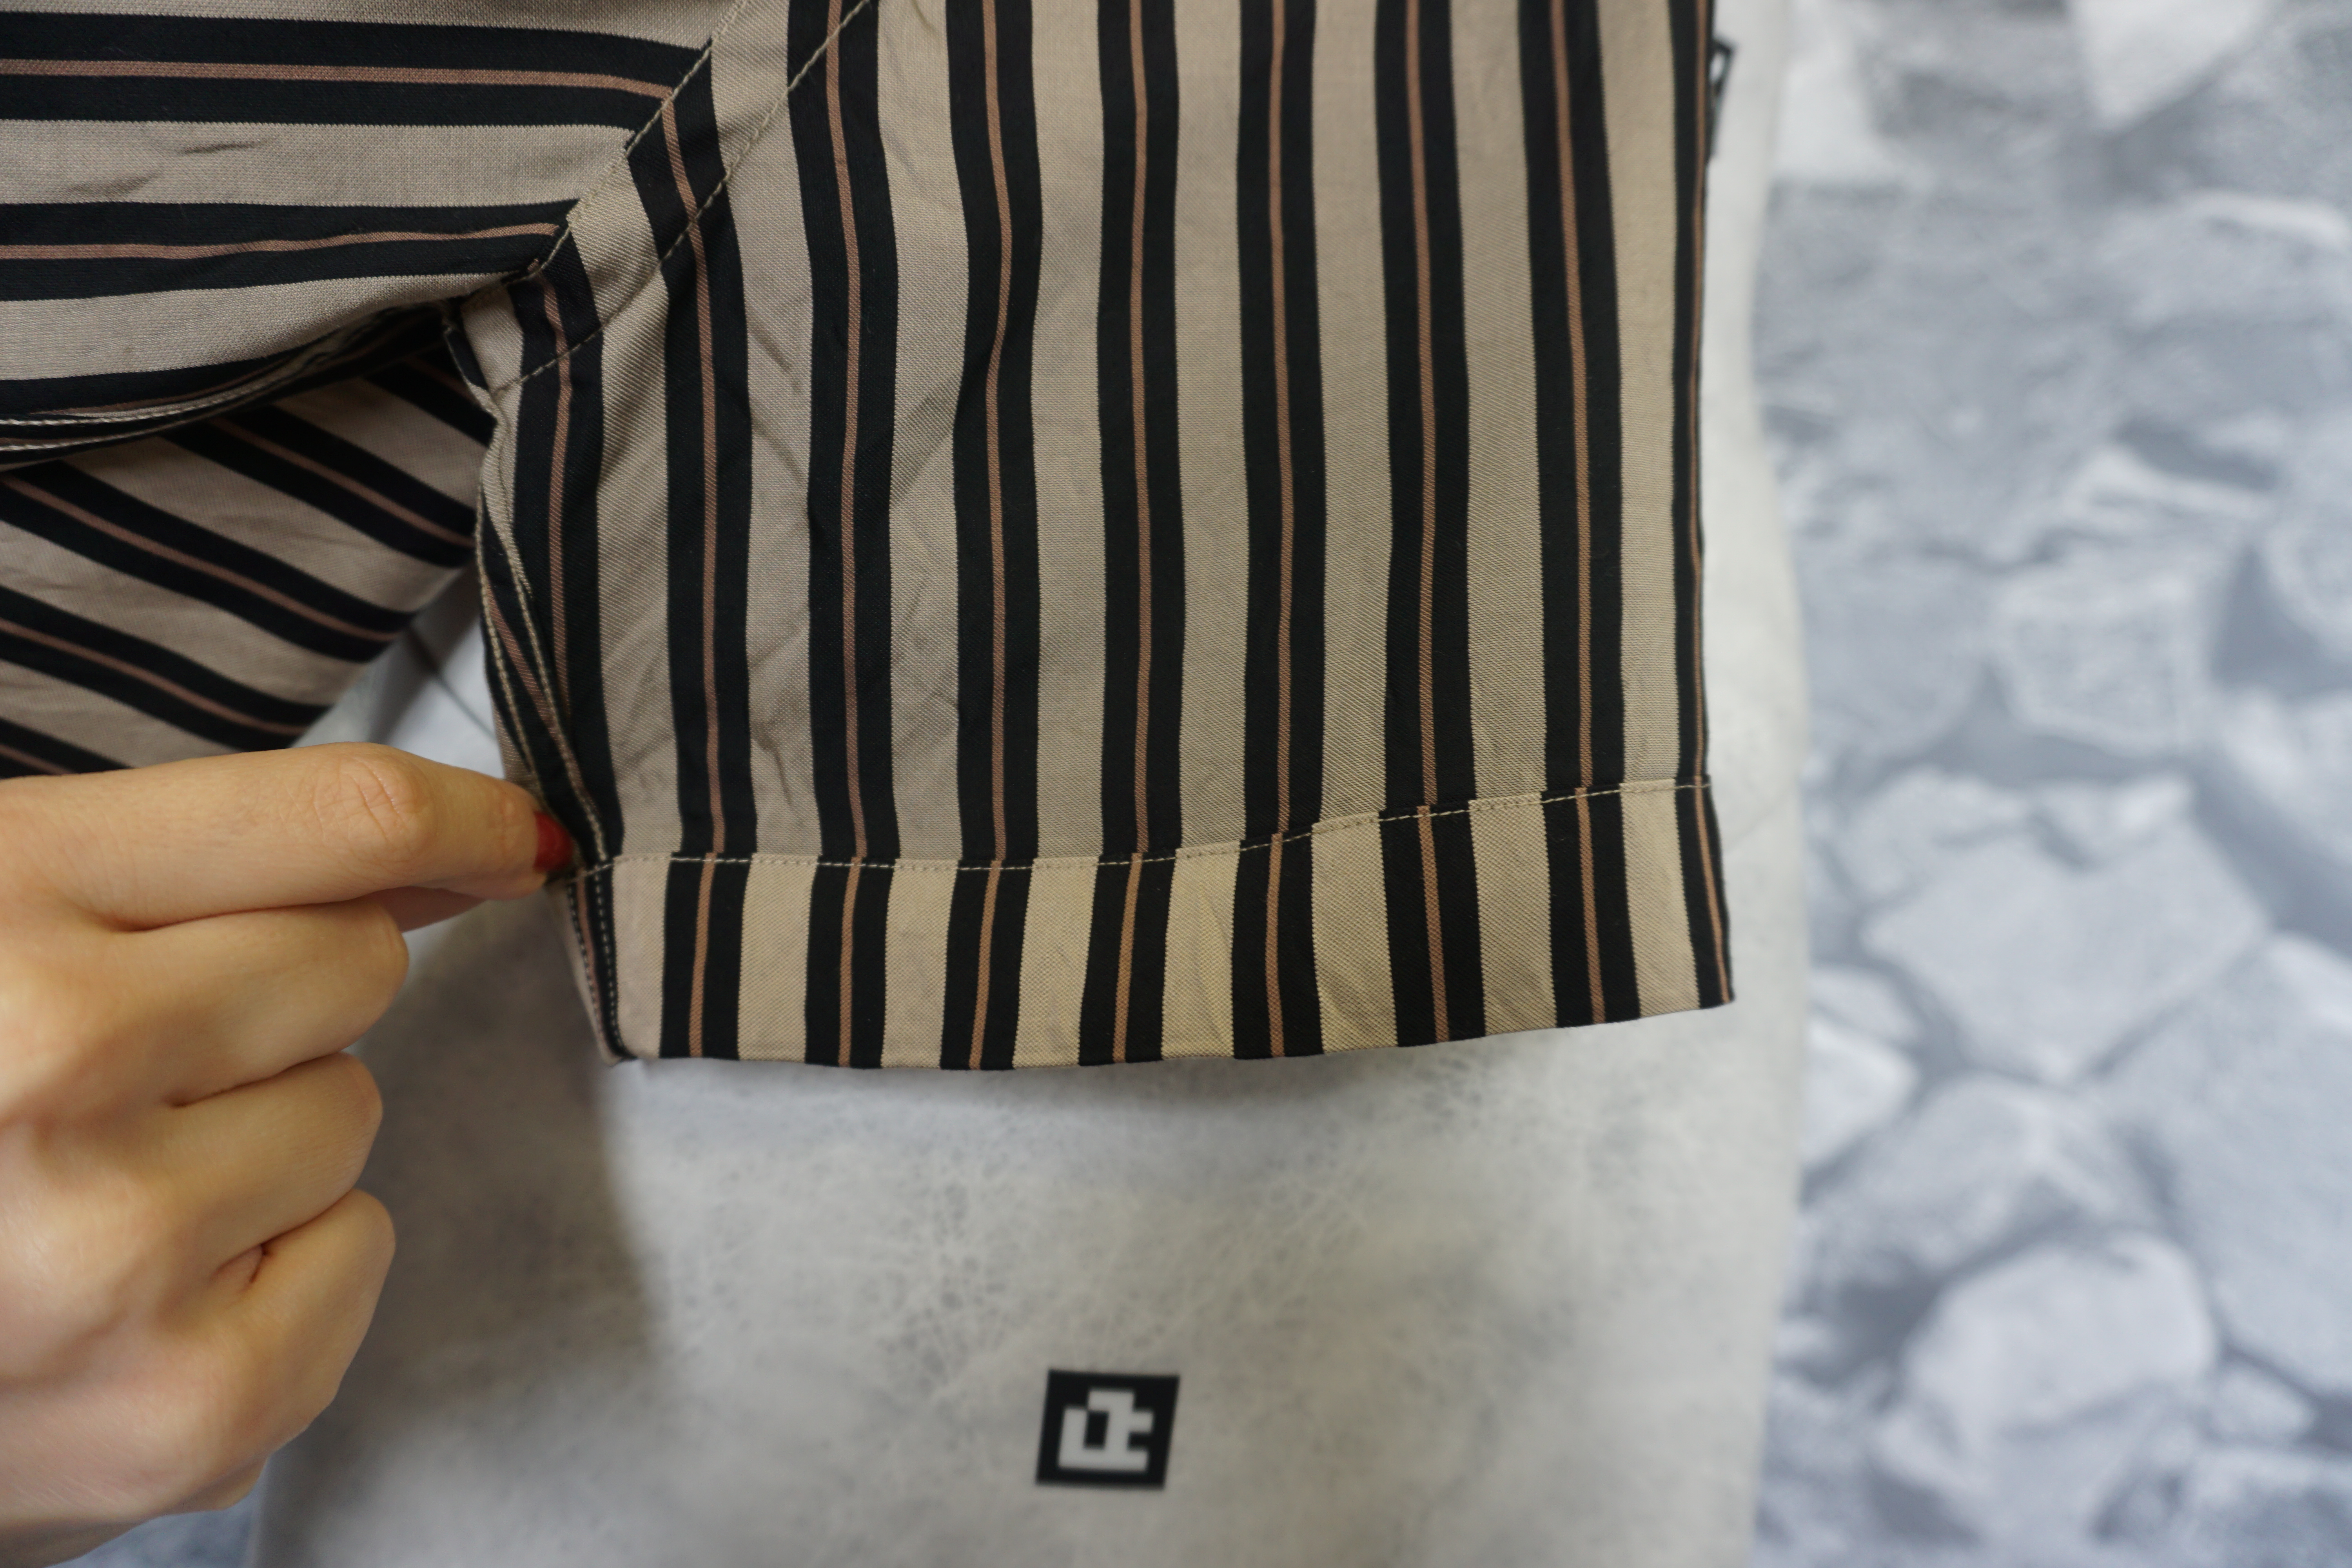
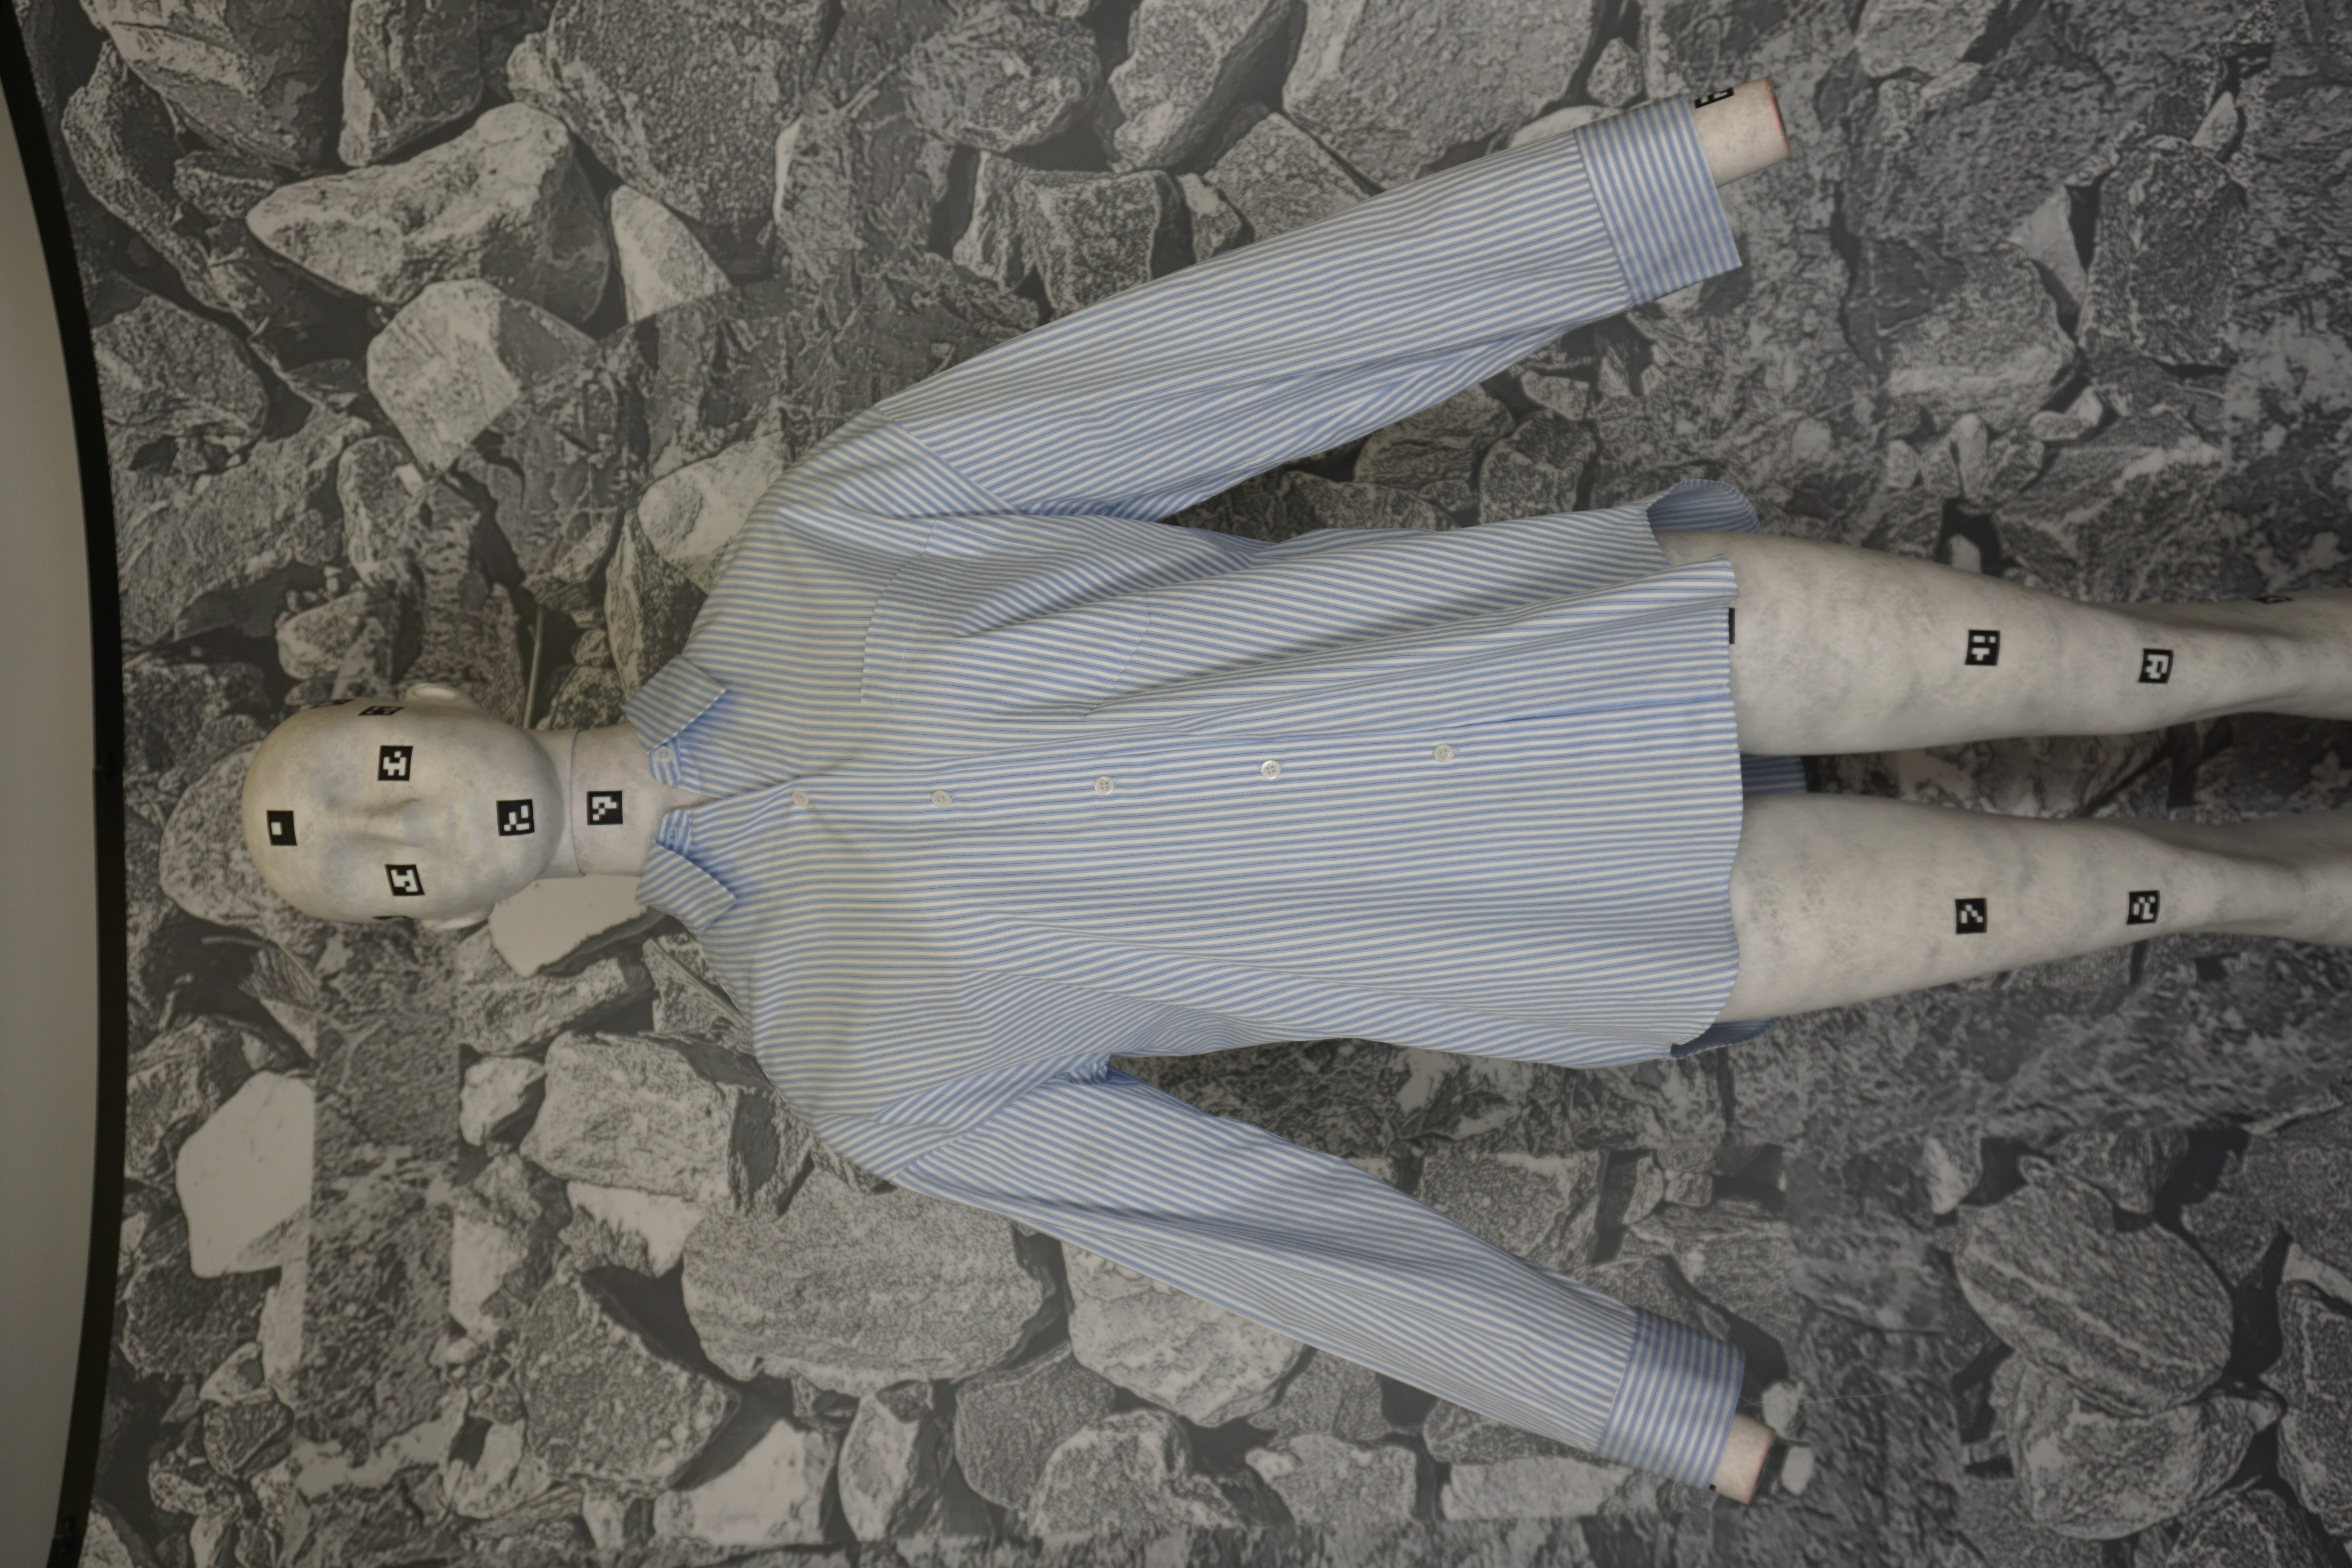
Step 2 | Capture the insides of the garment.
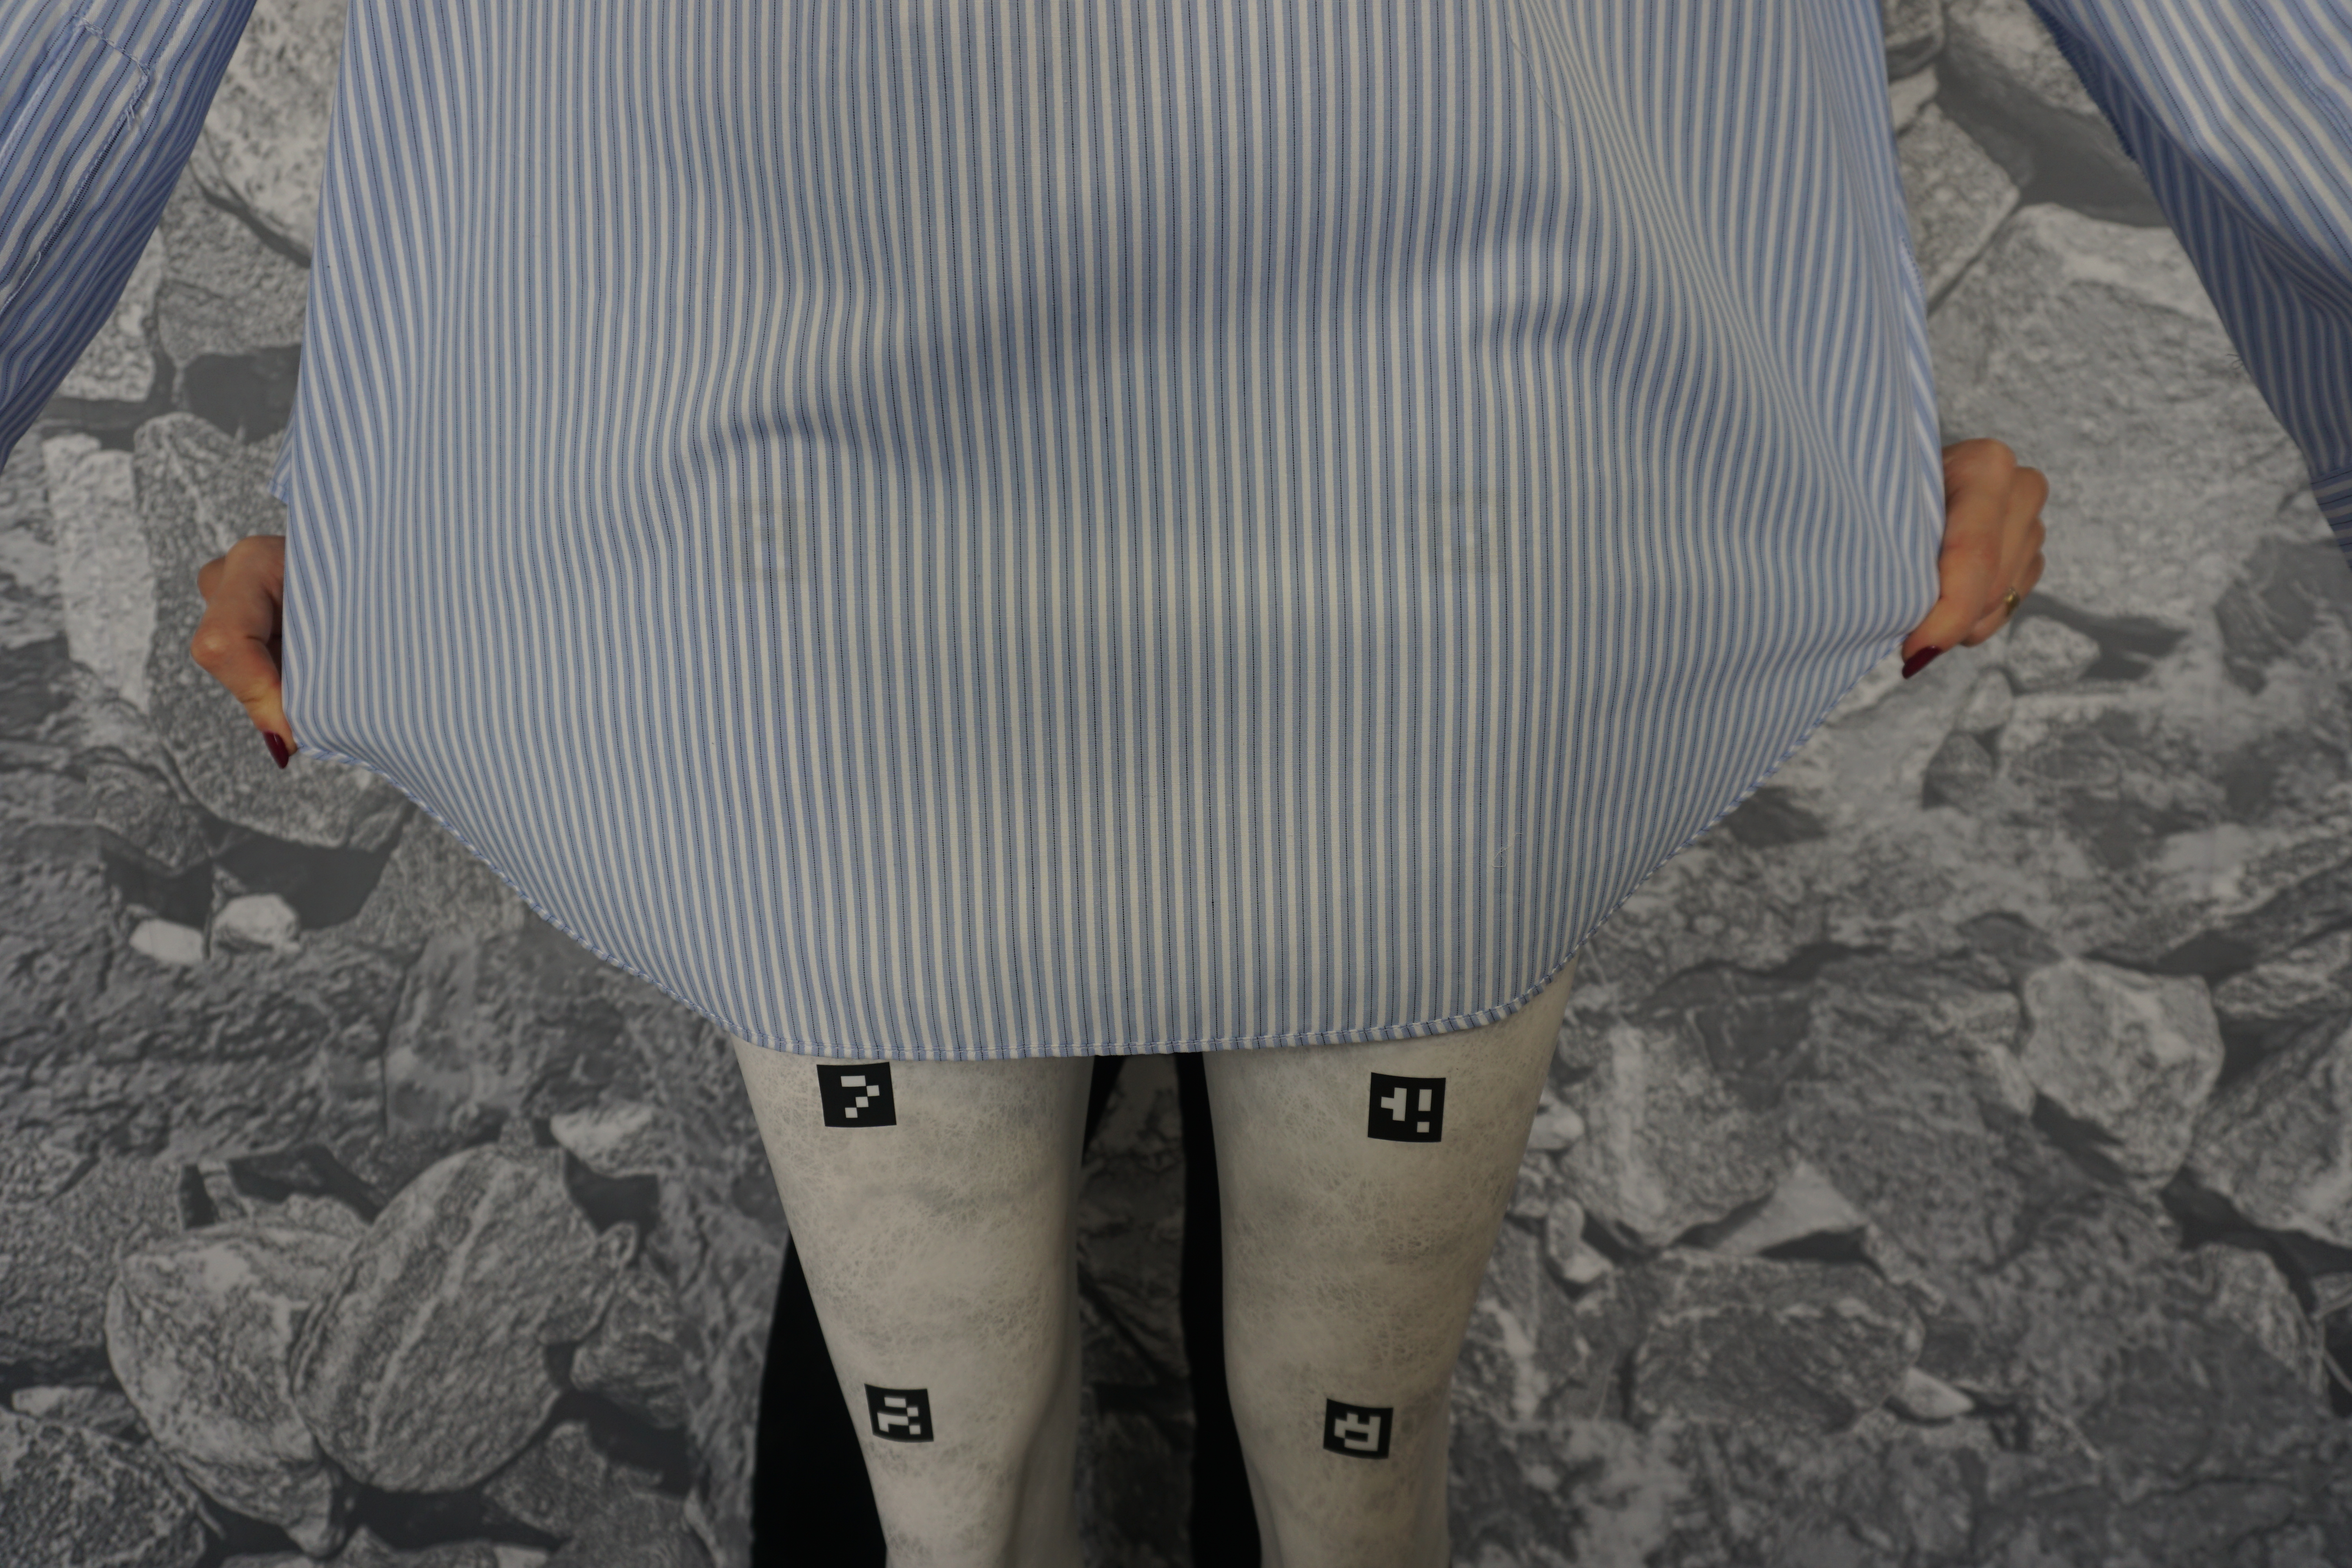
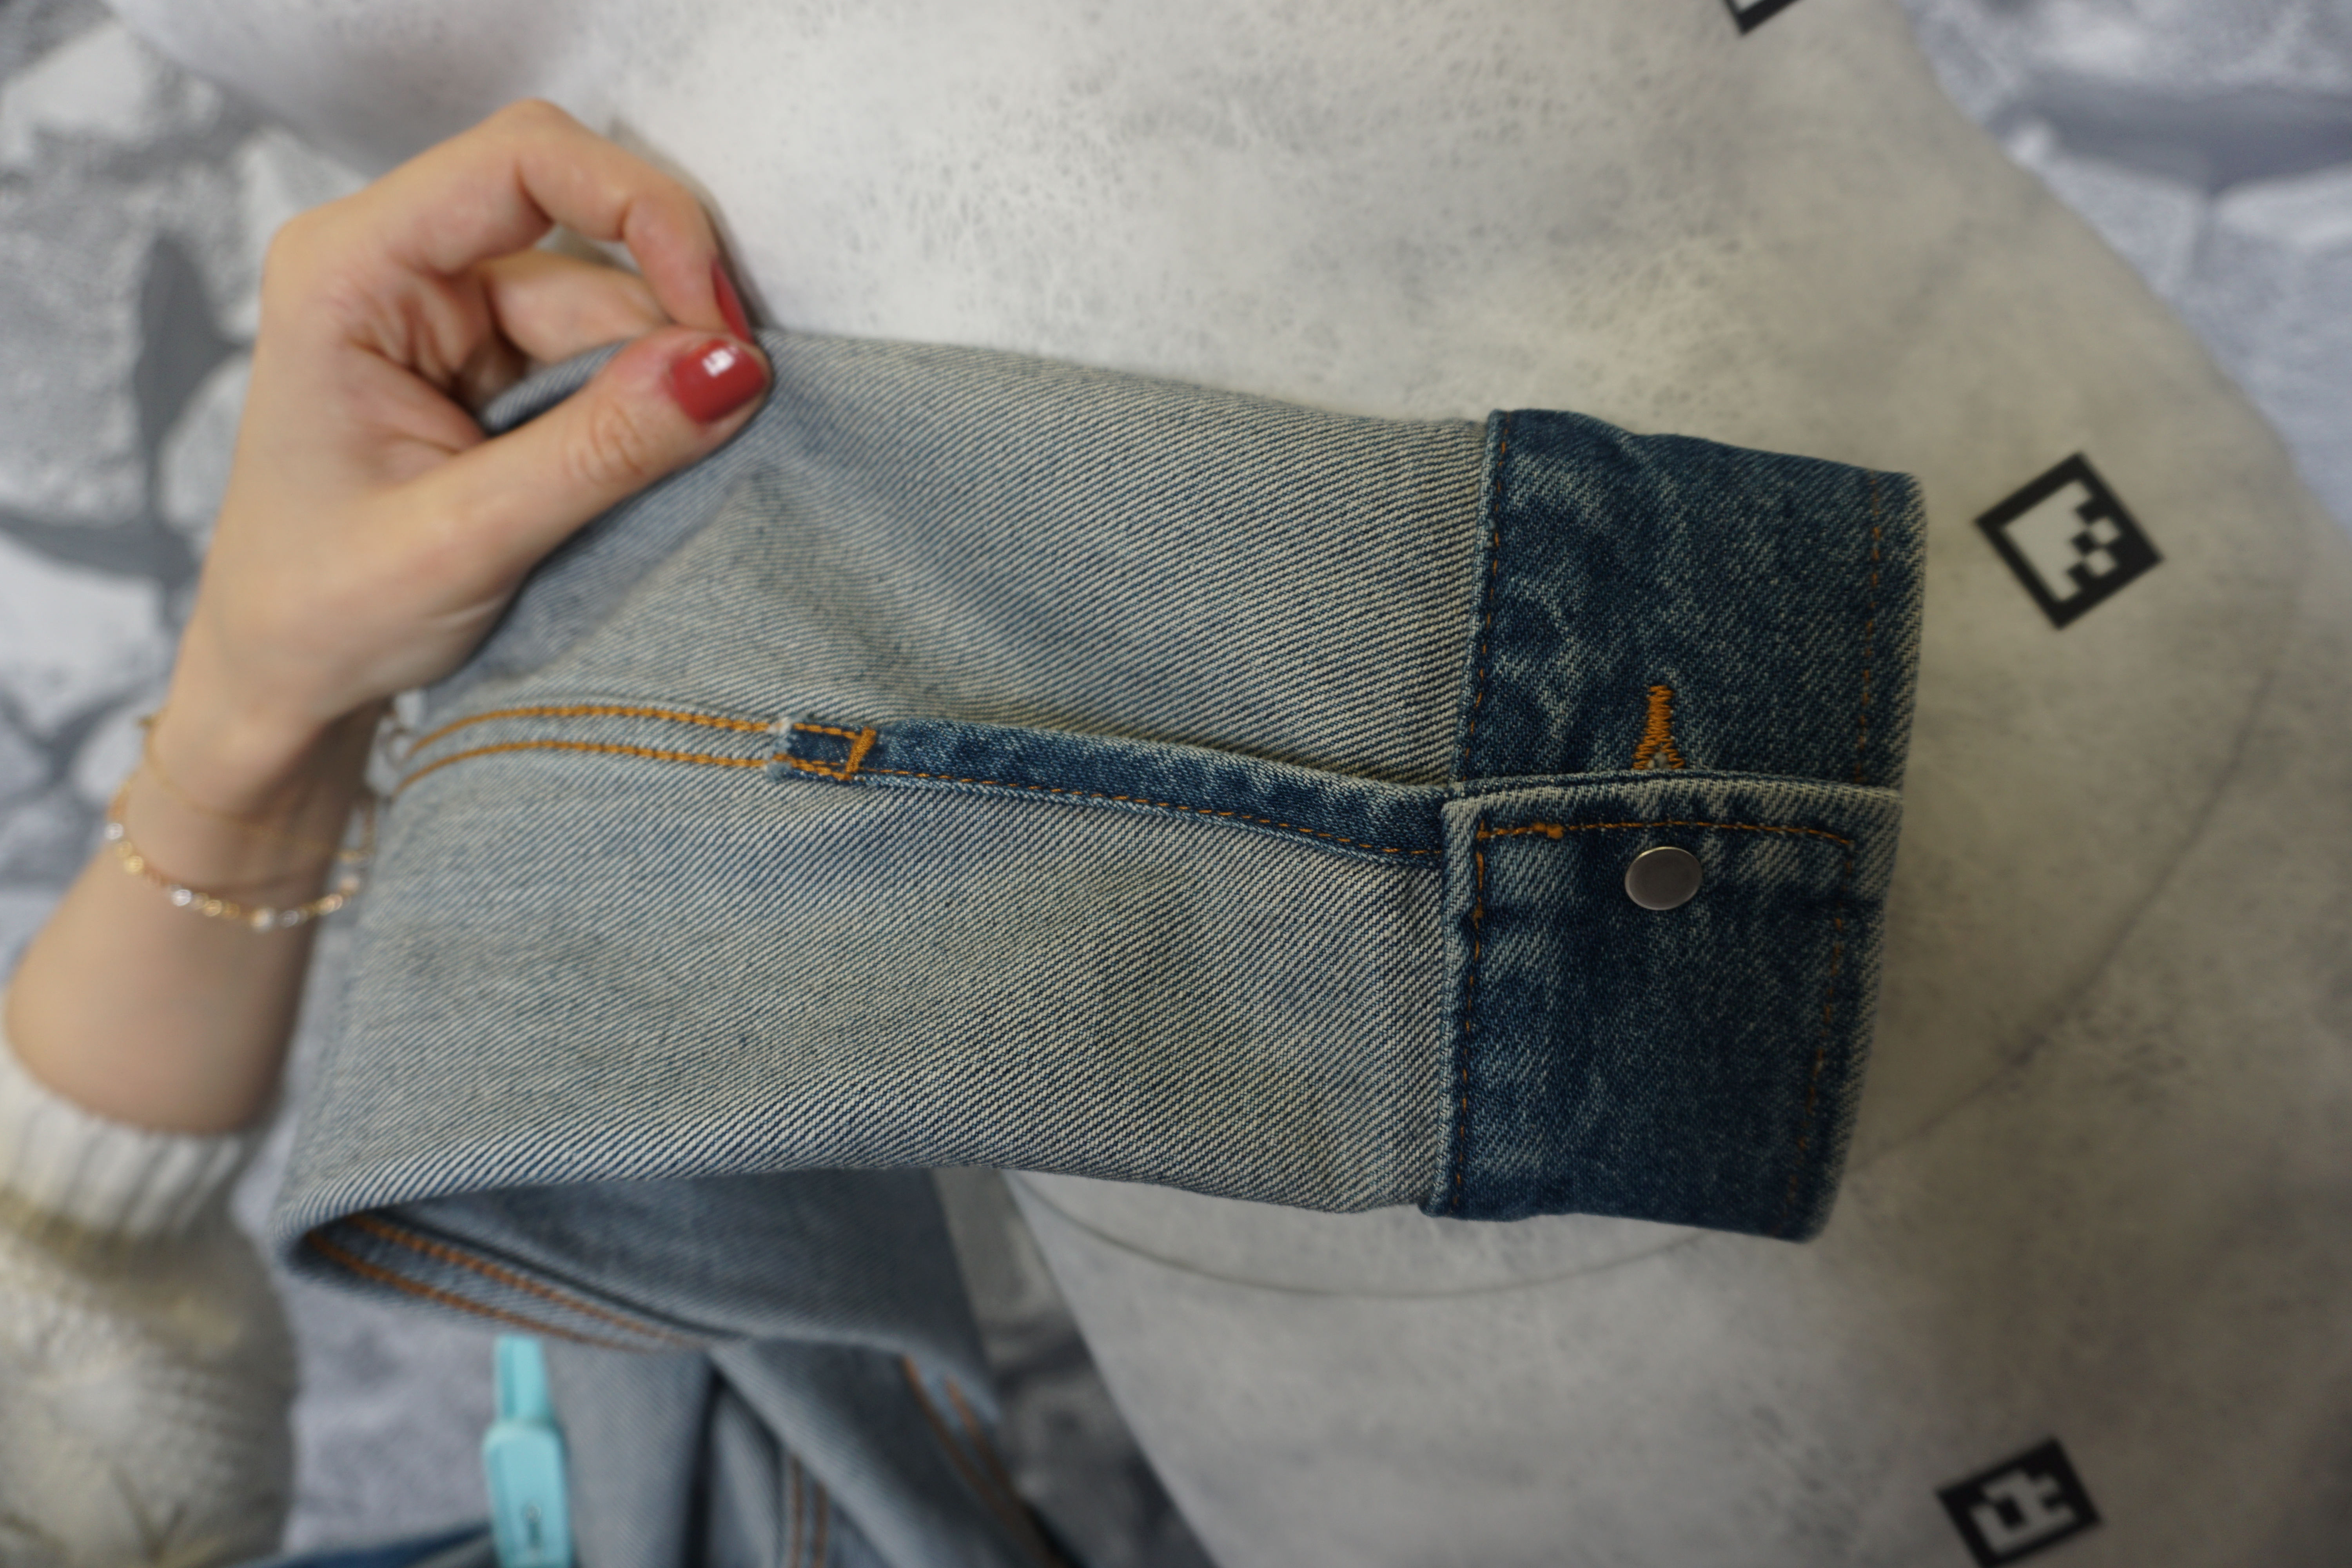
Since the insides of the garments are not fully visible (e.g. the inside of a shirt's back seen through a V-neck collar), you have to capture additional photos of the garment’s insides, by turning them inside out. This may also include inside areas of collars, sleeves, hemlines, waistbands, and so on.
Other Examples
.JPG?inst-v=4f8c3e8a-8546-4a8b-af90-7496d0b35836)
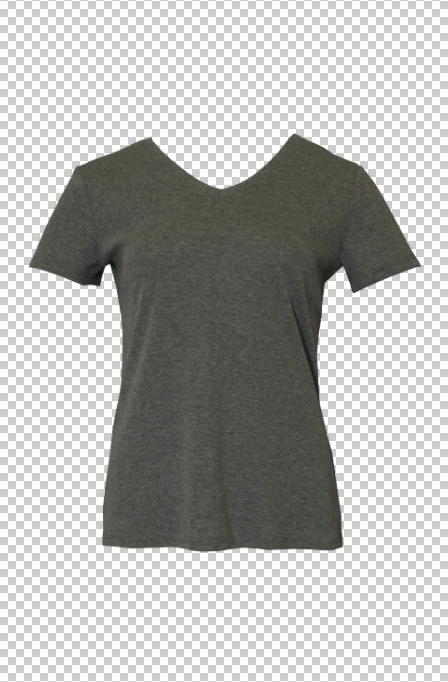
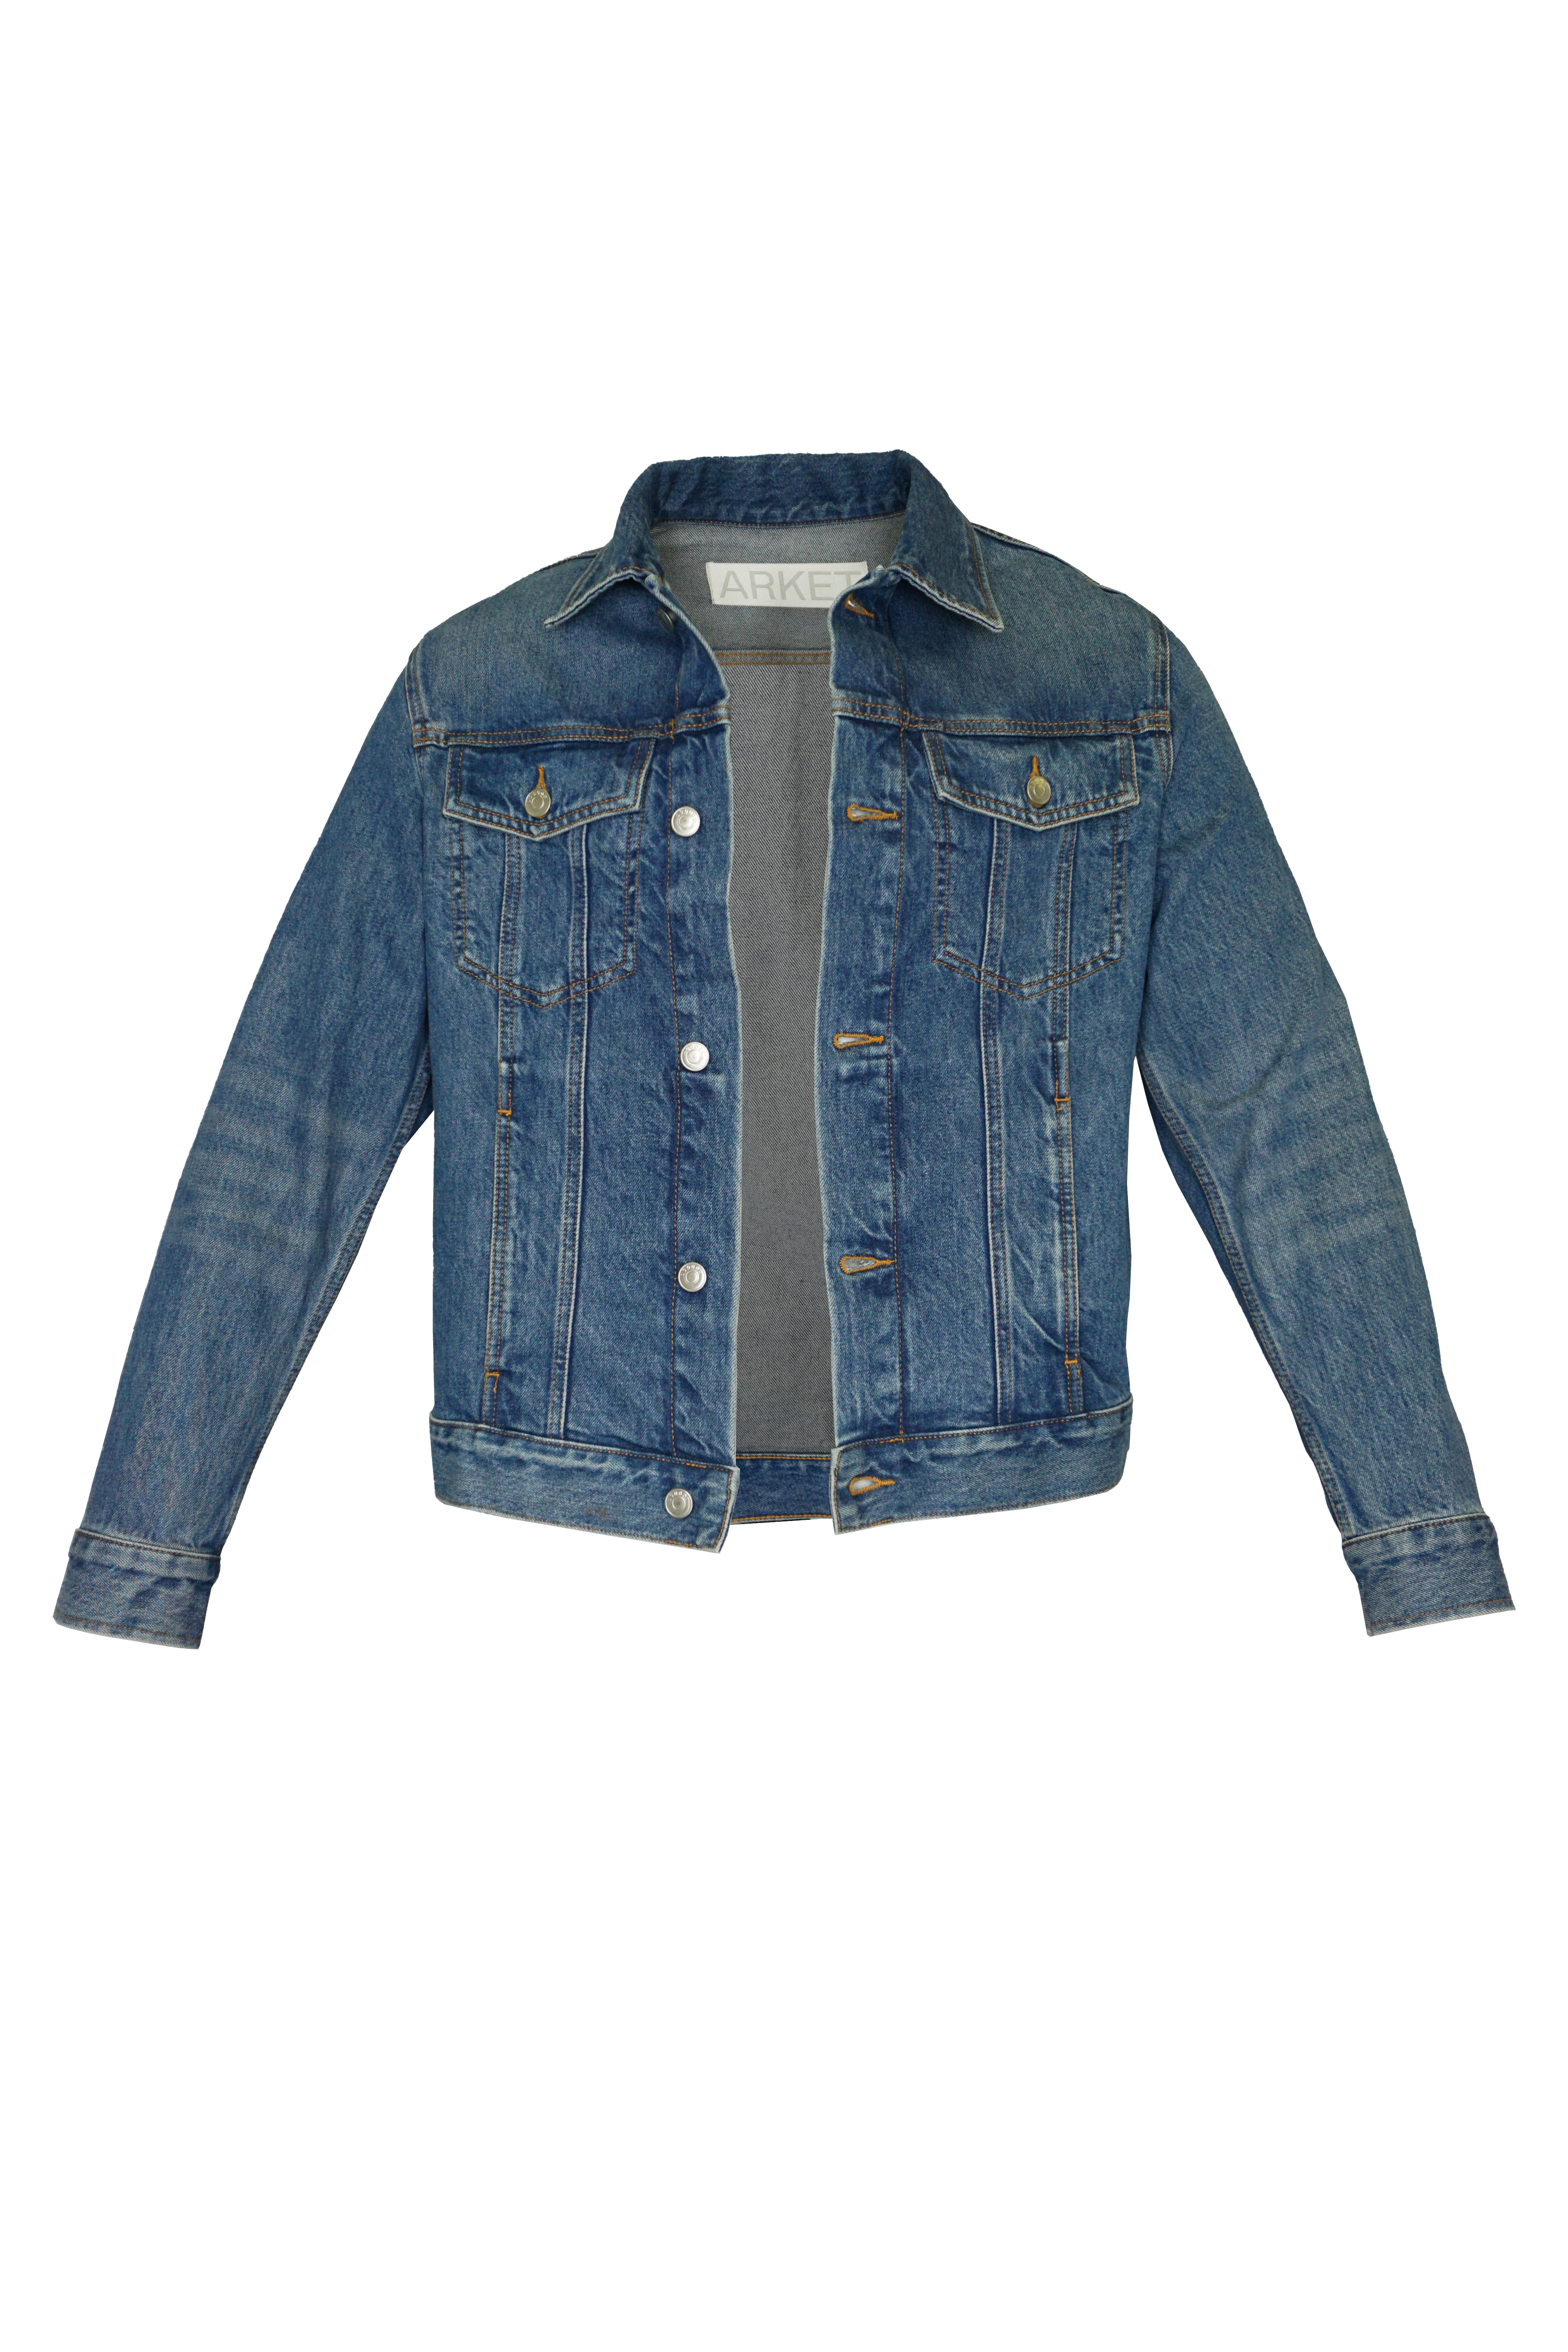
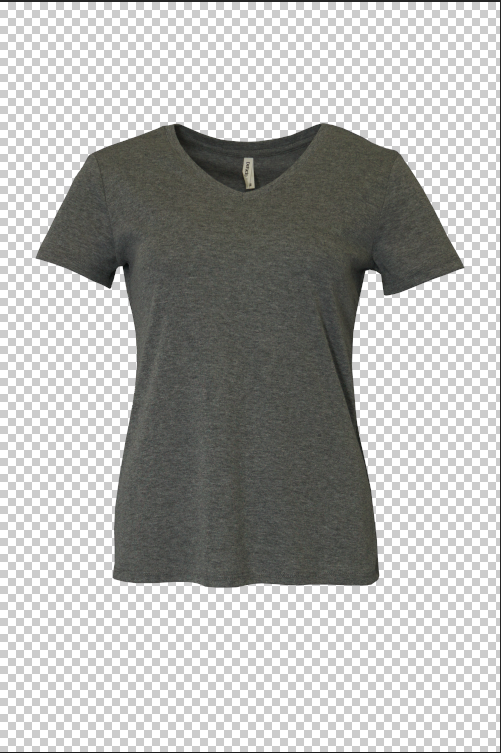
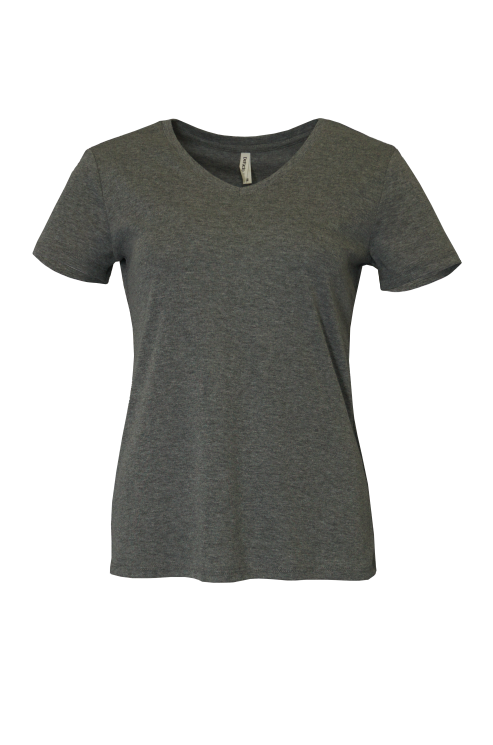
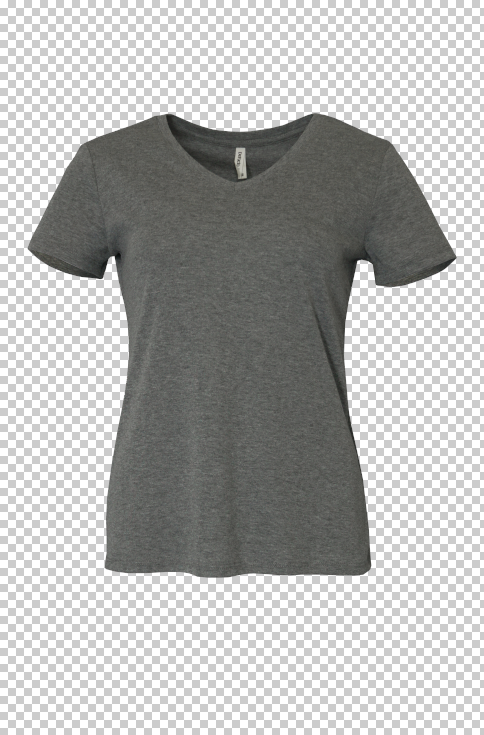
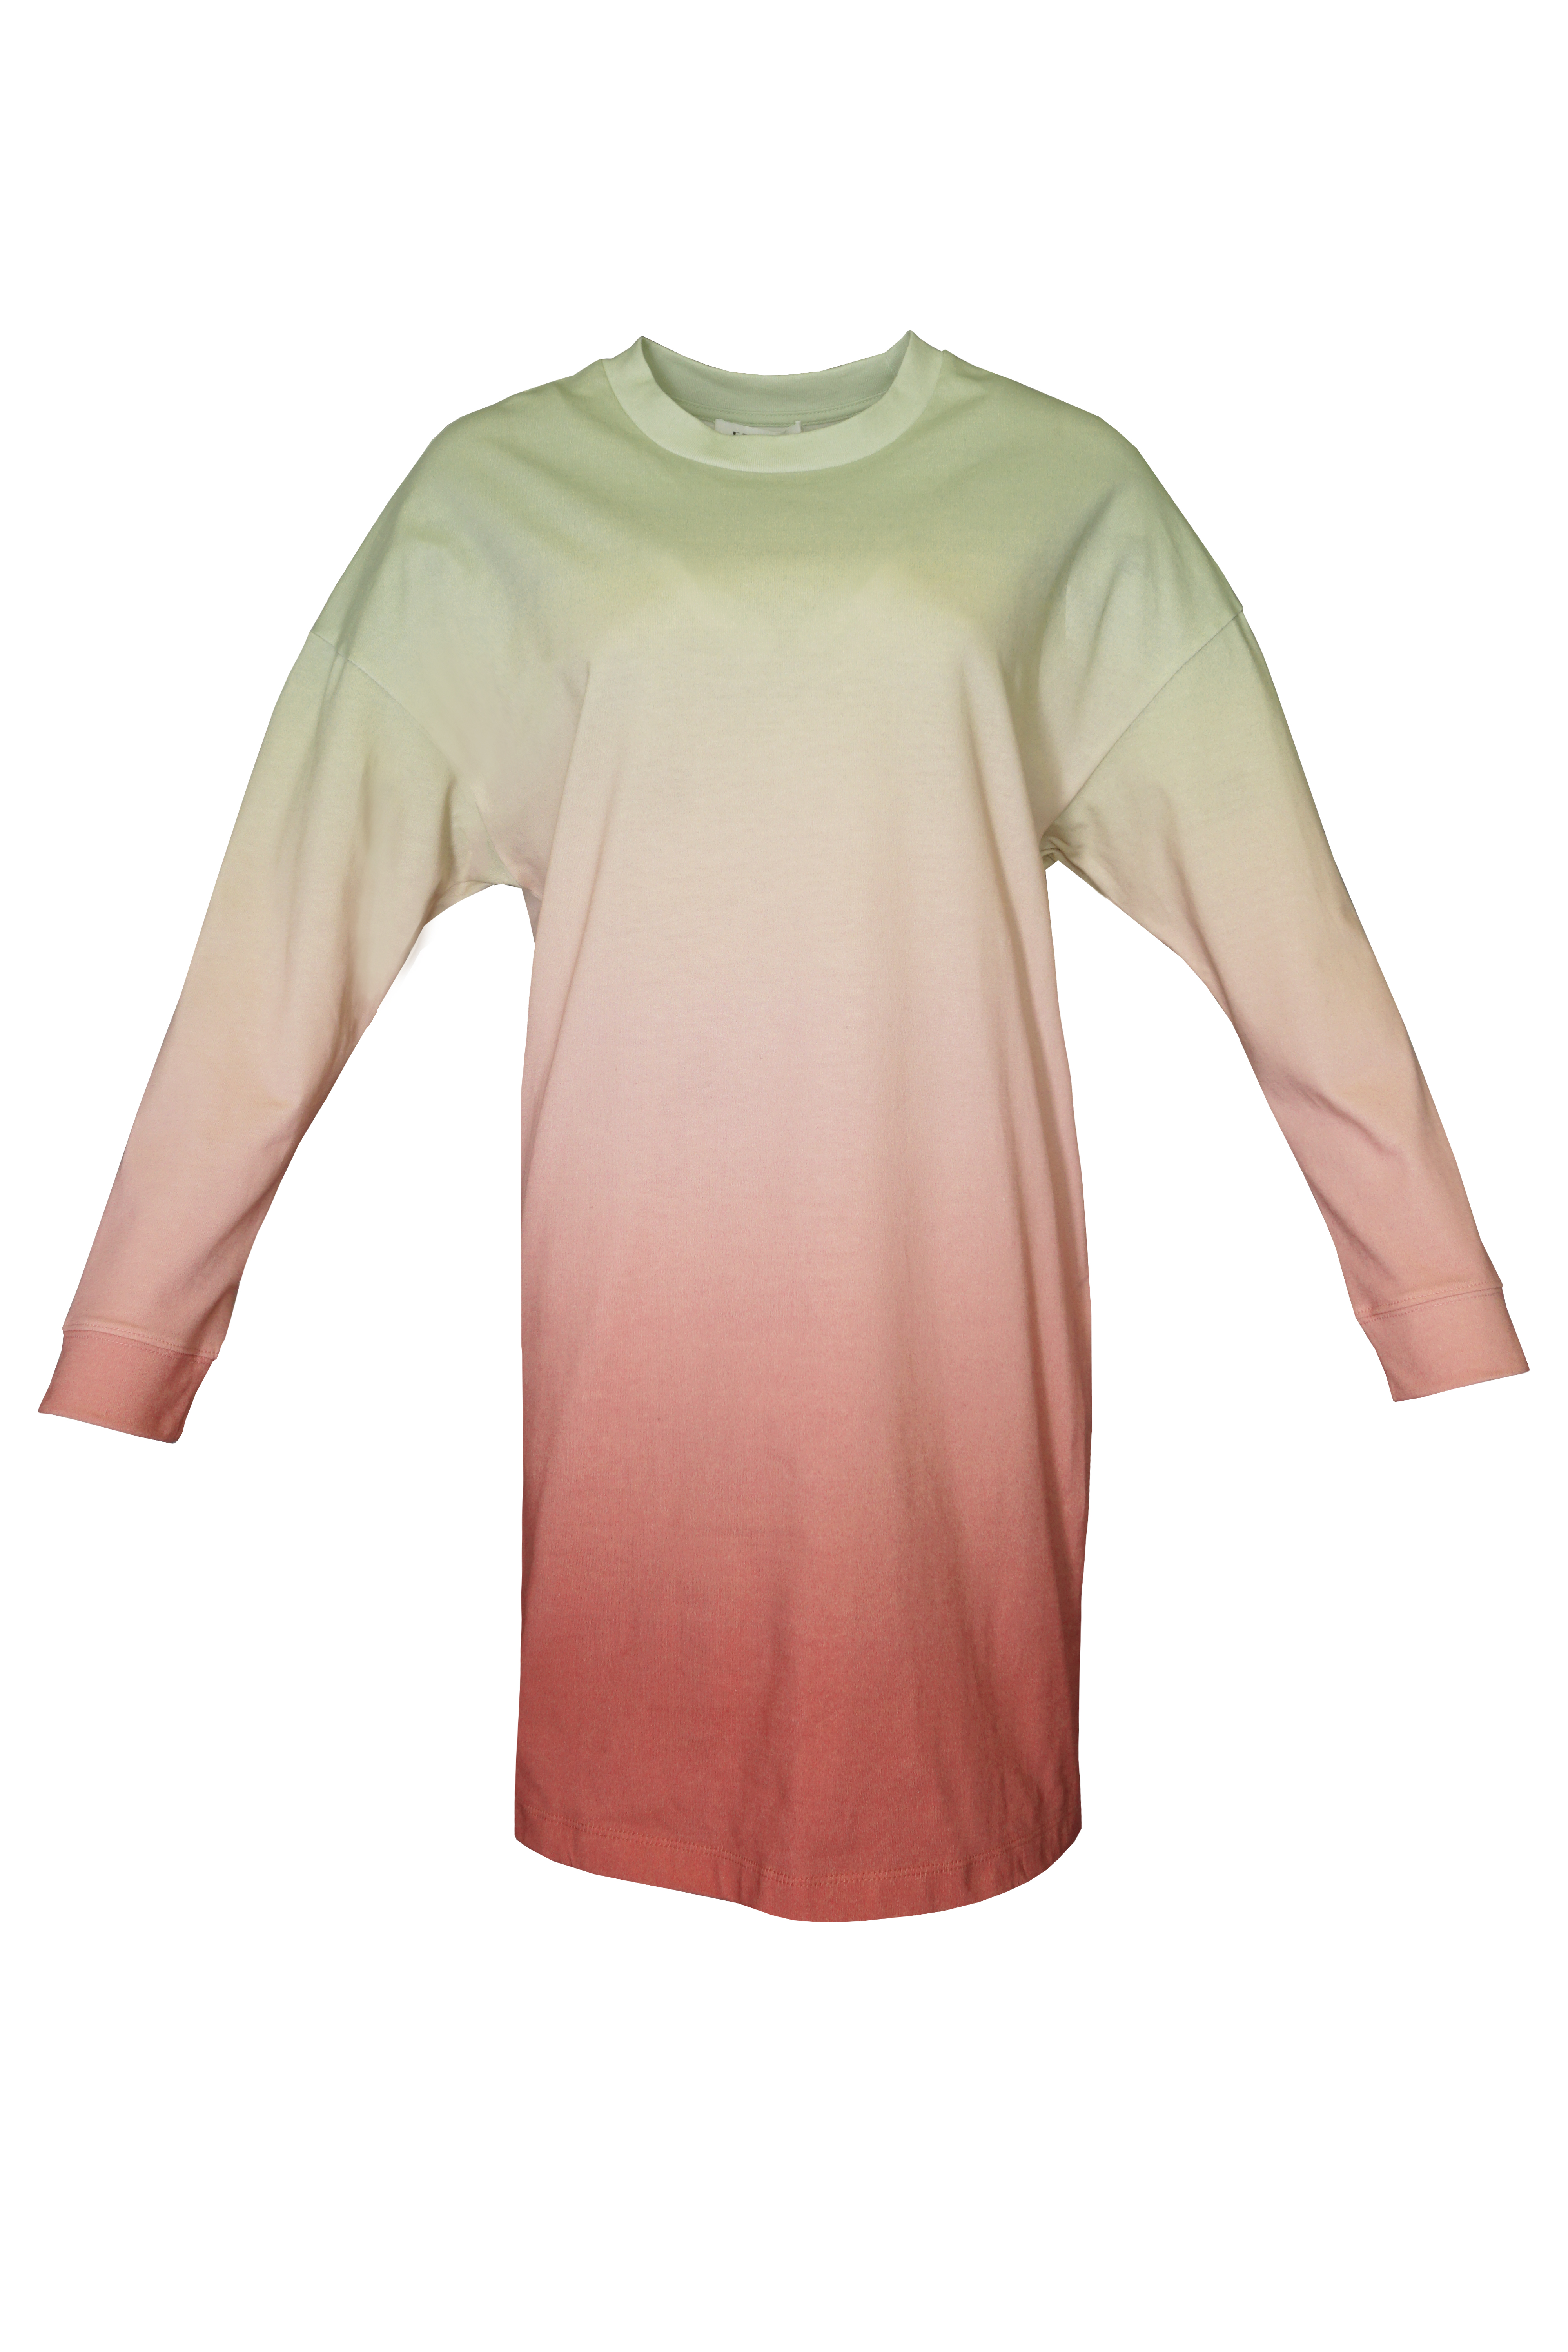
Step 3 | Remove the background and the visible mannequin parts.
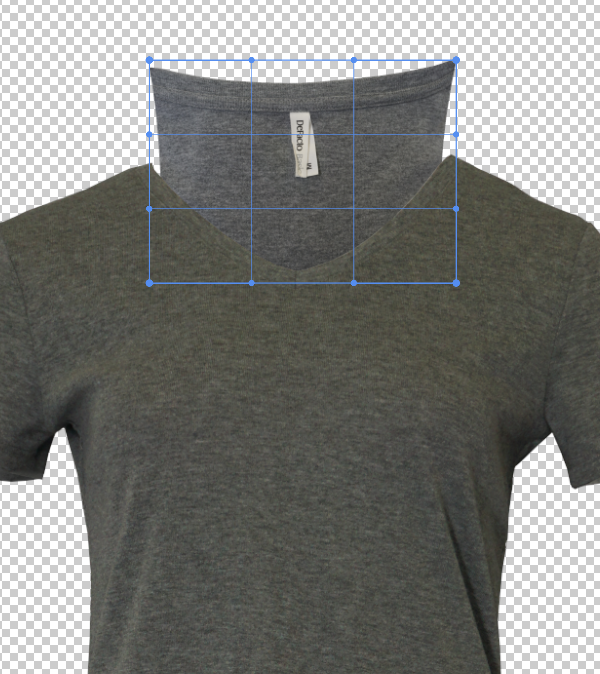
Using your preferred image editing software, remove the background and the visible mannequin parts. By the end of this step, you only want the frontal image of the garment you captured on a transparent background.
In this step, you can also make the garment bigger but always check the quality of the image (i.e. check if details become pixelated, blurry, and so on).

Step 4 | Add the insides to the garment
Using the photos made of the inside areas in Step 2, add the insides to the frontal garment cutout from Step 3 and stitch them together. In terms of layering, the inside areas need to be behind the frontal photo of the garment, which means the inside layers need to be under the frontal layer in the image editing software. Use scaling and warping tools to fit the insides into the garment.
Cropped image of the inside of the shirt showing collar
Putting the inside and front of garment together
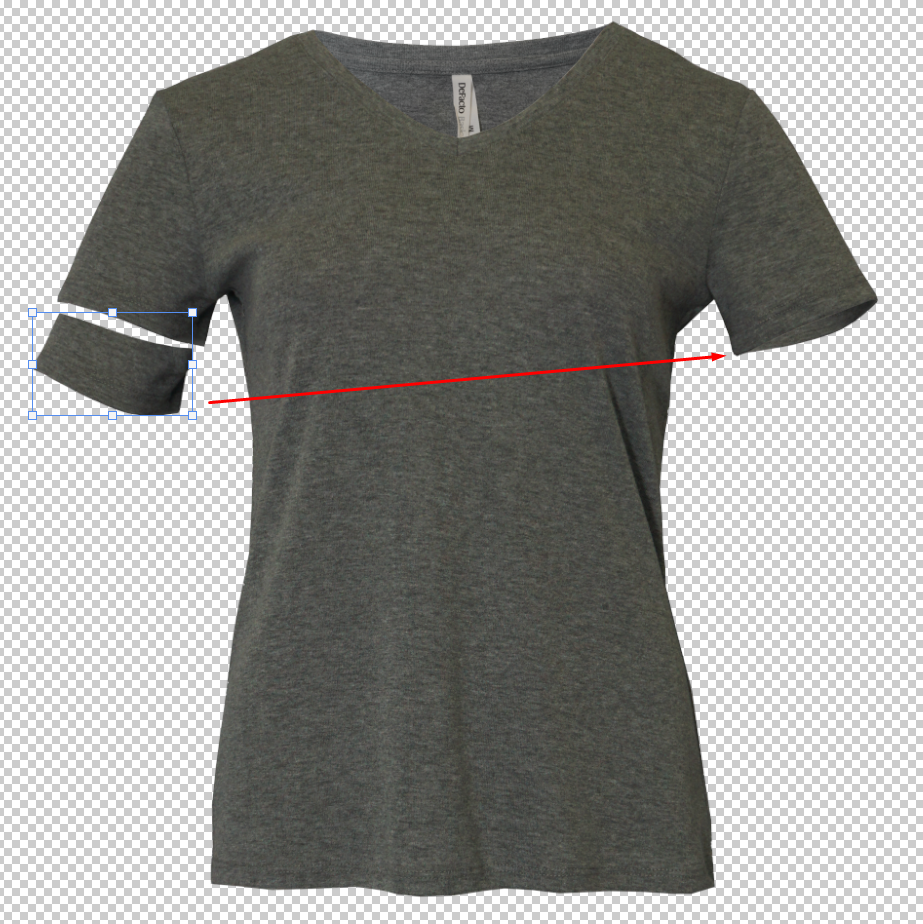
If the sleeves of the garment have the same details from front to back, you can select and copy the sleeve area and use scaling/warping tools to recreate the inside. If the sleeves do not have the same detail from front to back (i.e. buttons and slits), you have to capture additional photos of the sleeves' inside. The same applies if the inside has a different pattern than the outside.
Result of Step 4
Patterned Shirt Example
.png?inst-v=4f8c3e8a-8546-4a8b-af90-7496d0b35836)
Editing the sleeves by adding the insides
.JPG?inst-v=4f8c3e8a-8546-4a8b-af90-7496d0b35836)
Cut part of the inside
.png?inst-v=4f8c3e8a-8546-4a8b-af90-7496d0b35836)
Rotate it and scale it to recreate the inside of the sleeve. Pay attention to the pattern and try to keep it as natural as possible
.png?inst-v=4f8c3e8a-8546-4a8b-af90-7496d0b35836)
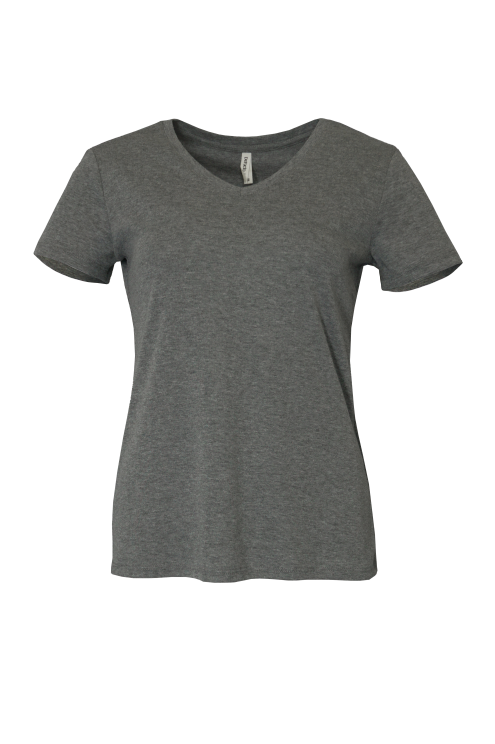
Step 5 | Polish the garment.
Inspect the result from Step 4 and fix visible errors such as crooked outlines, unwanted creases, dust, loose threads, and so on. While fixing these errors, make sure that the garment still looks natural and realistic.
Step 6 | Color correction
It is possible that the color, brightness, and contrast of the insides and the front of the garment will not match. More importantly, you want your image to match the actual color of your garment. In post-processing, you can adjust these aspects using your chosen image editing software.
As a rule of thumb, the insides should look a bit darker, as they would be hit by less light if they had been actually photographed at the same time as the front of the garment, which is the effect we are going for.
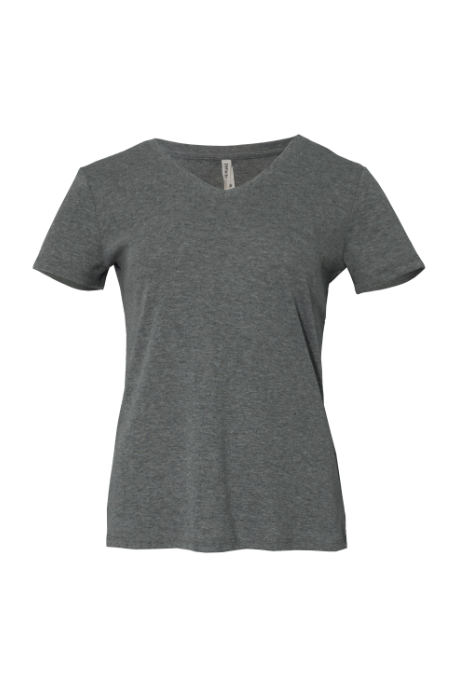
Step 7 | Export
You can export the garment according to the file type you need. For
GARMENT_2Dproducts used for Virtual Photography and Virtual Try-on, we prefer .jpg images along with a reference image. For more information, check out our input data specifications here.
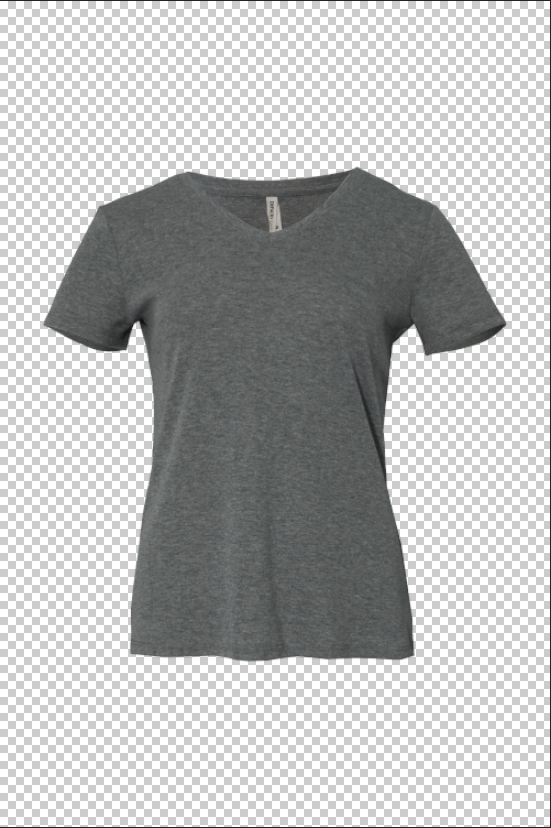
.png image
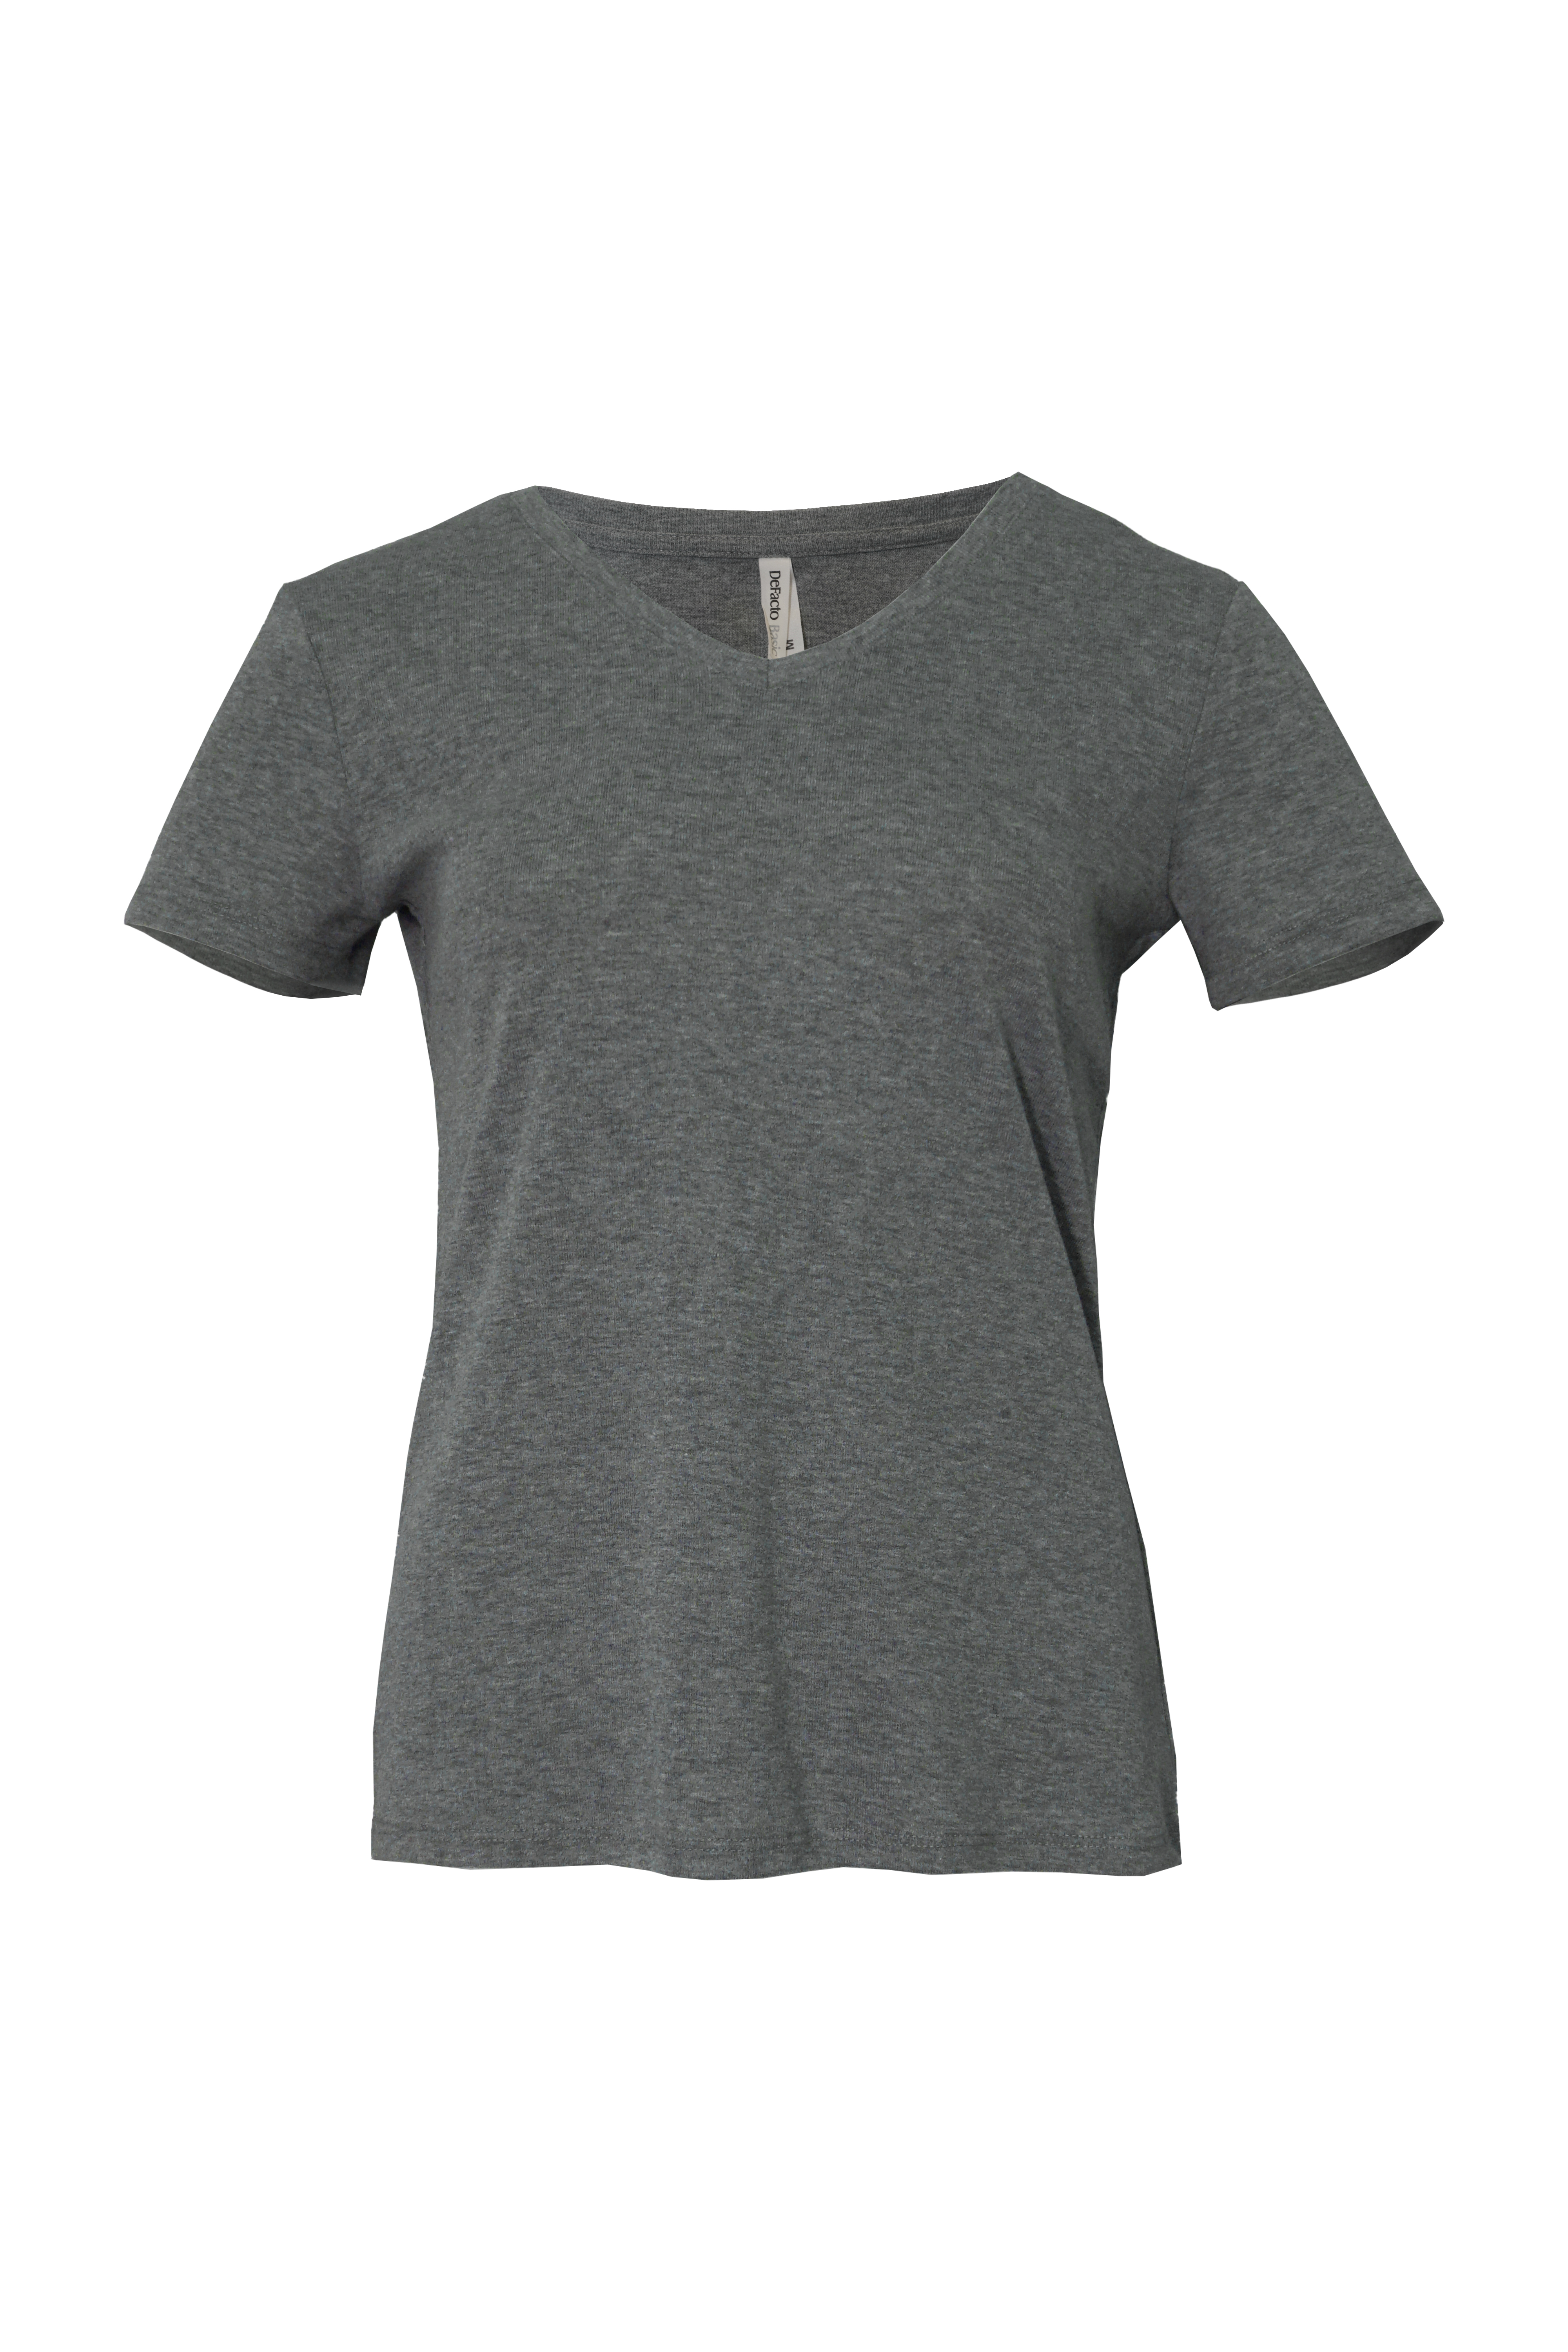
.jpg image
Examples
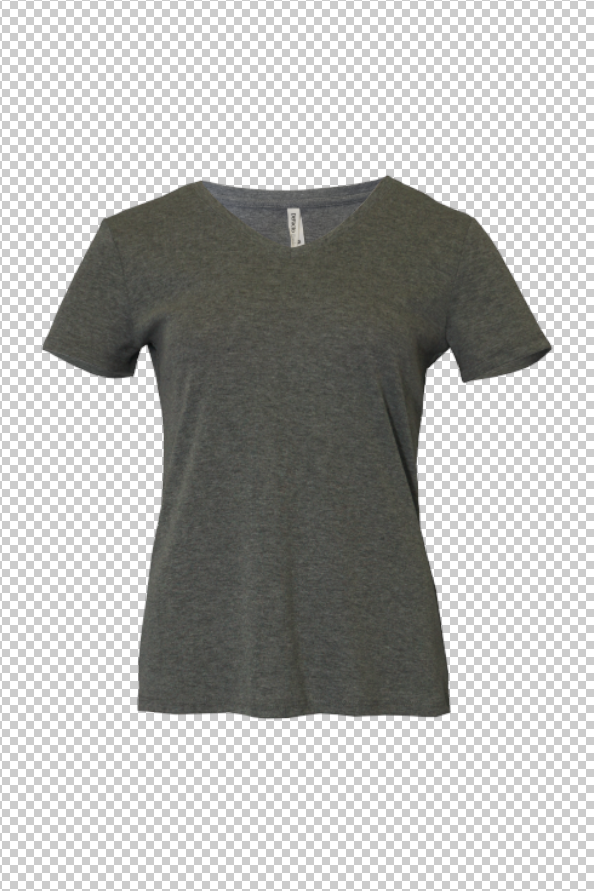
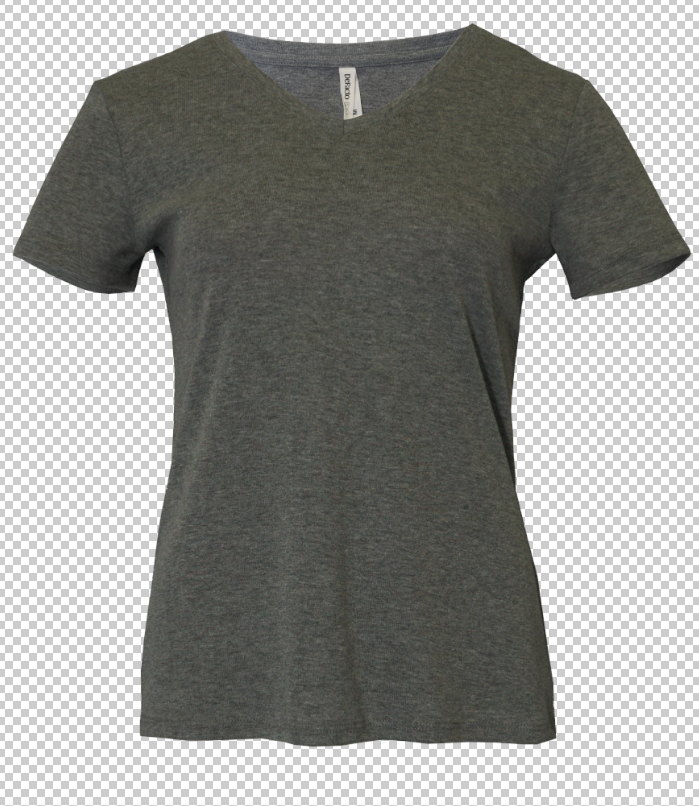
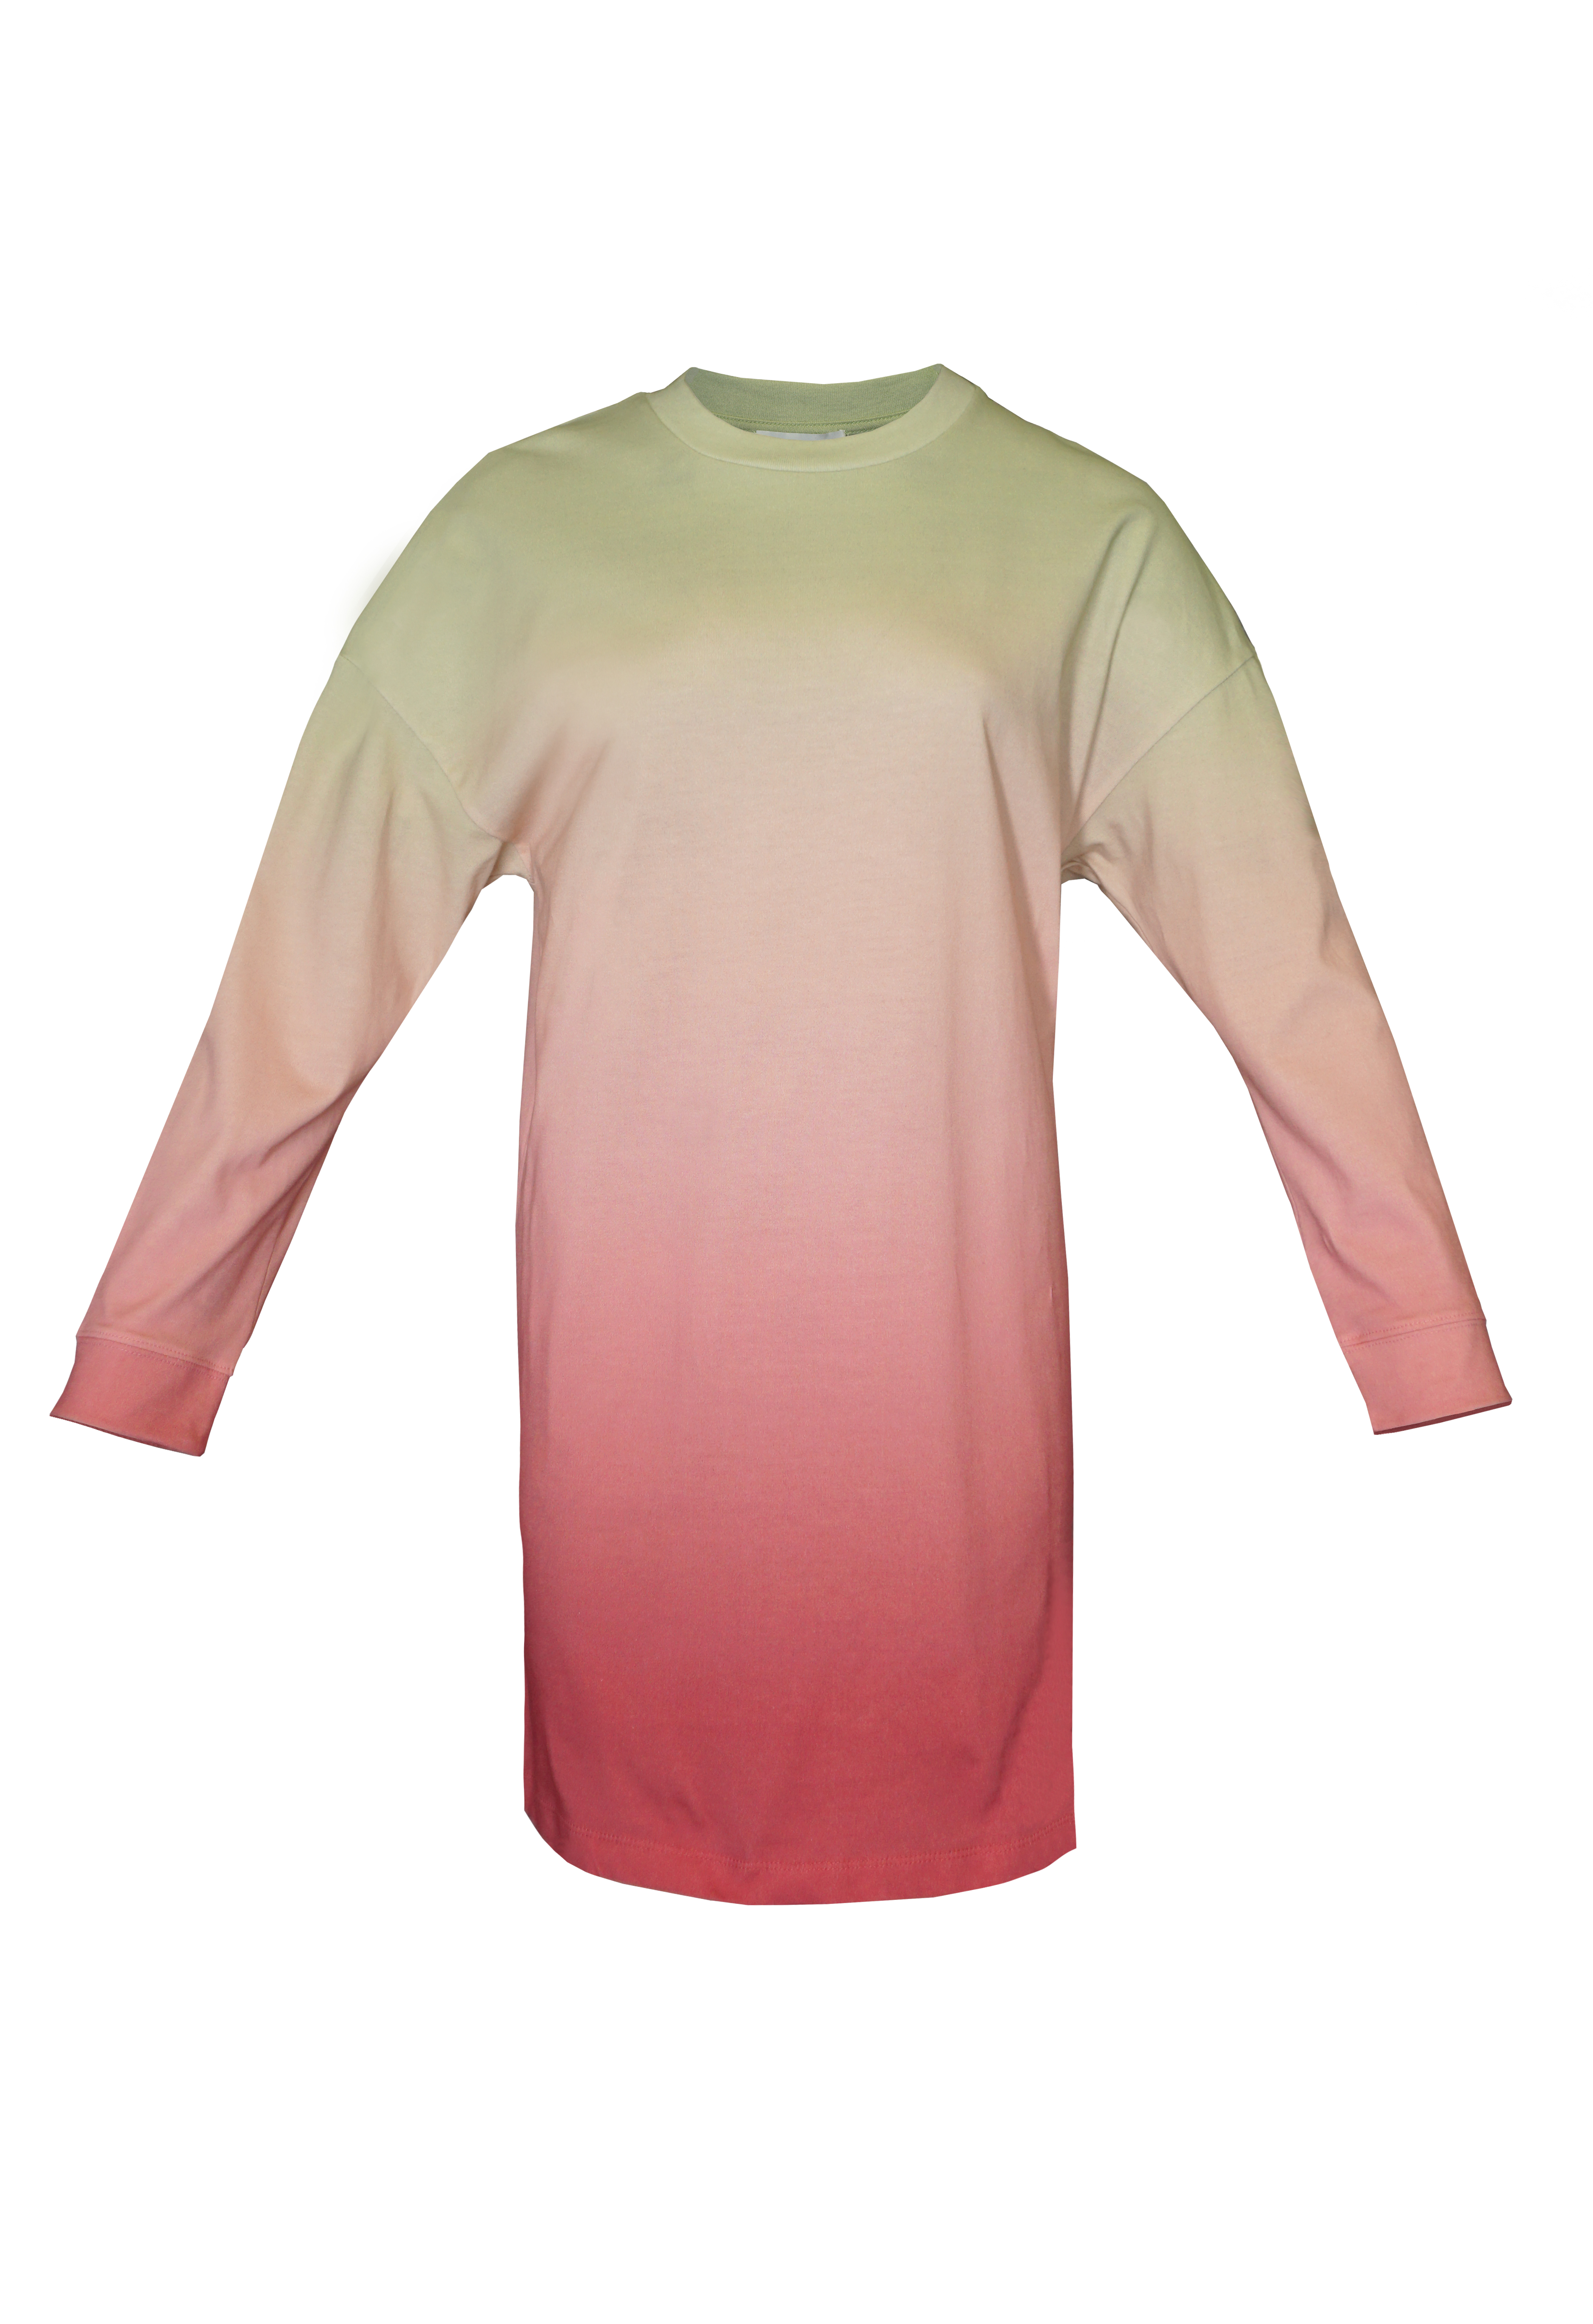
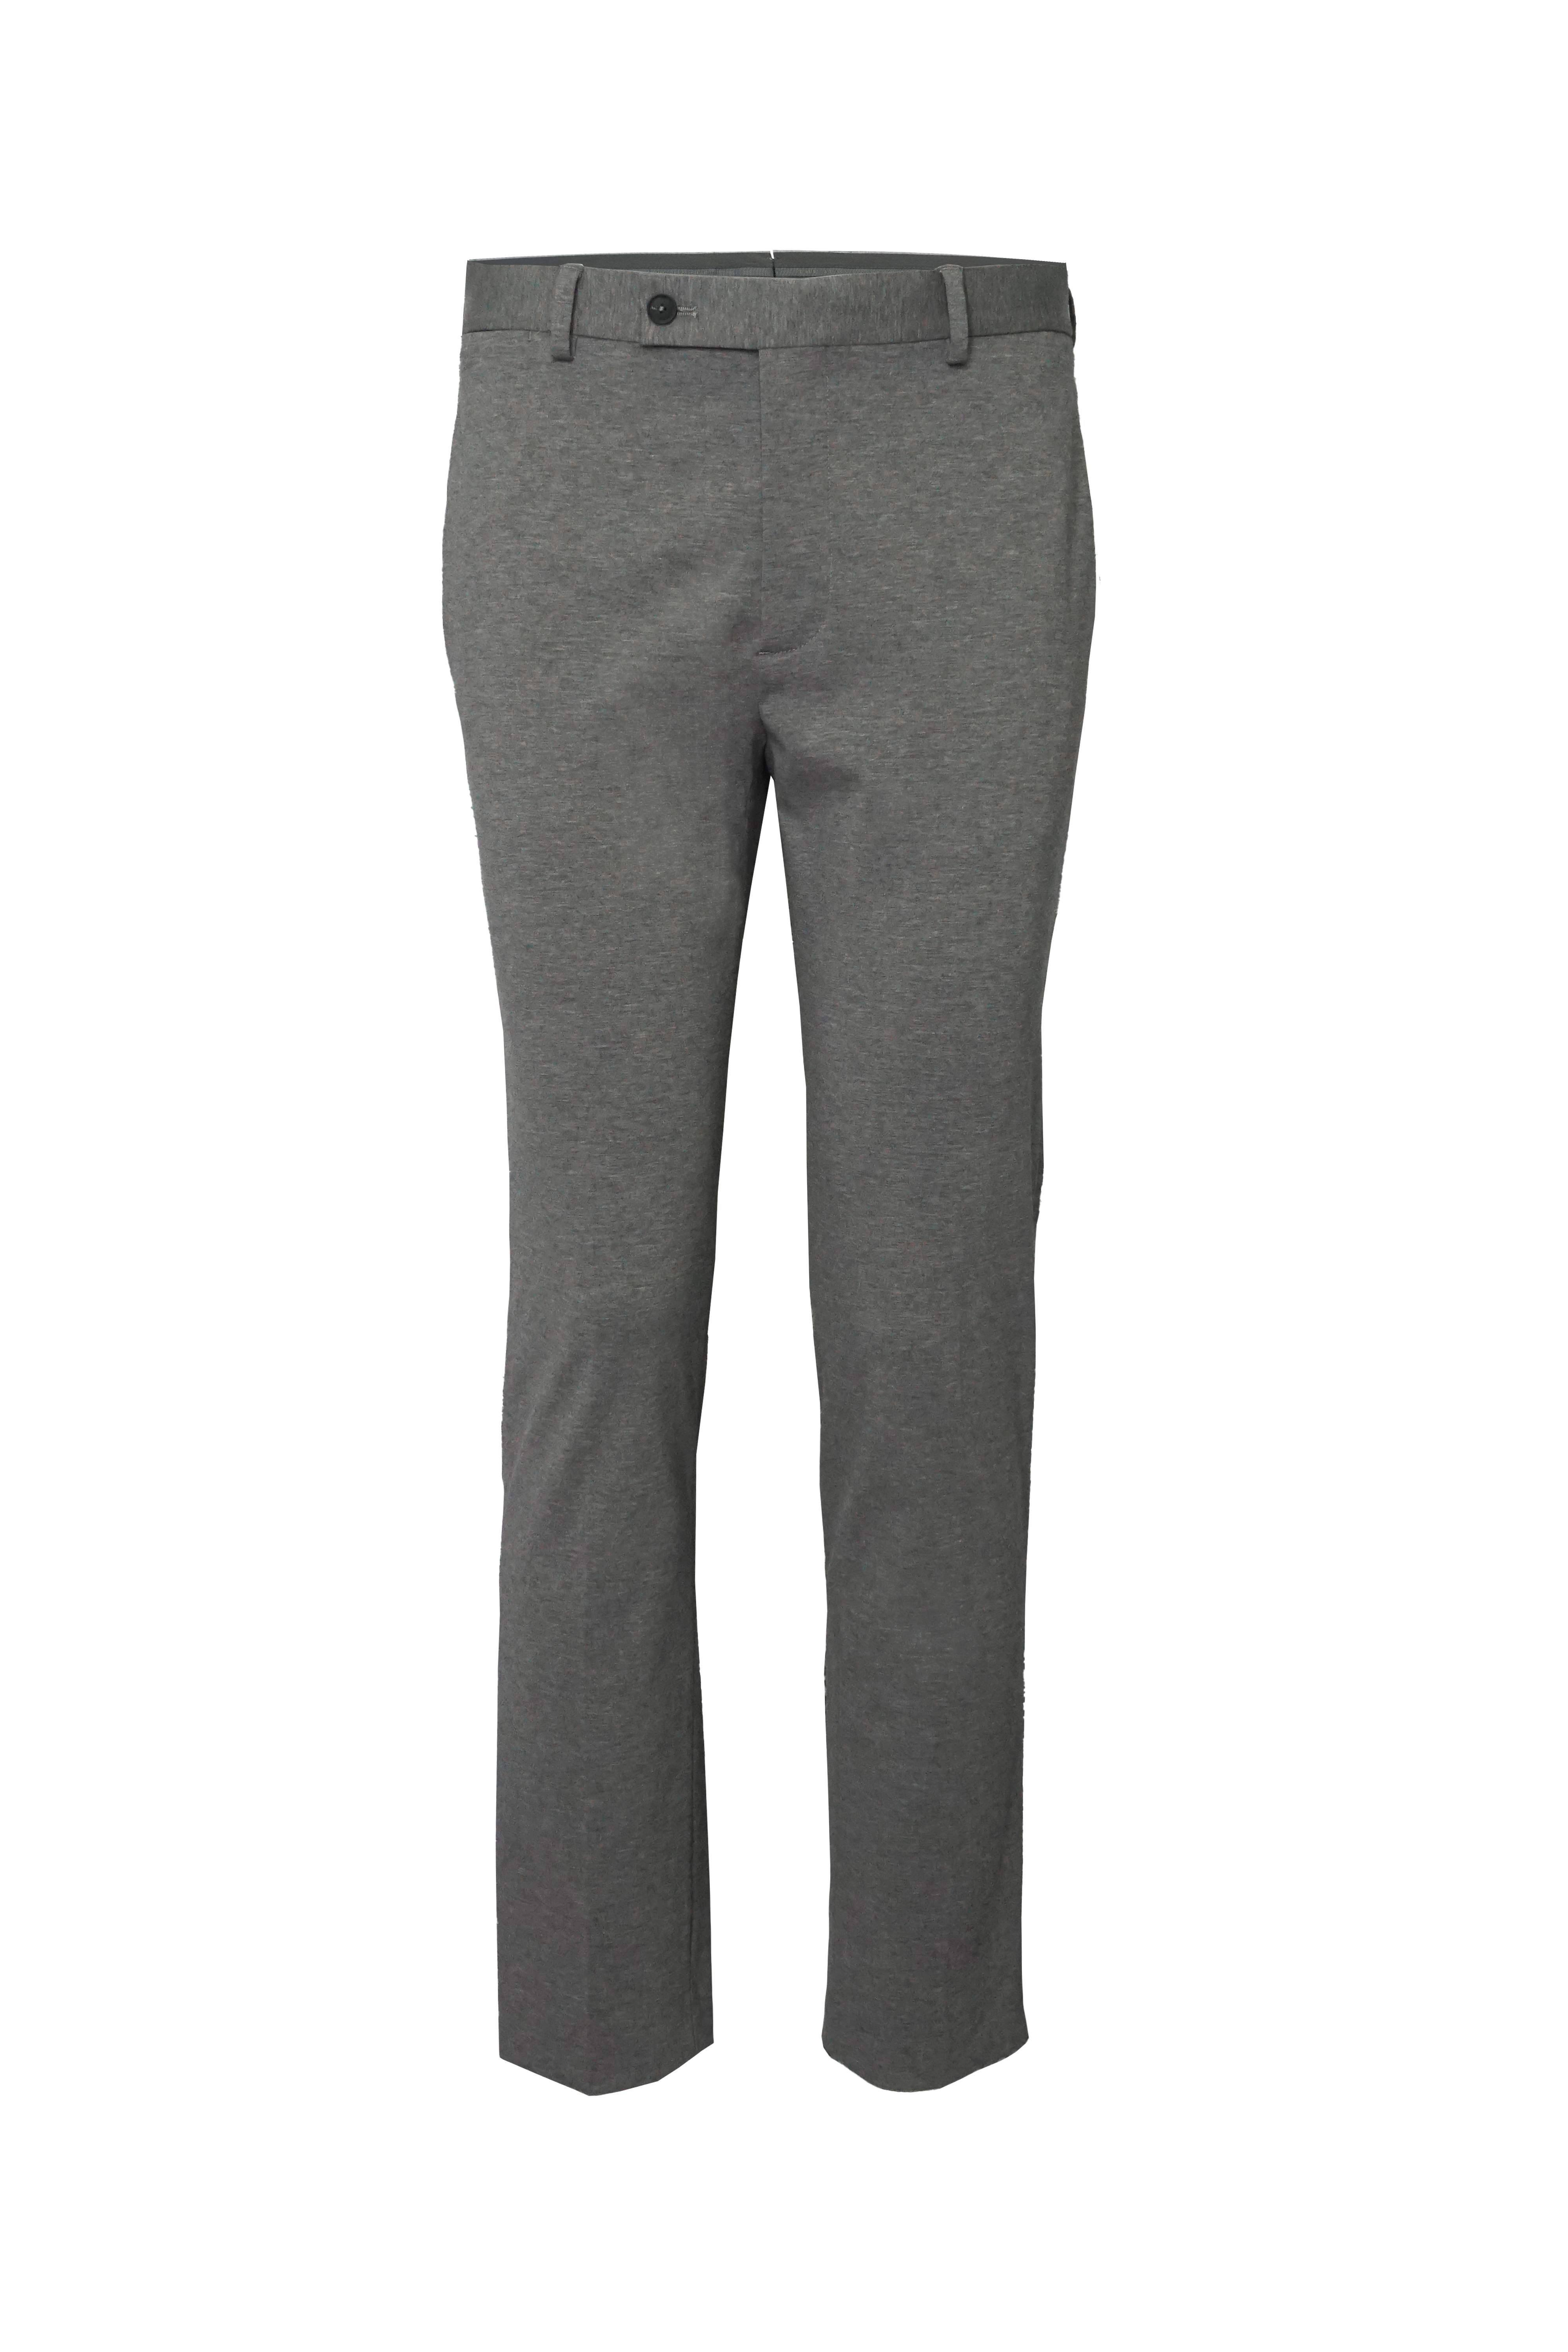
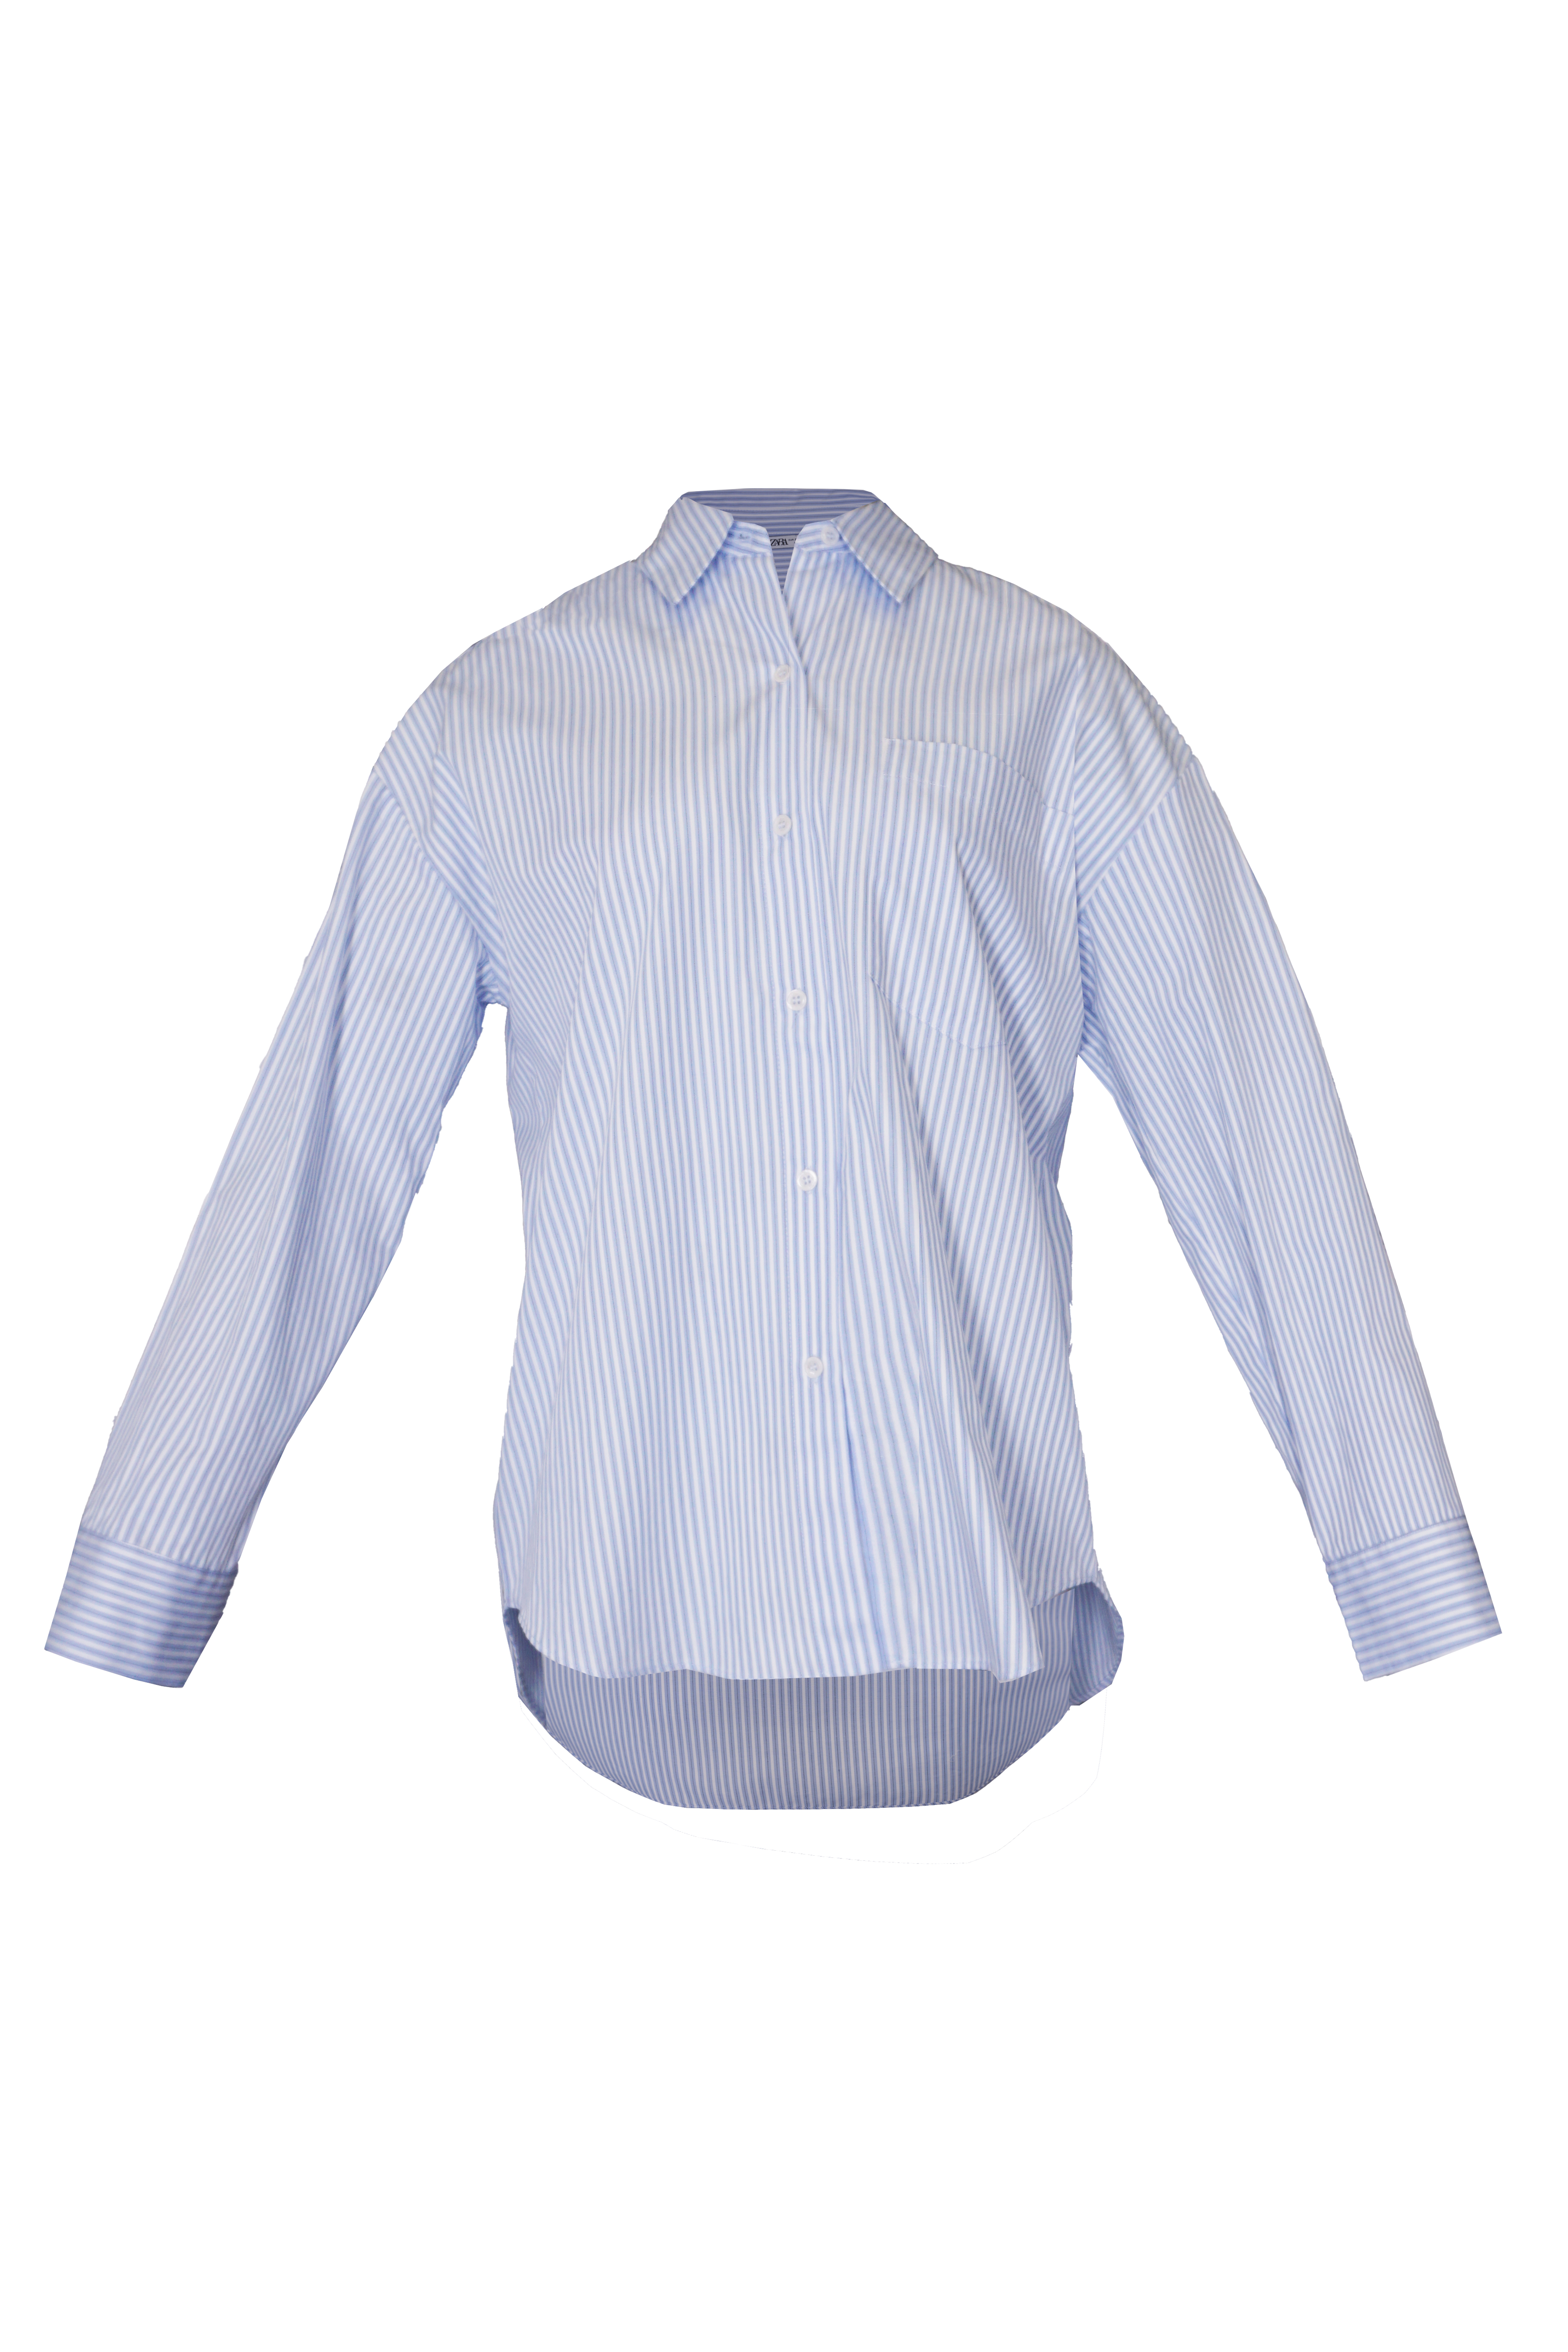
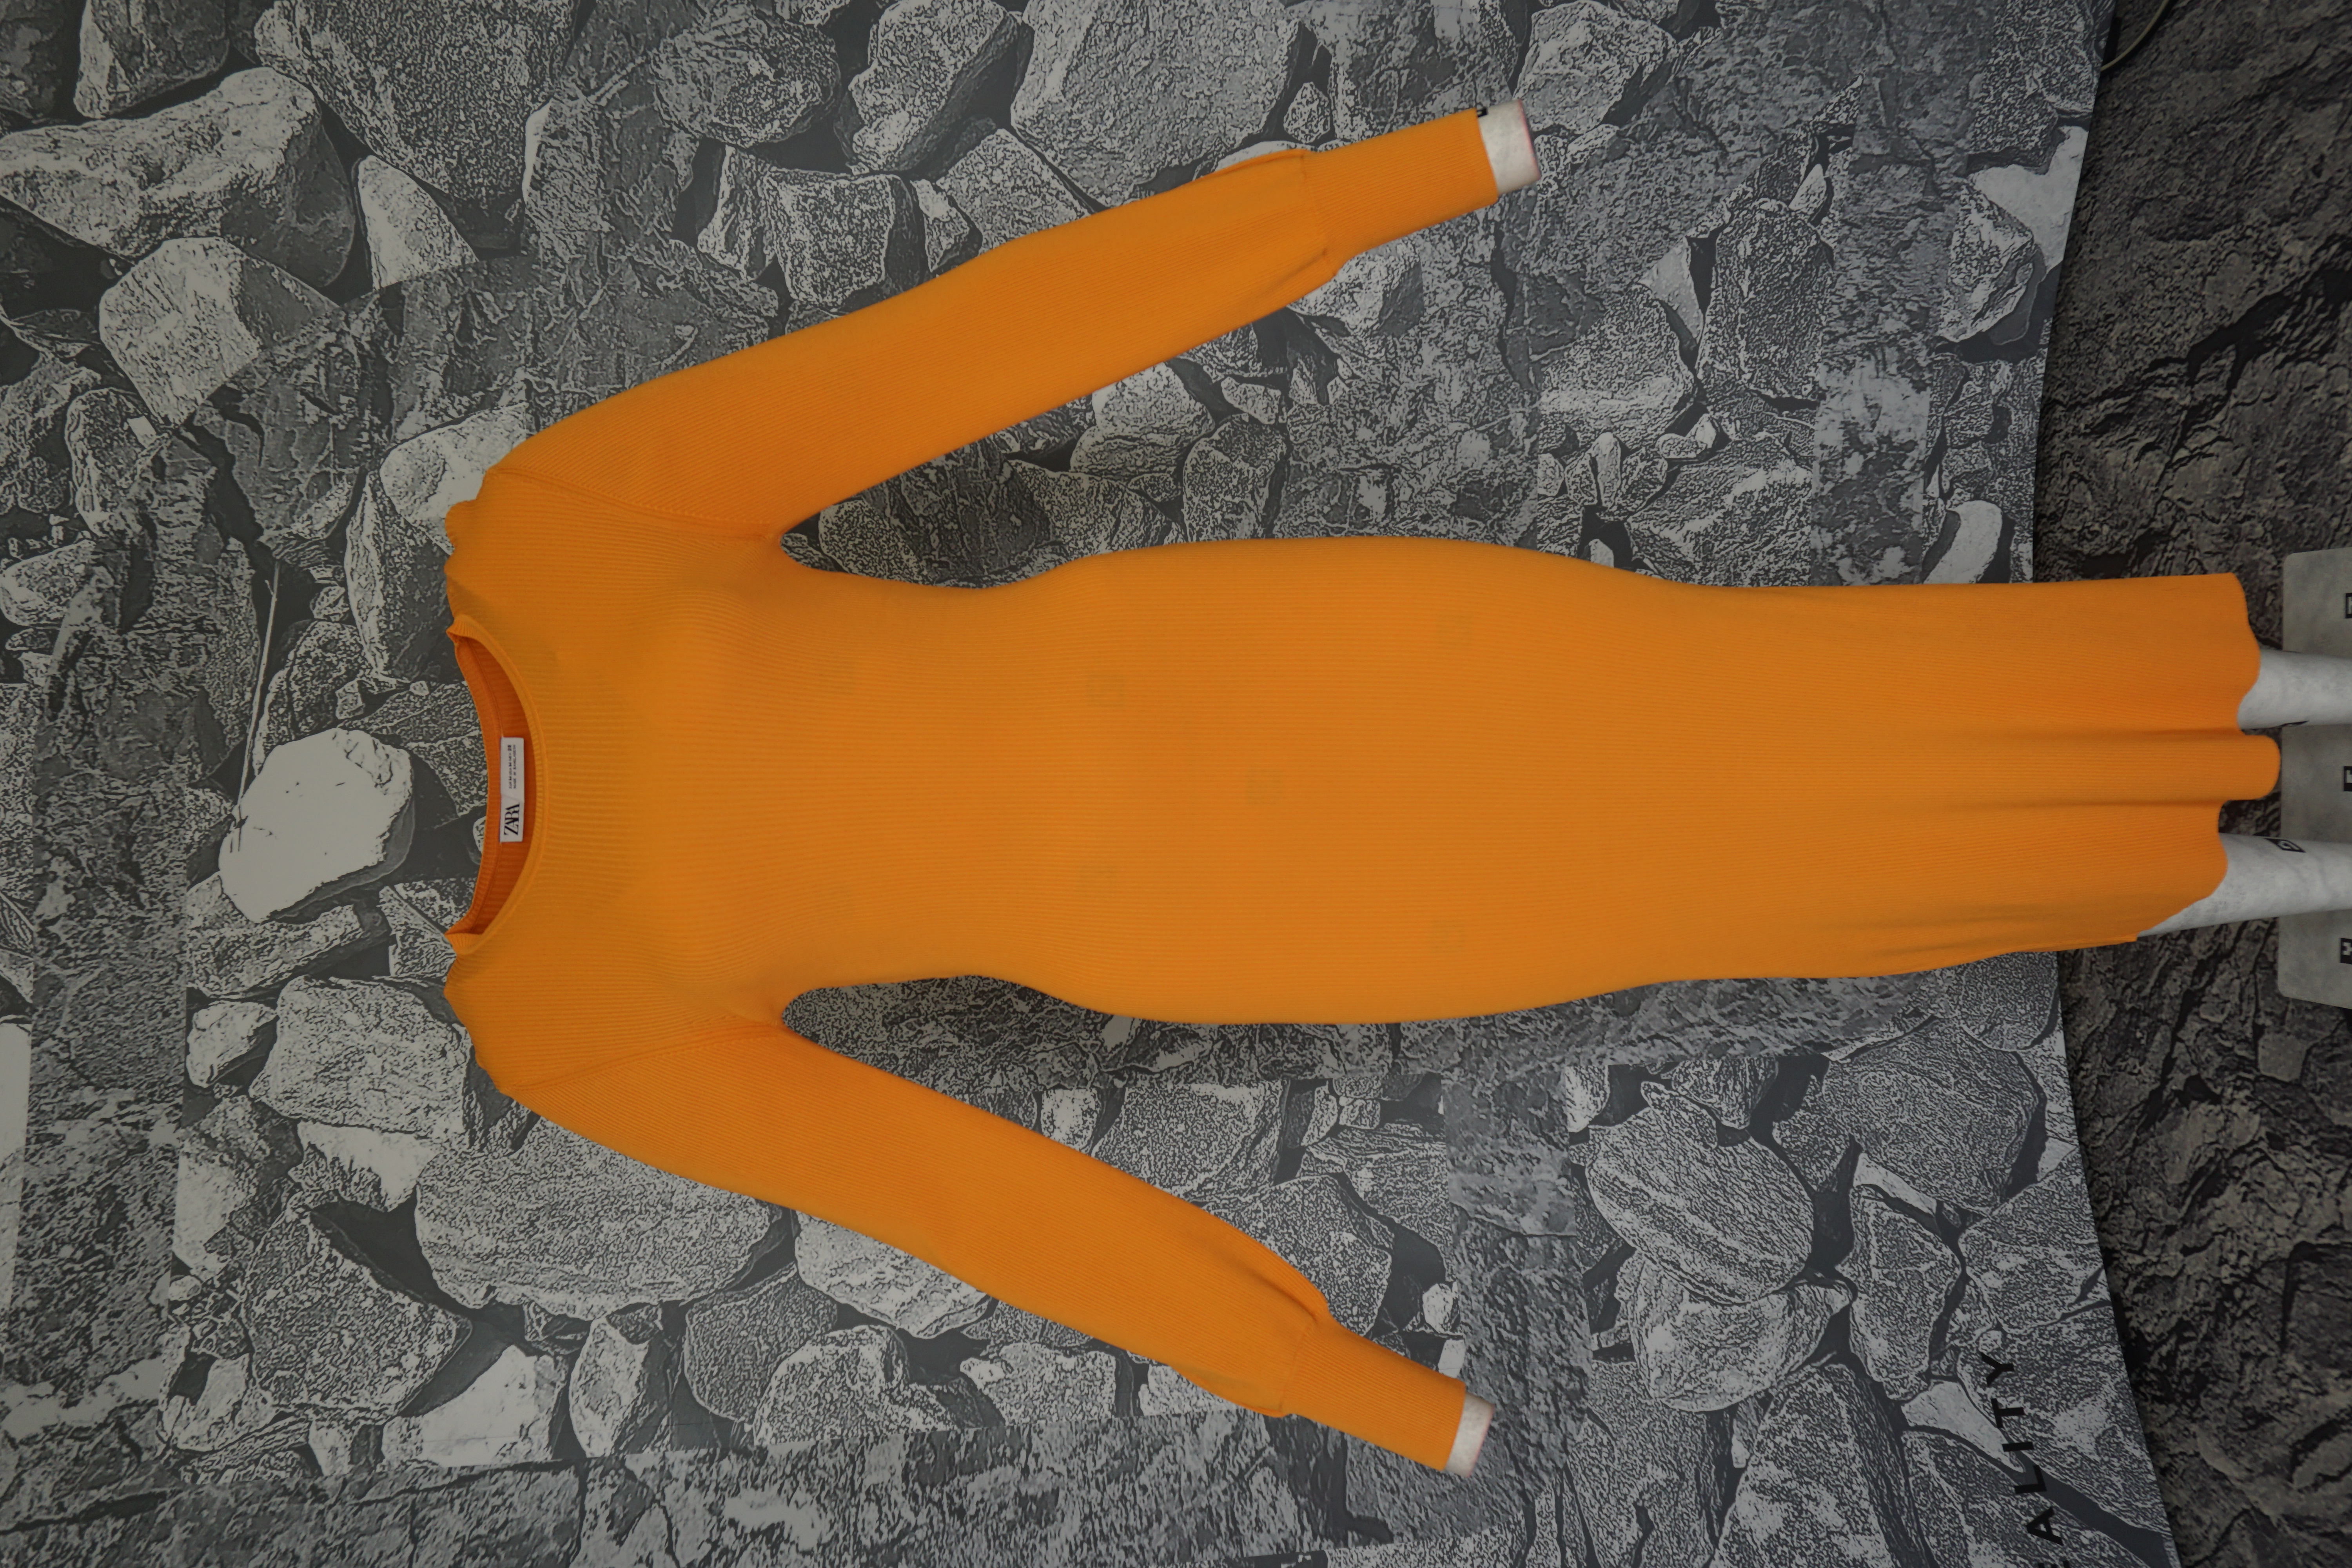
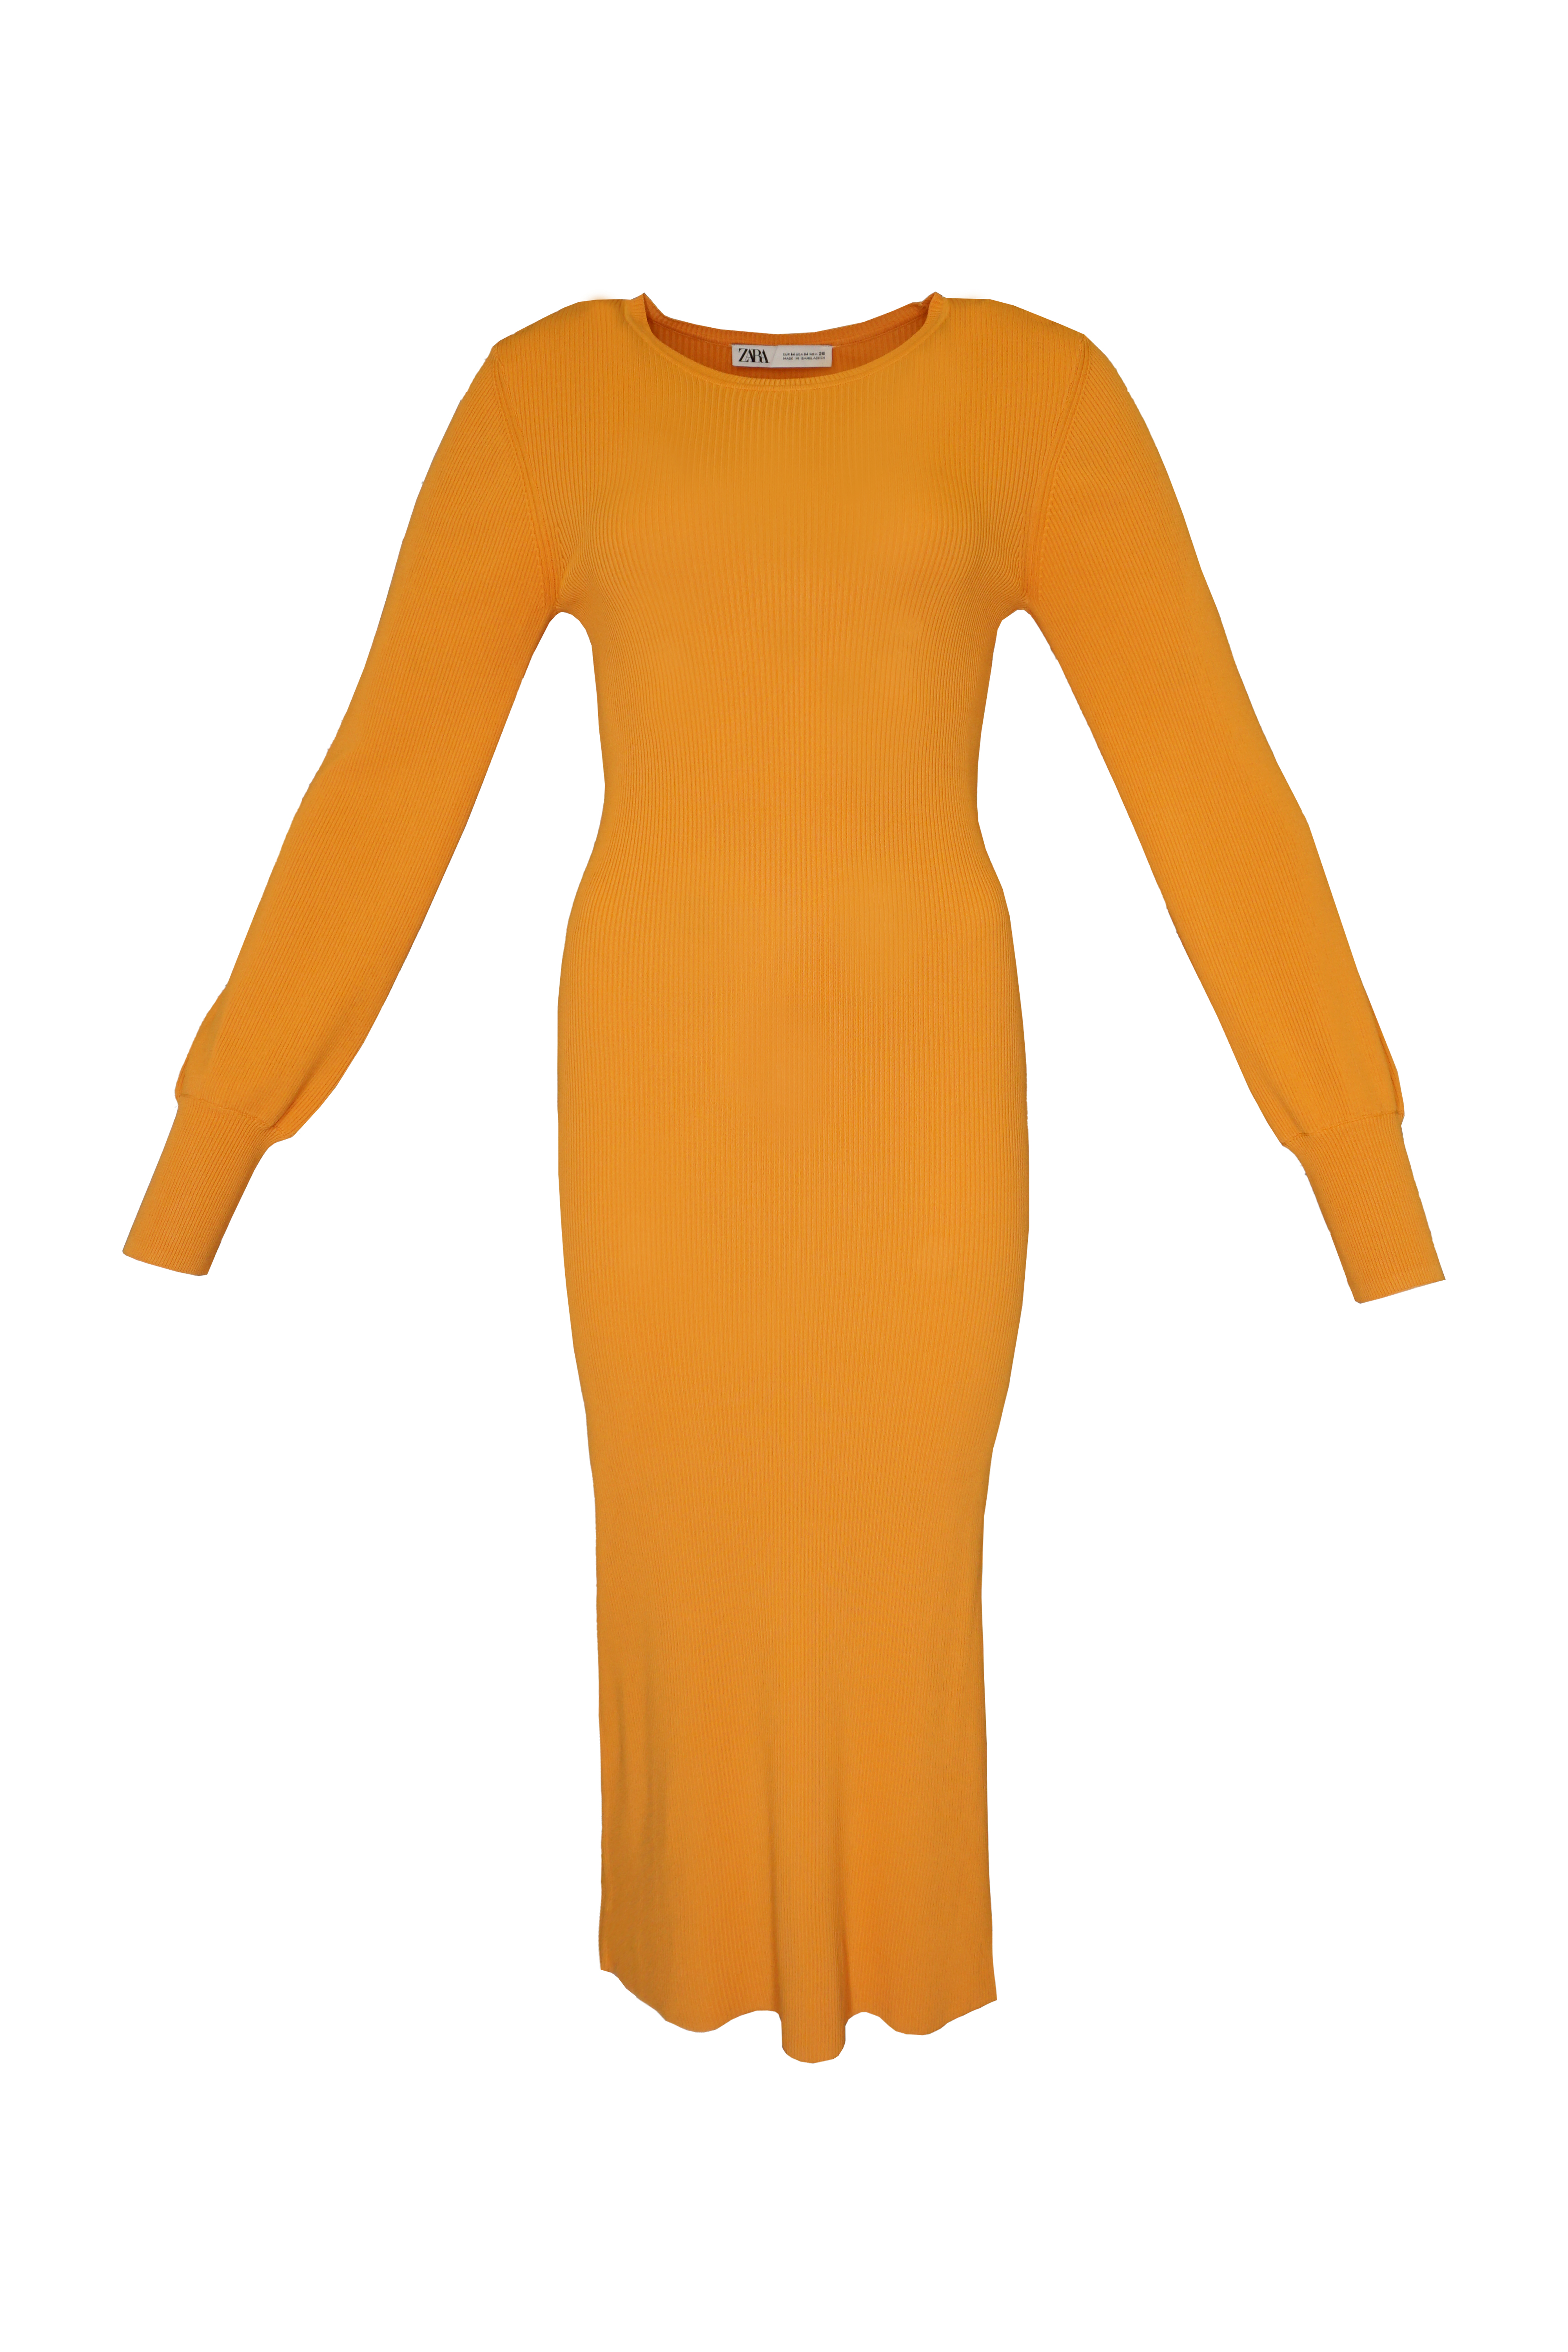
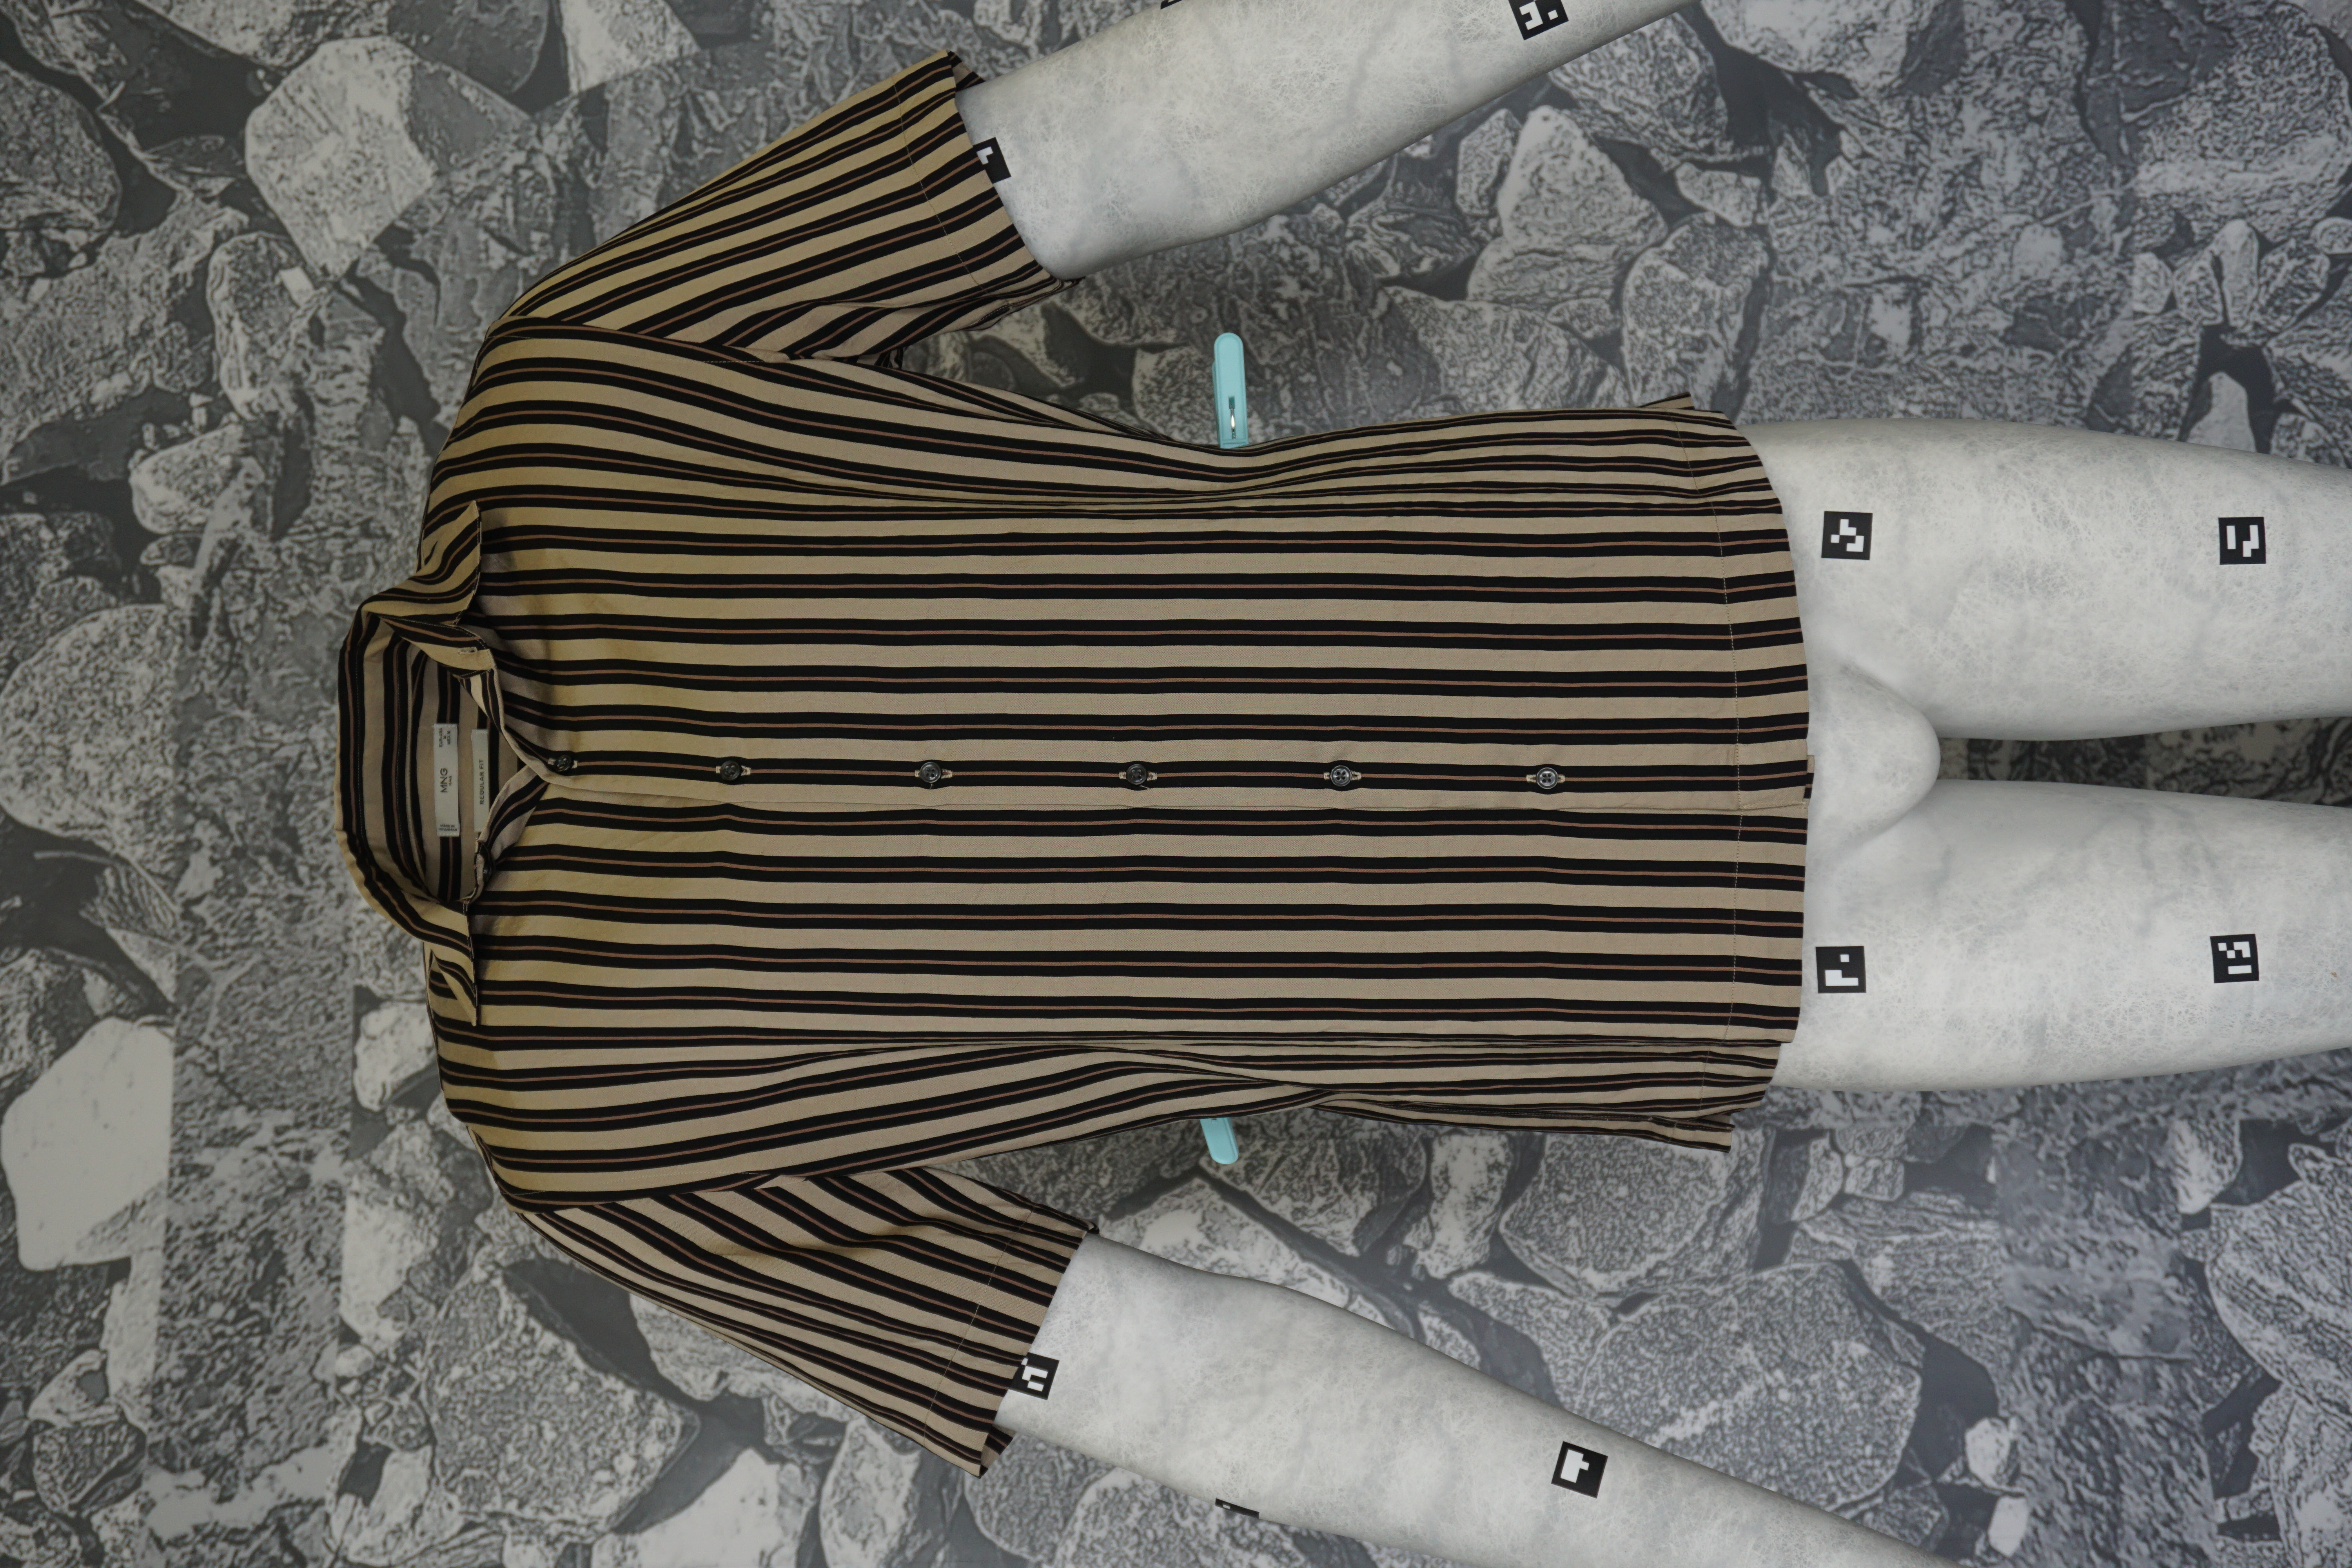
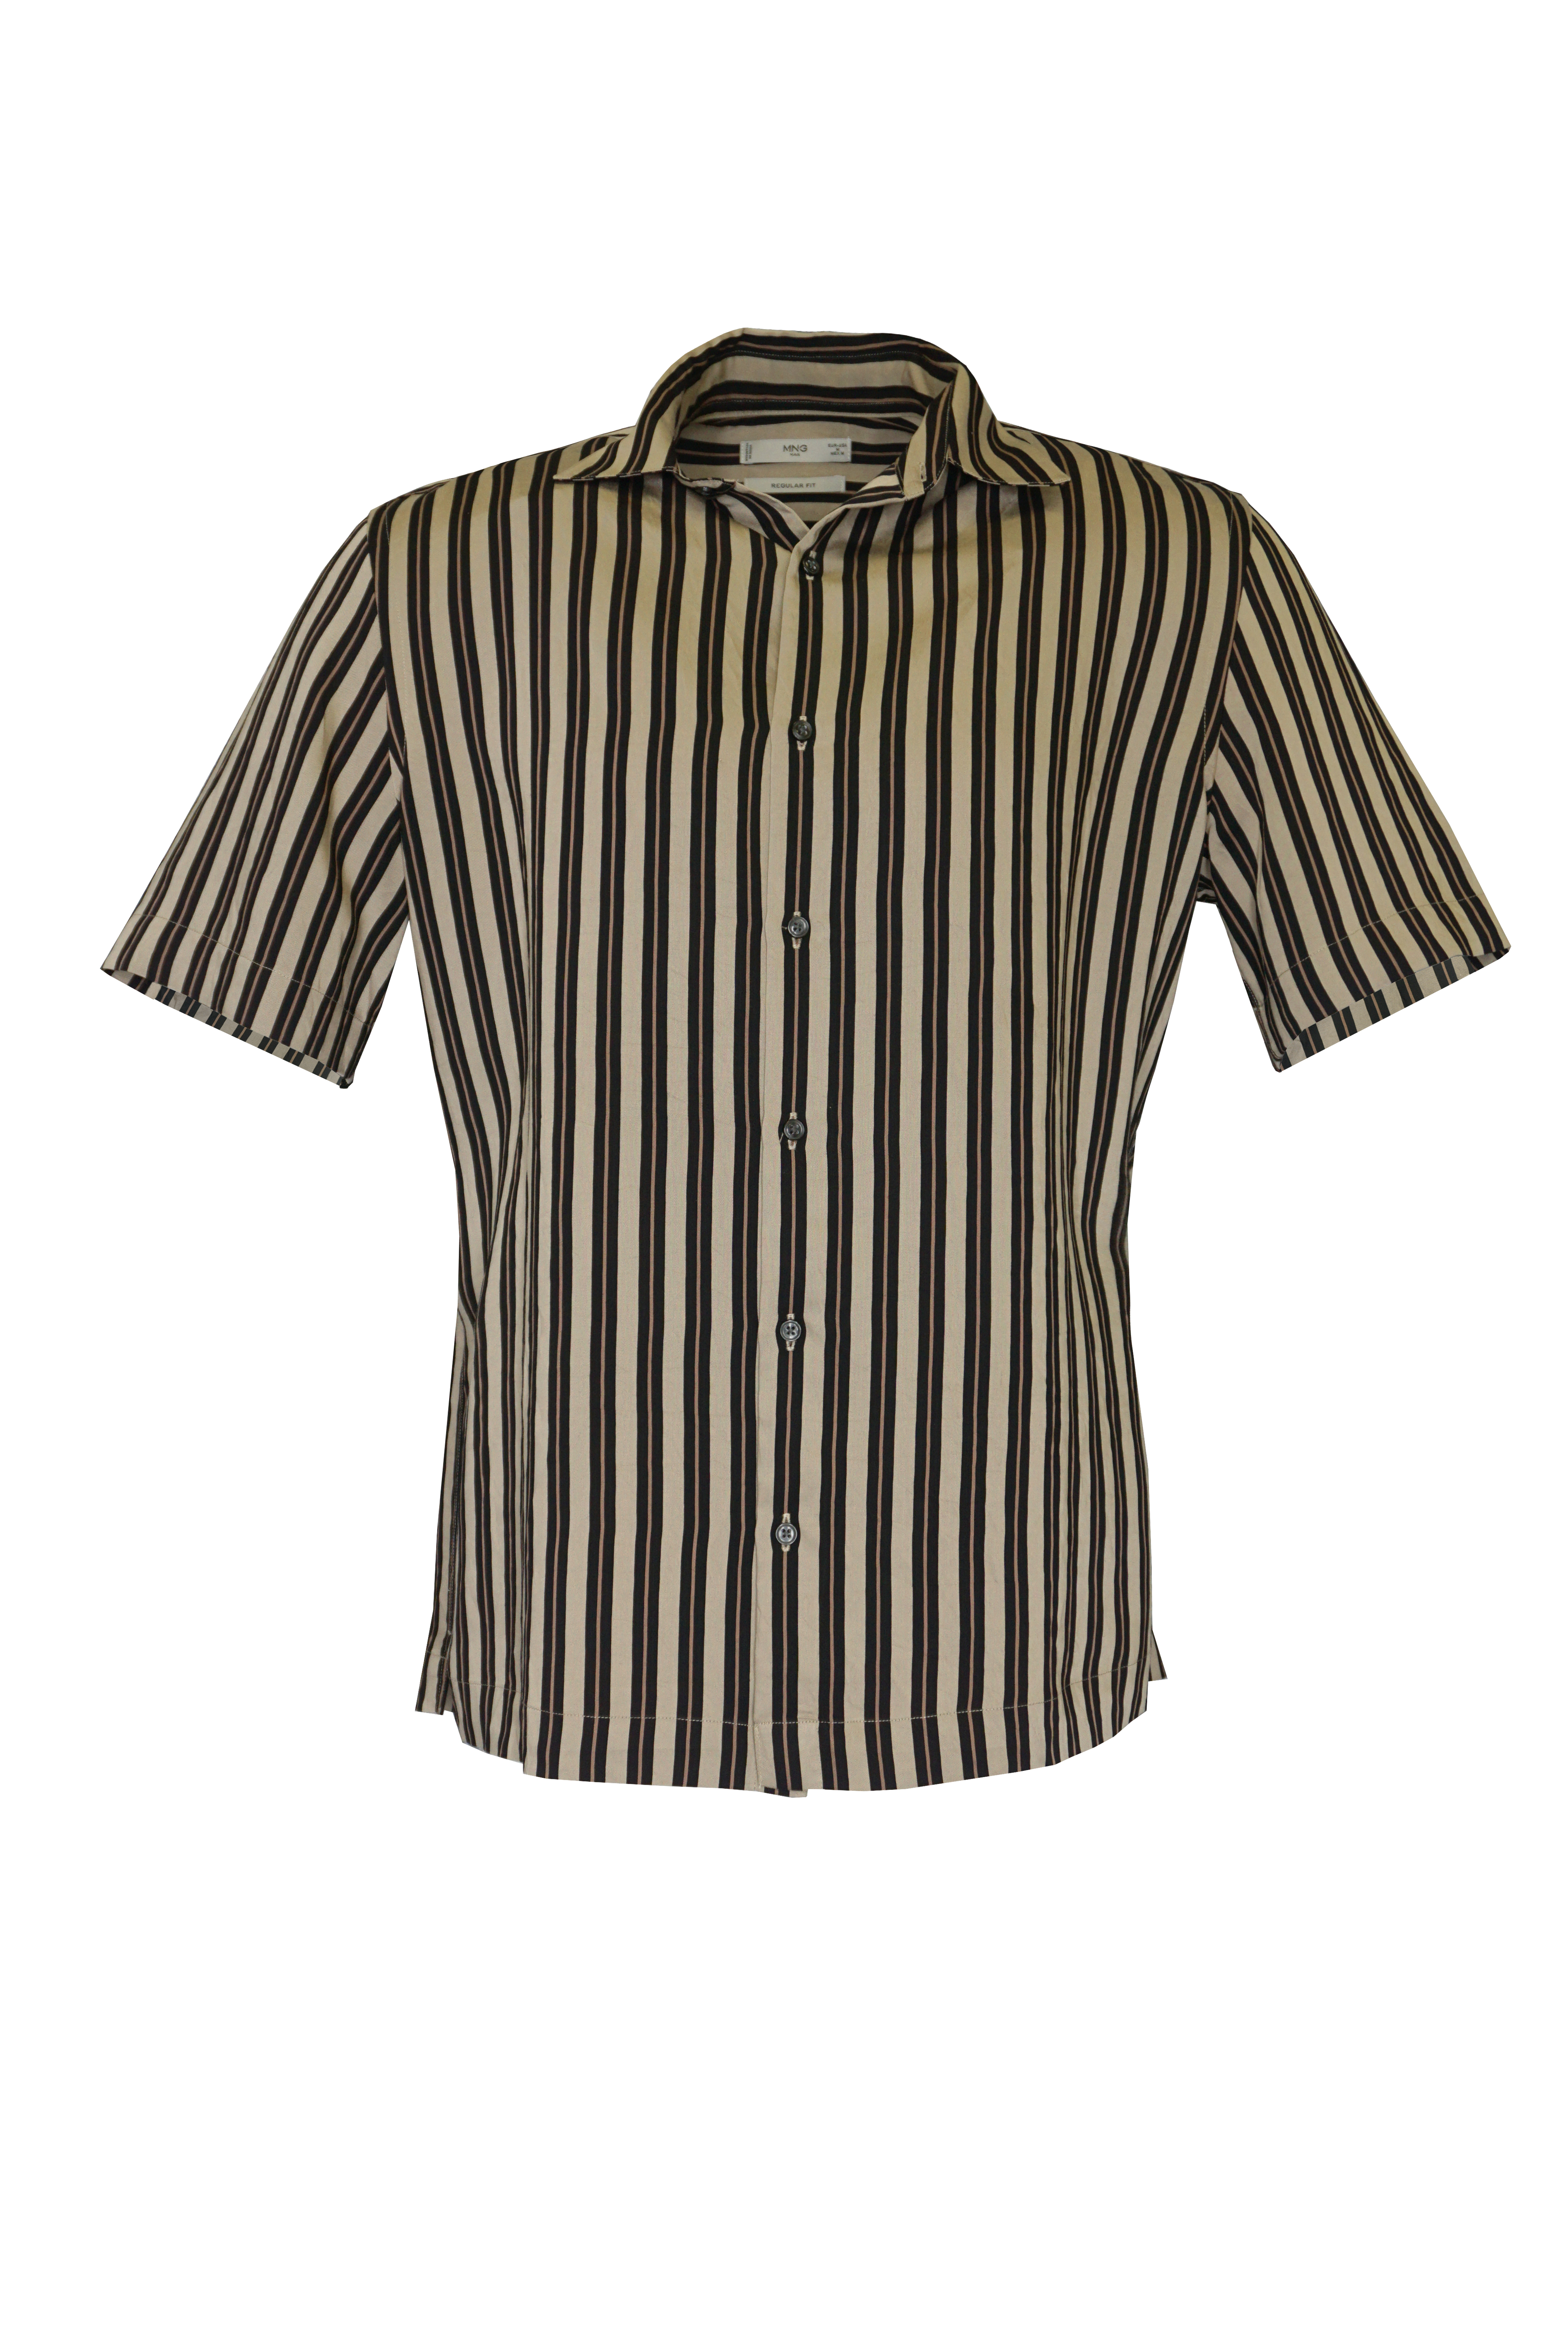
Here are other examples of ghost mannequin images captured and processed with a full mannequin:
Raw Images | Result |
|---|---|
  | 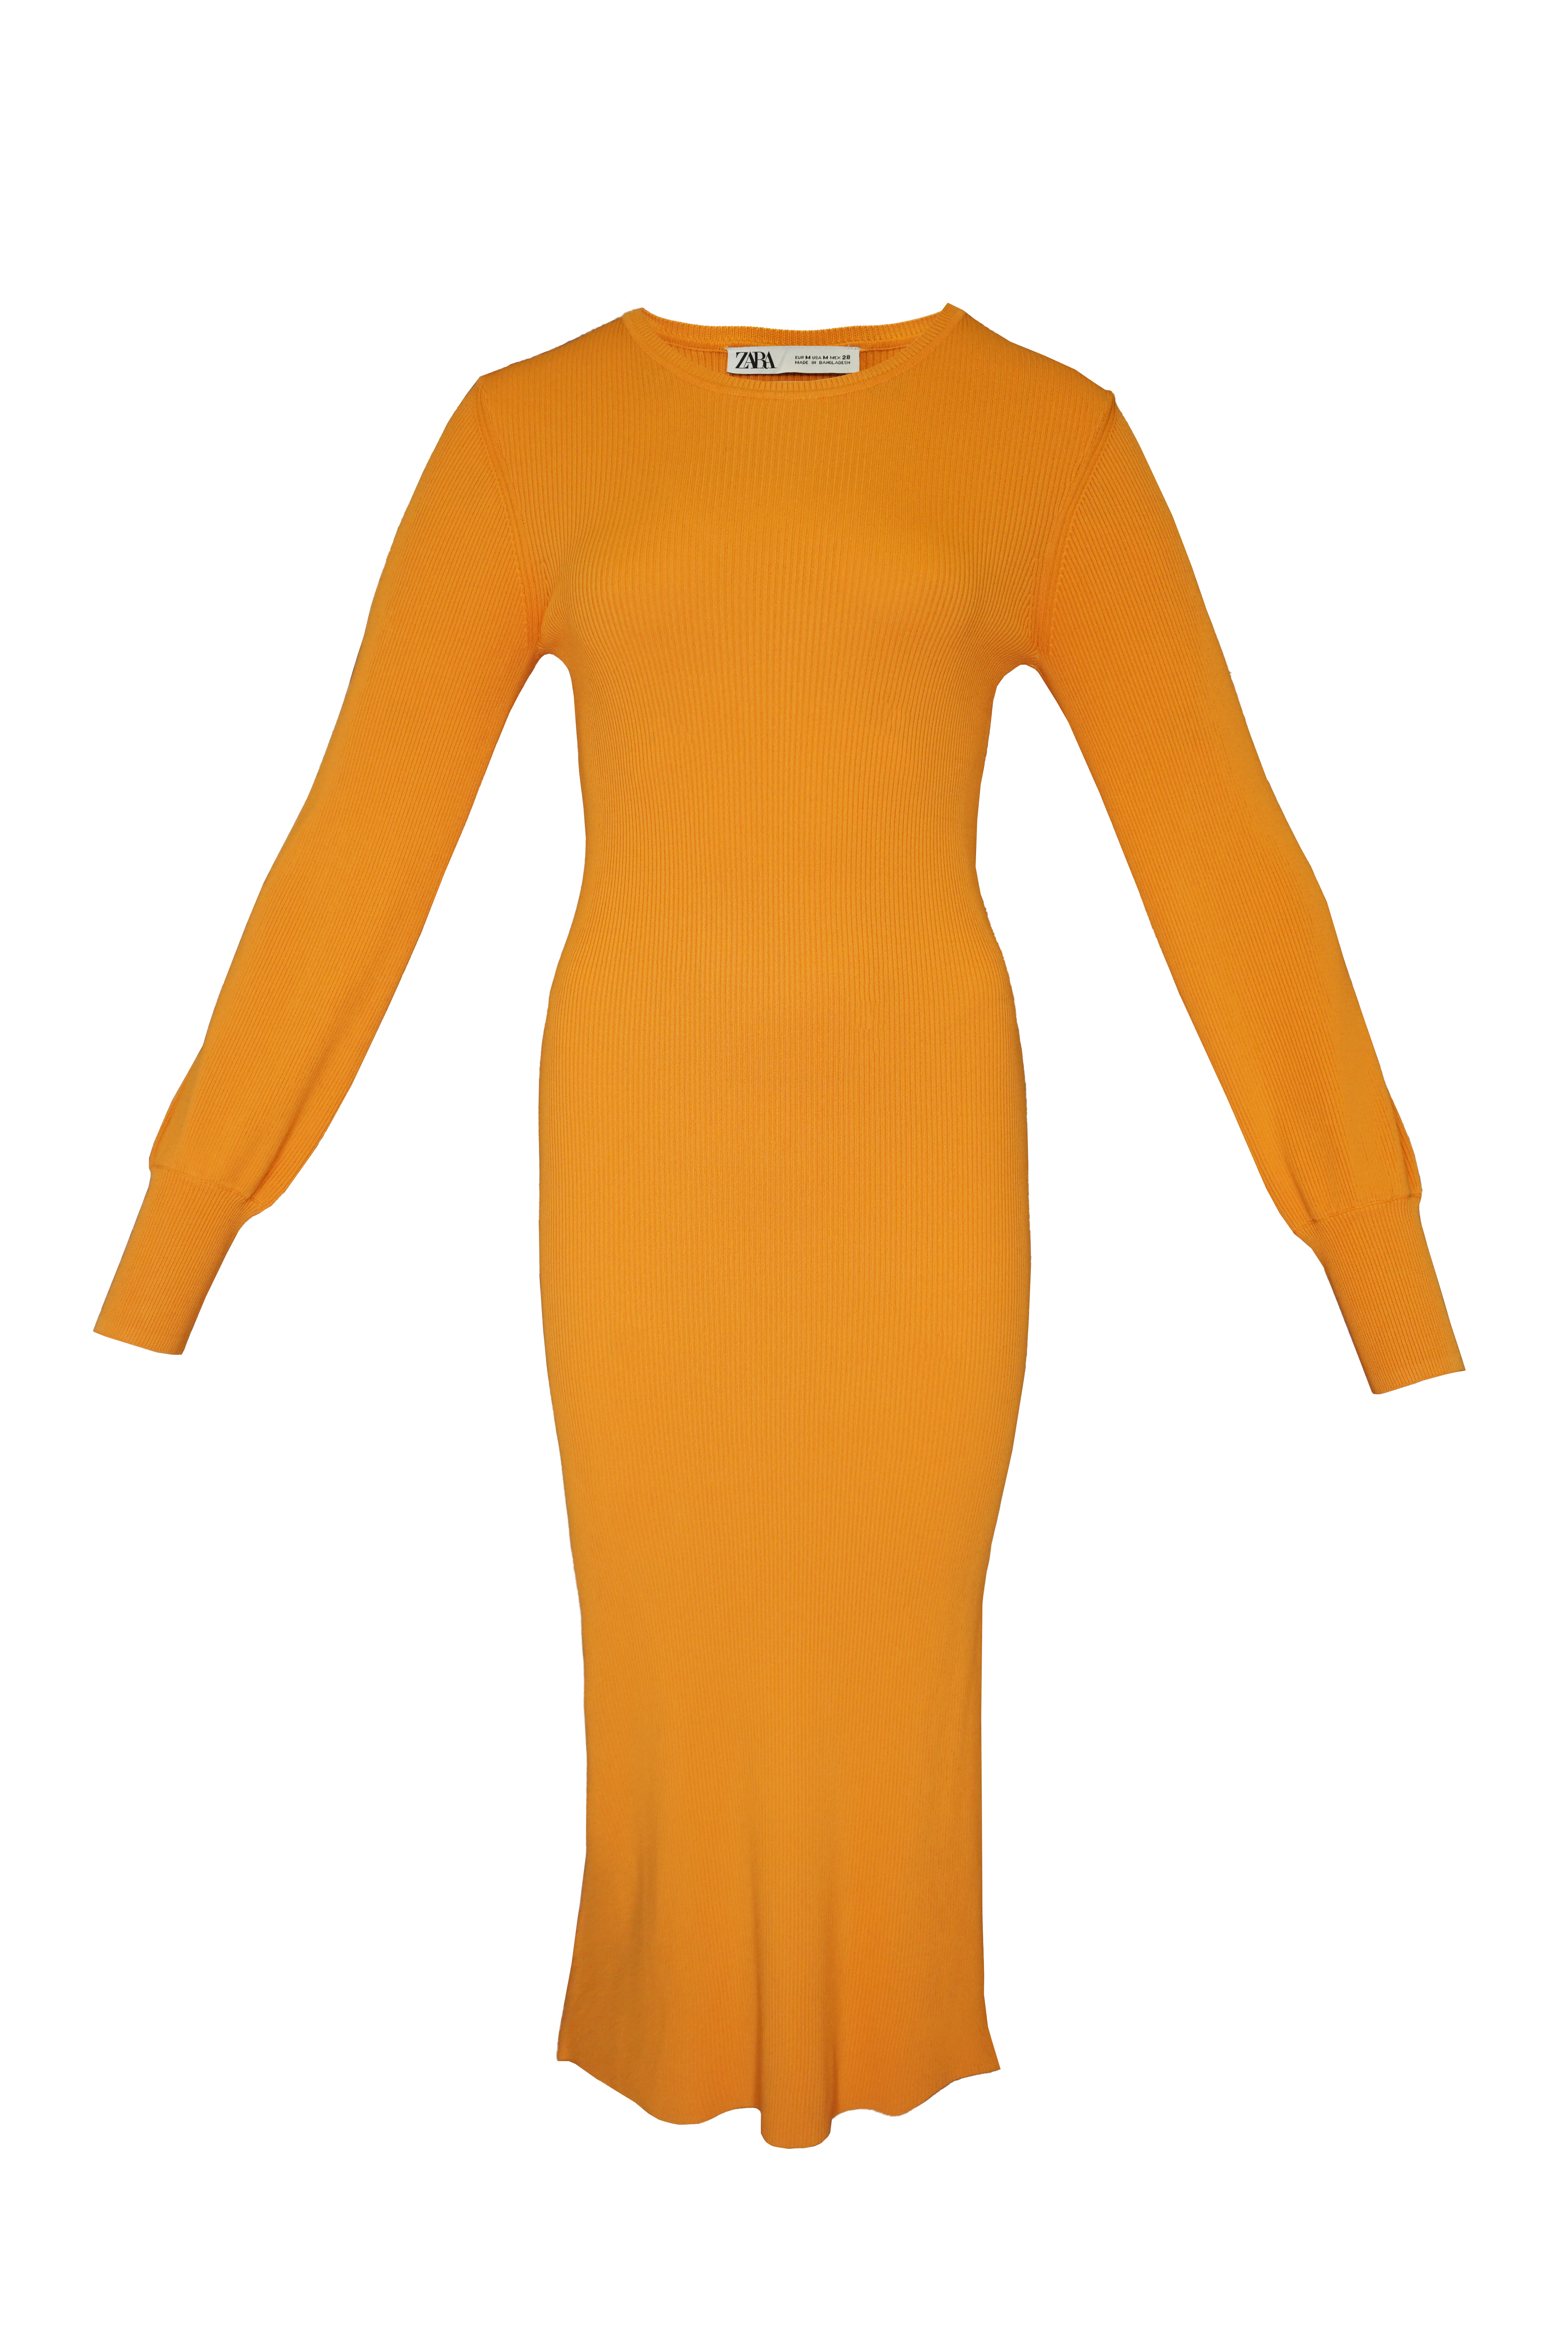 |
   For capturing garments with patterns, you have to be careful and ensure that the patterns (e.g. on the collar) match when you put them together. Inspect the frontal photo of the garment you captured before taking photos of the insides to have an idea. | 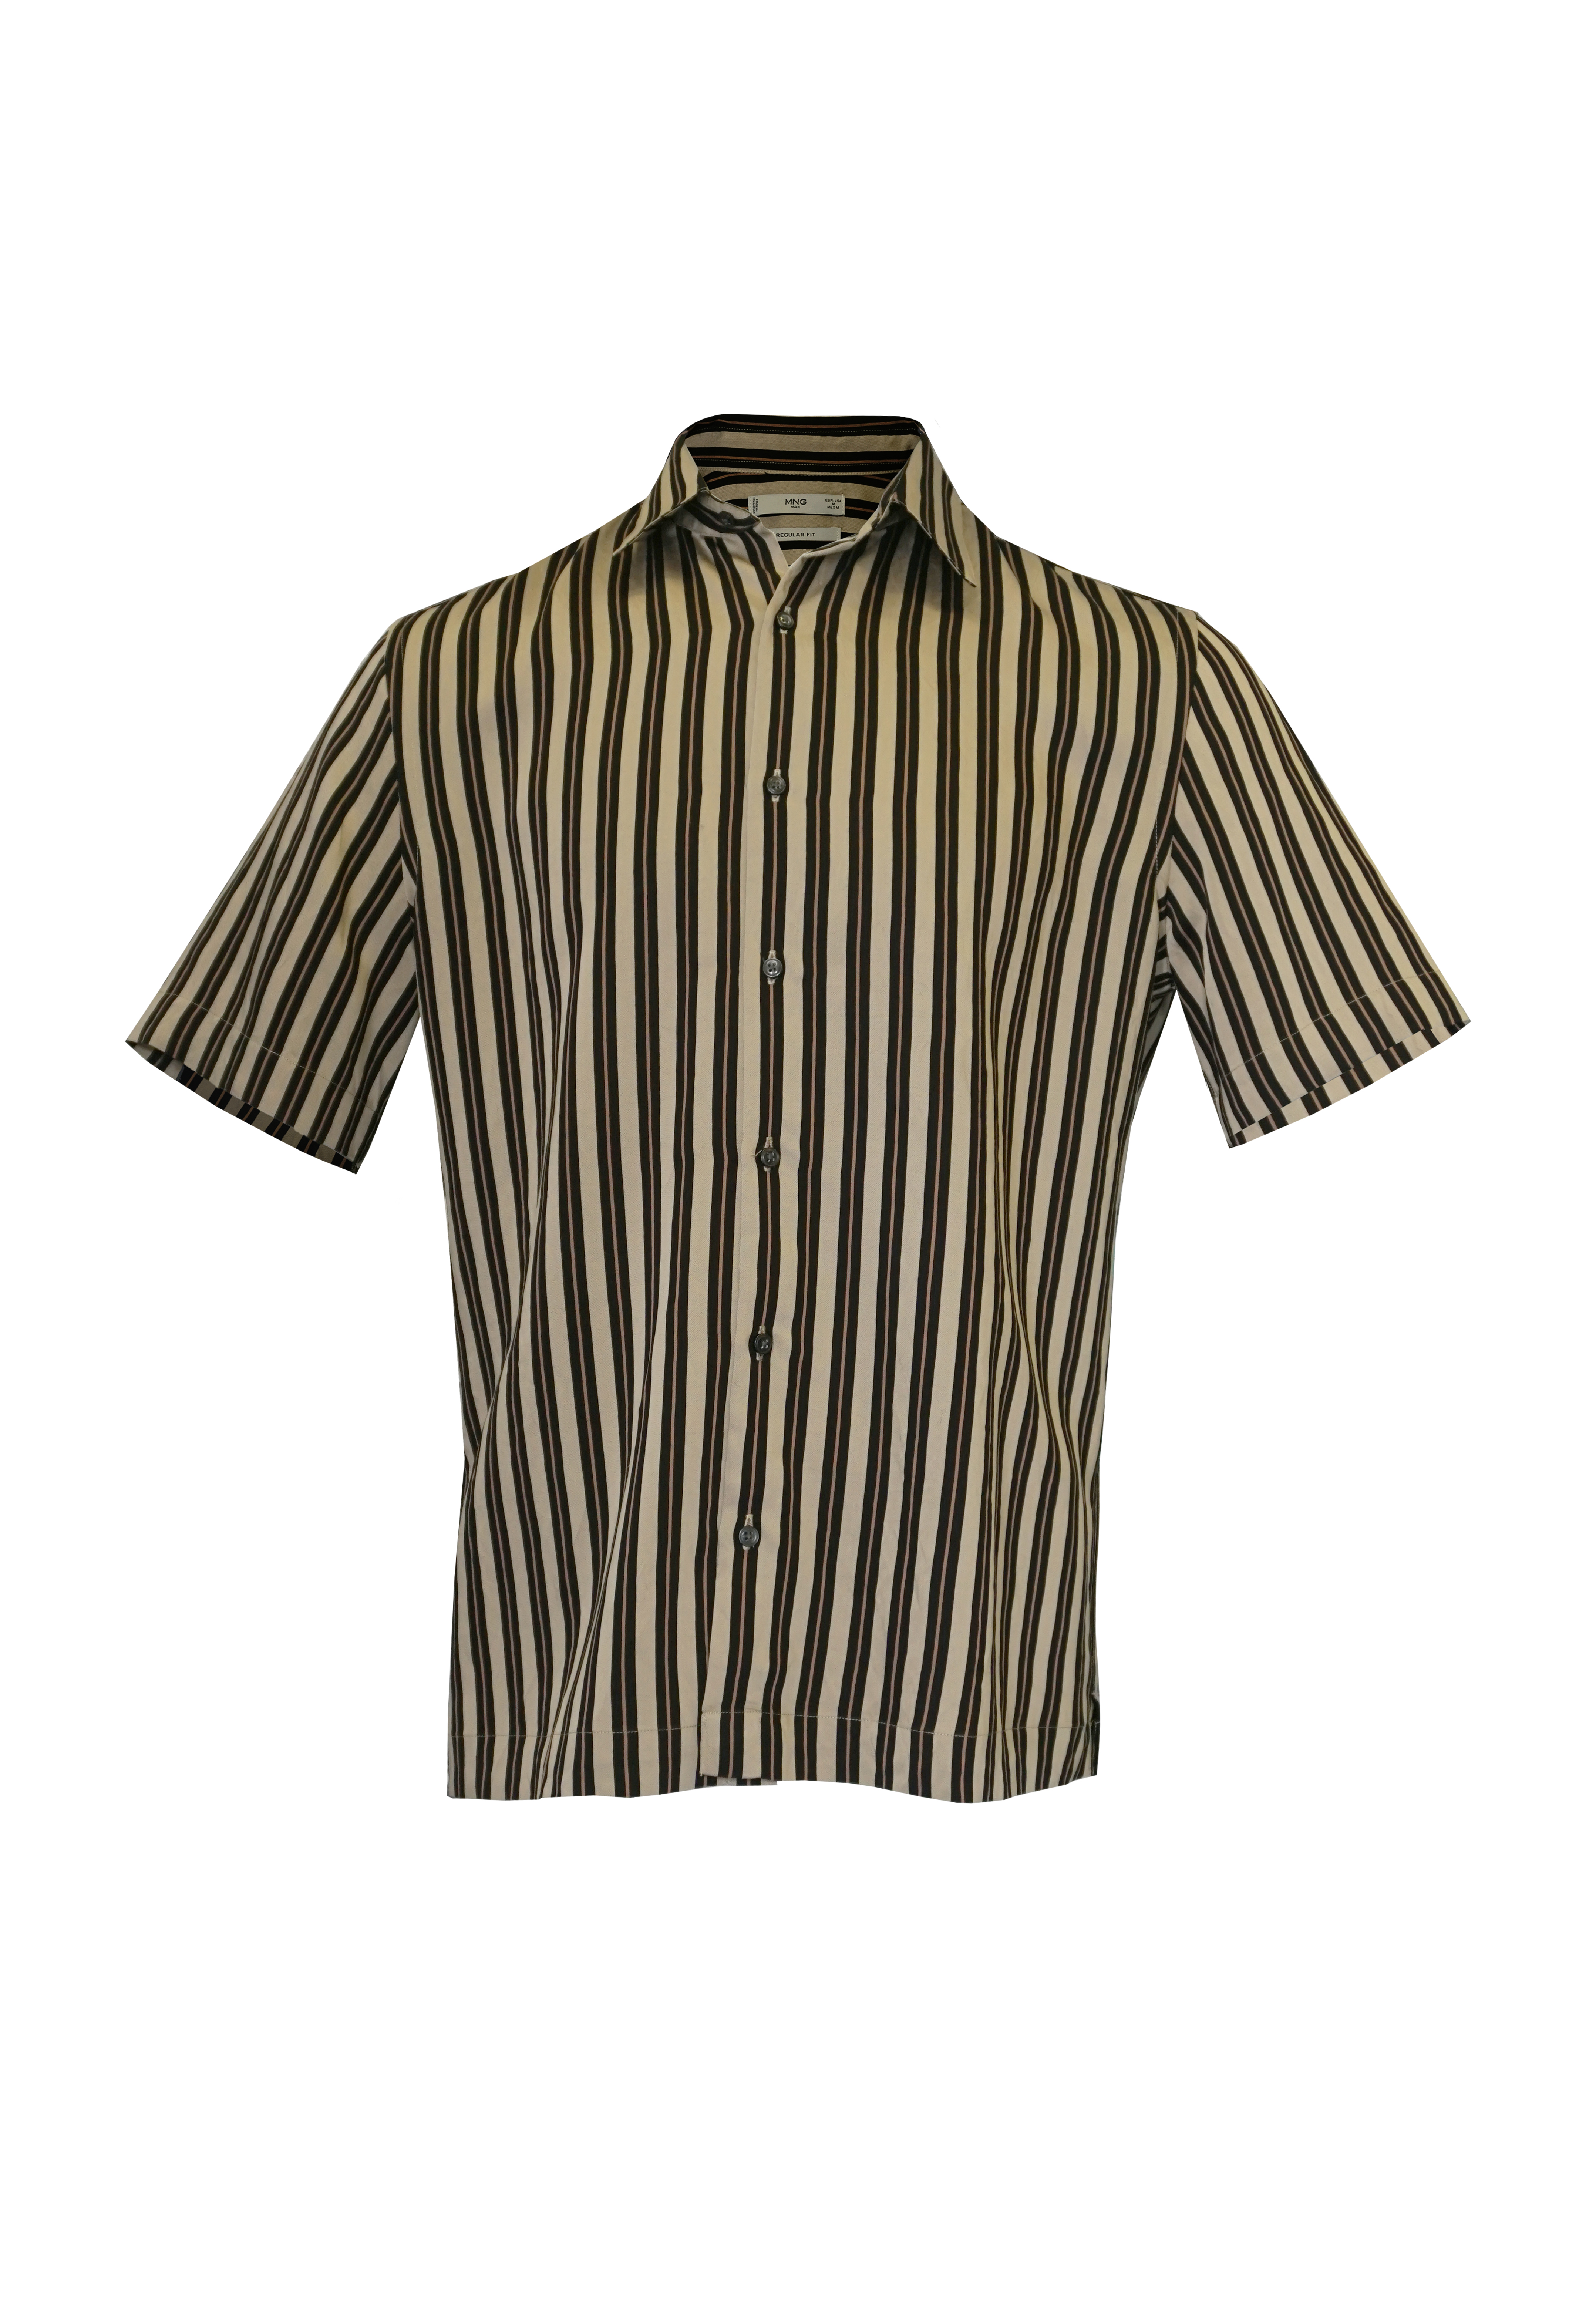 |
  |  |
  |  |
  |  |
  |  |
Mannequin with a V-Chest Insert
There are mannequins available with a v-chest insert that can be detached for creating ghost mannequin images. Using this mannequin makes post-processing easier because you do not have to capture a photo of the collar’s inside anymore.
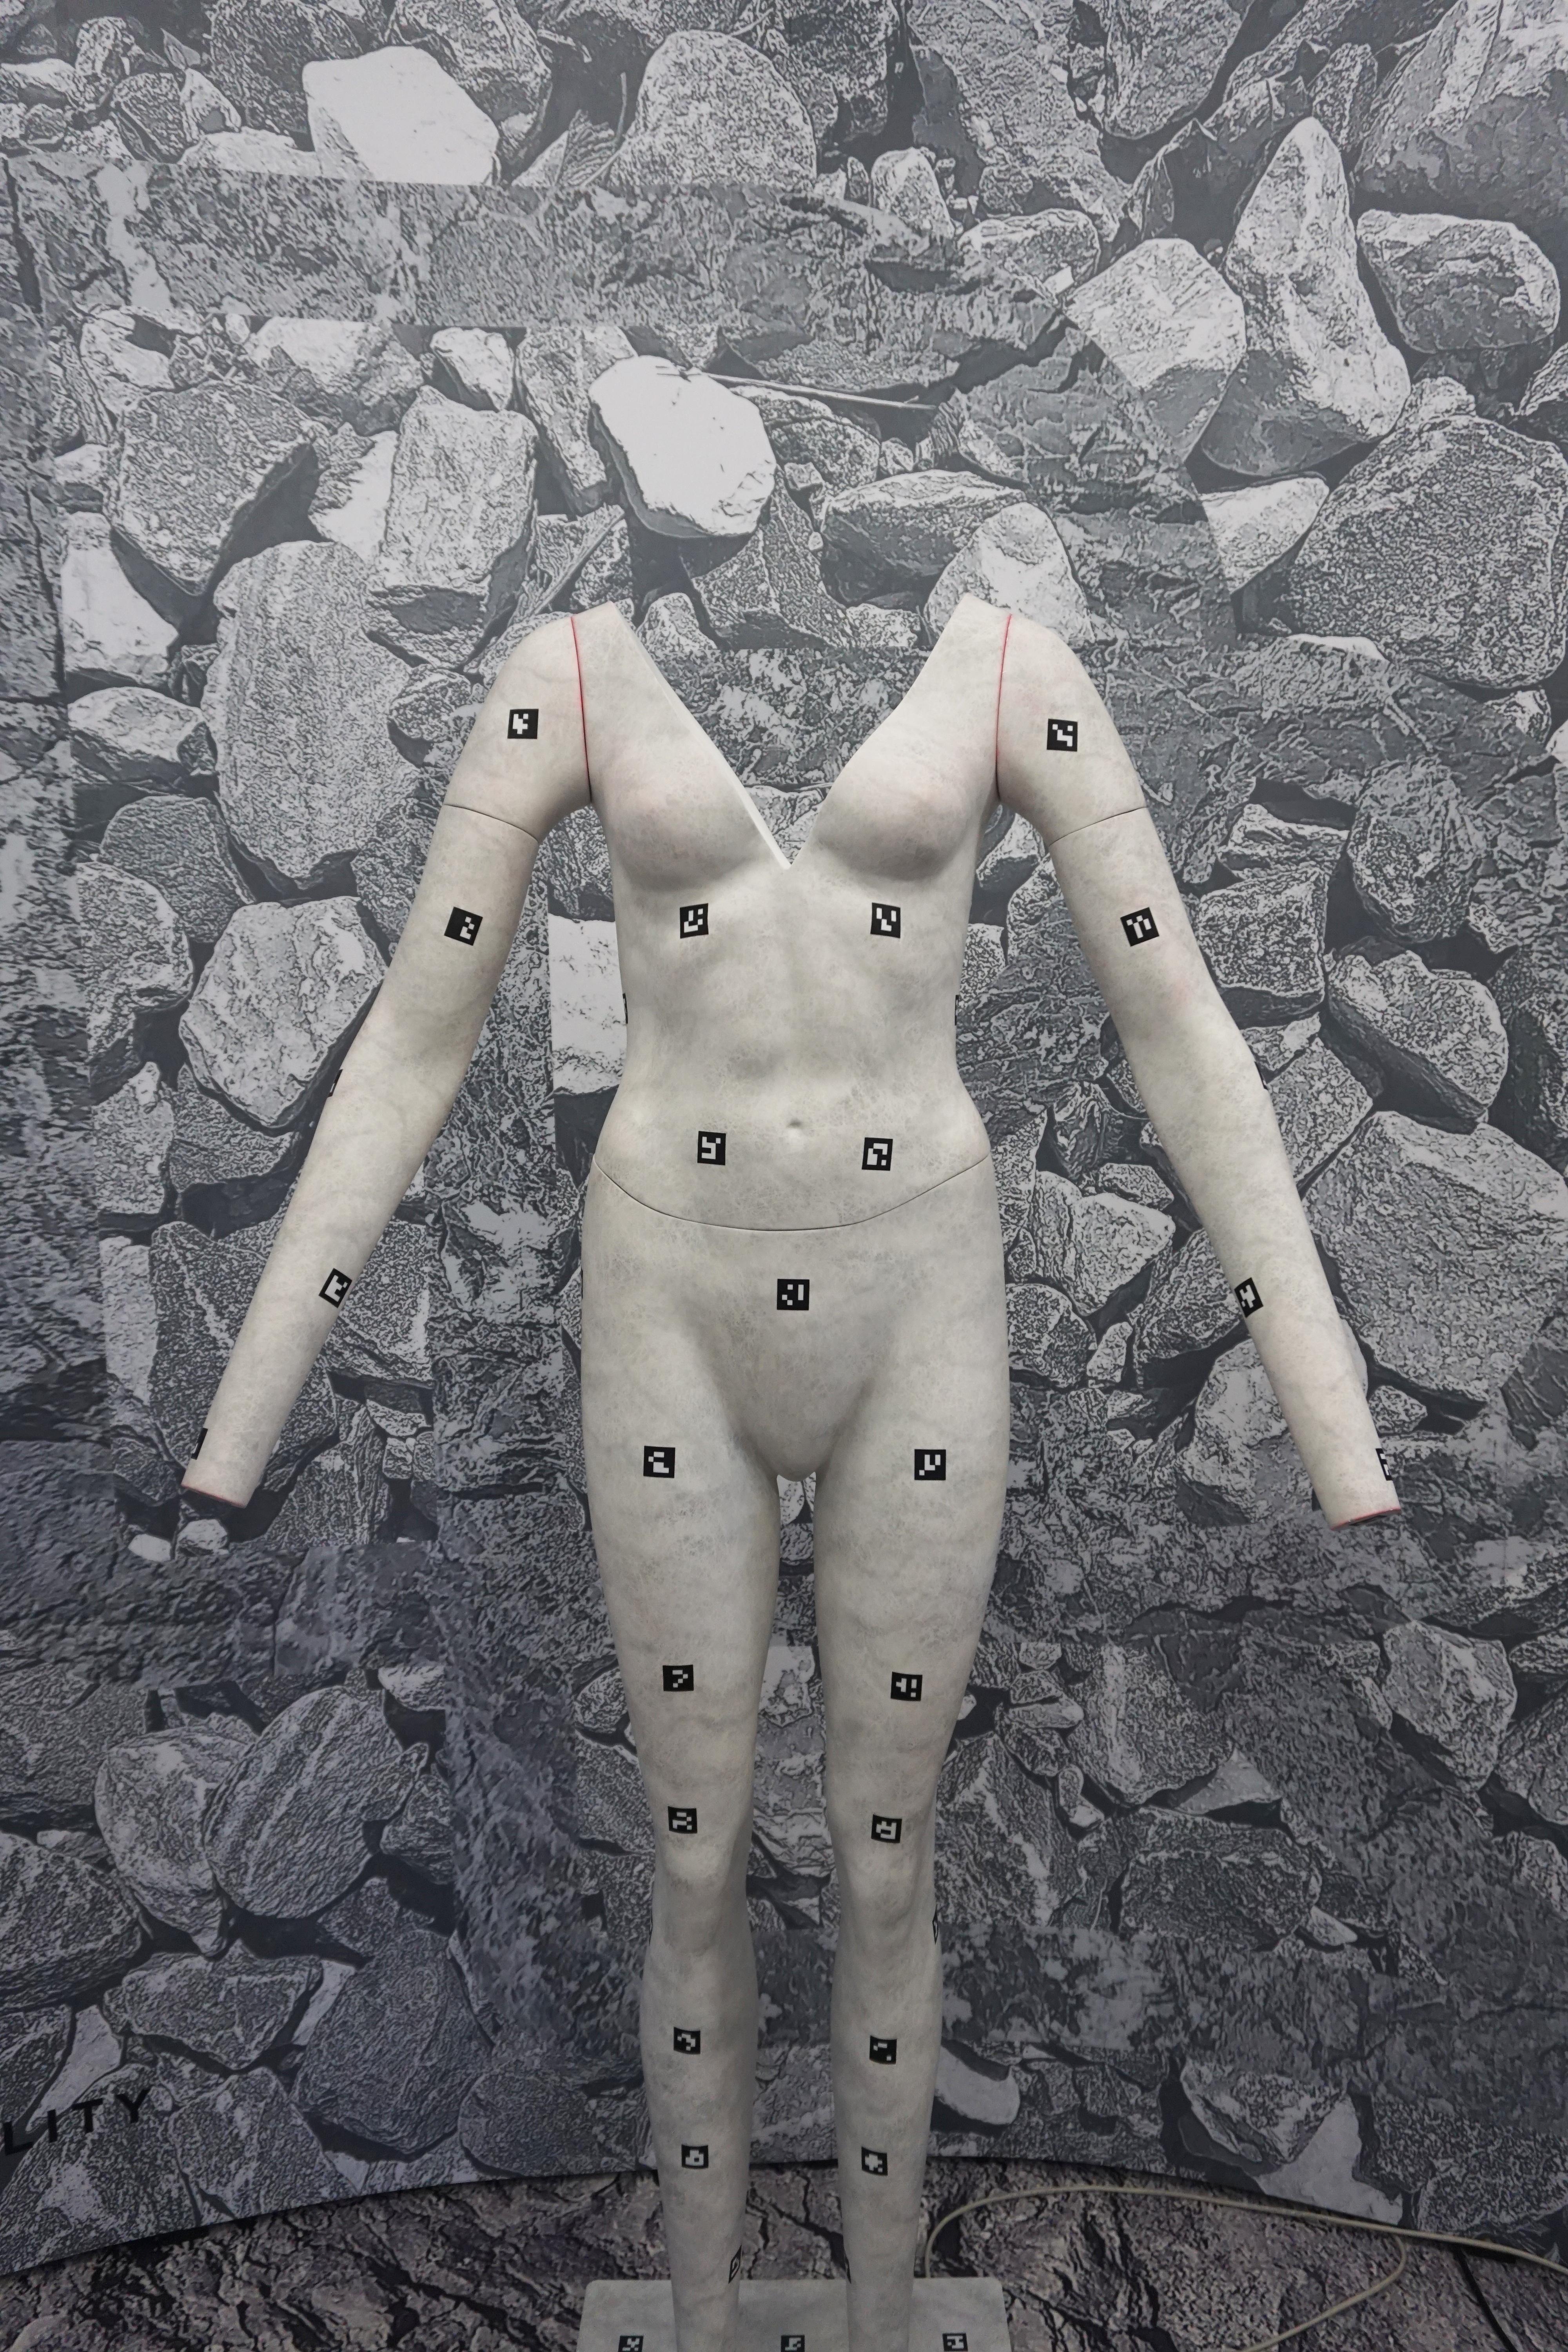
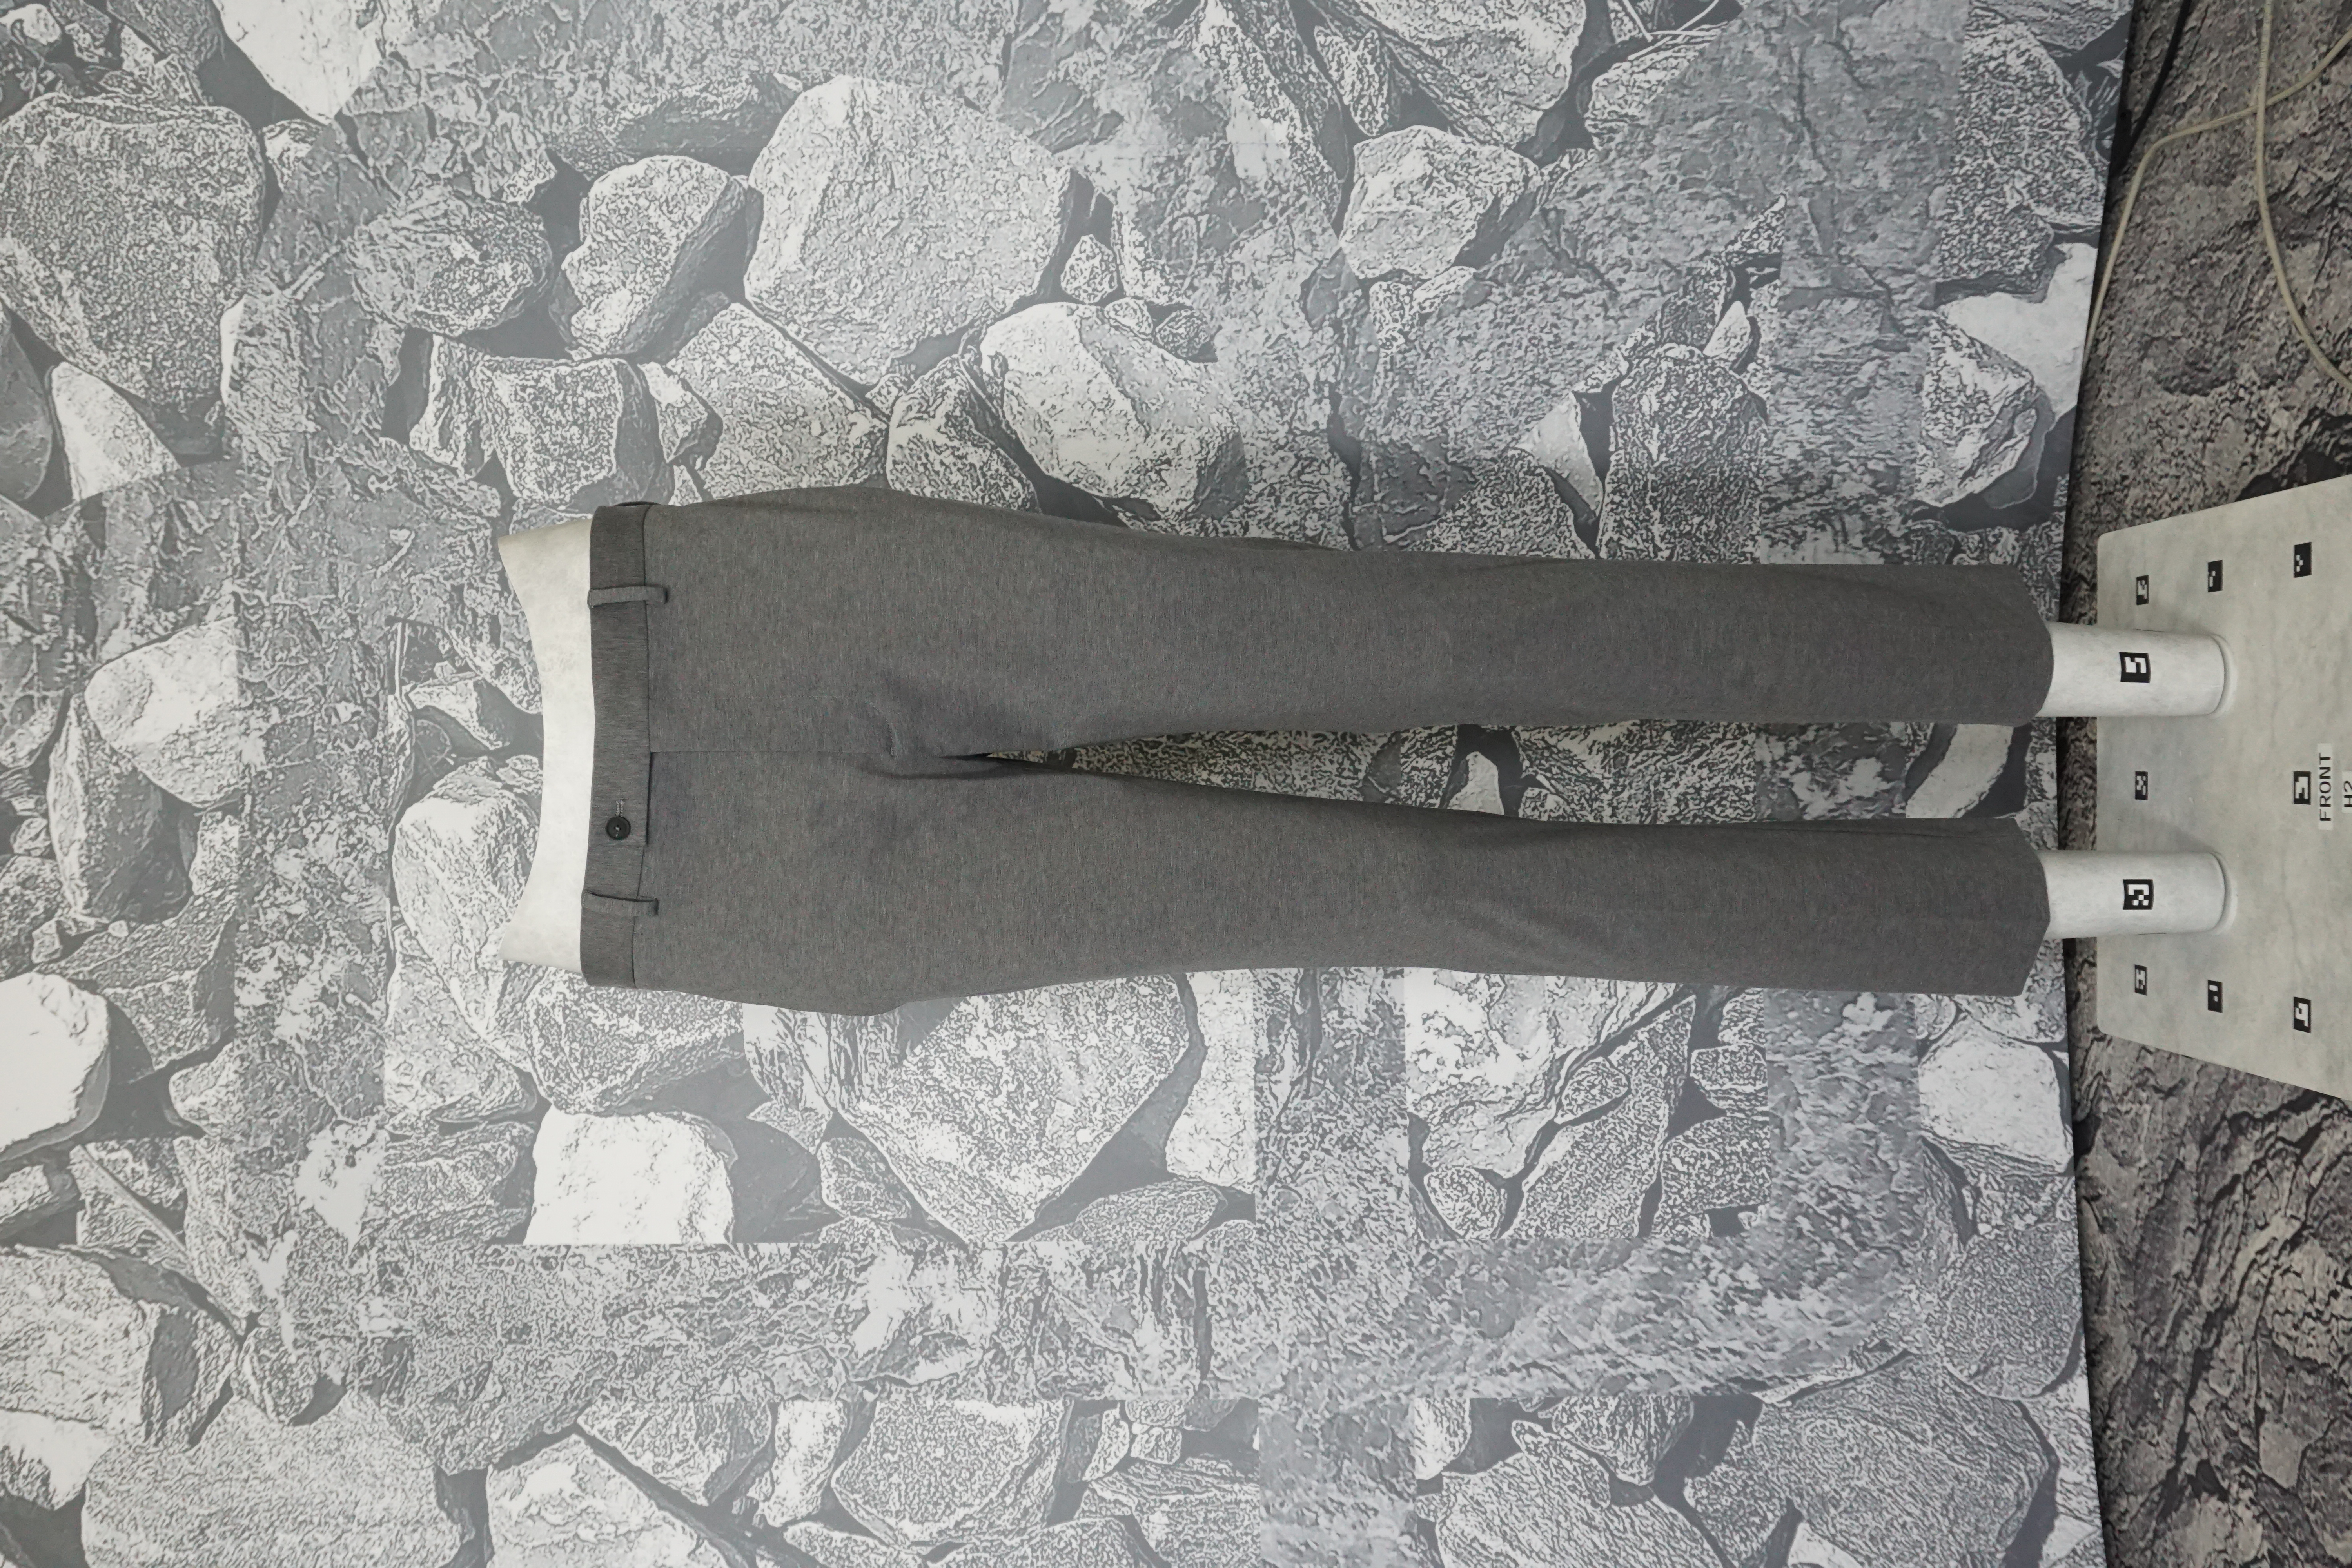
Step 1 | Capture a frontal photo of the garment.
Dress your mannequin. Make sure that the garment is fit properly: no unwanted folds or creases, the outlines are straight, and the garment is fully facing the camera and symmetrical from left to right. Refer to your camera while adjusting the garment.
You can also insert paddings inside so the shoulders would look straighter. You can use shoulder pads, cardboard, or even paper.
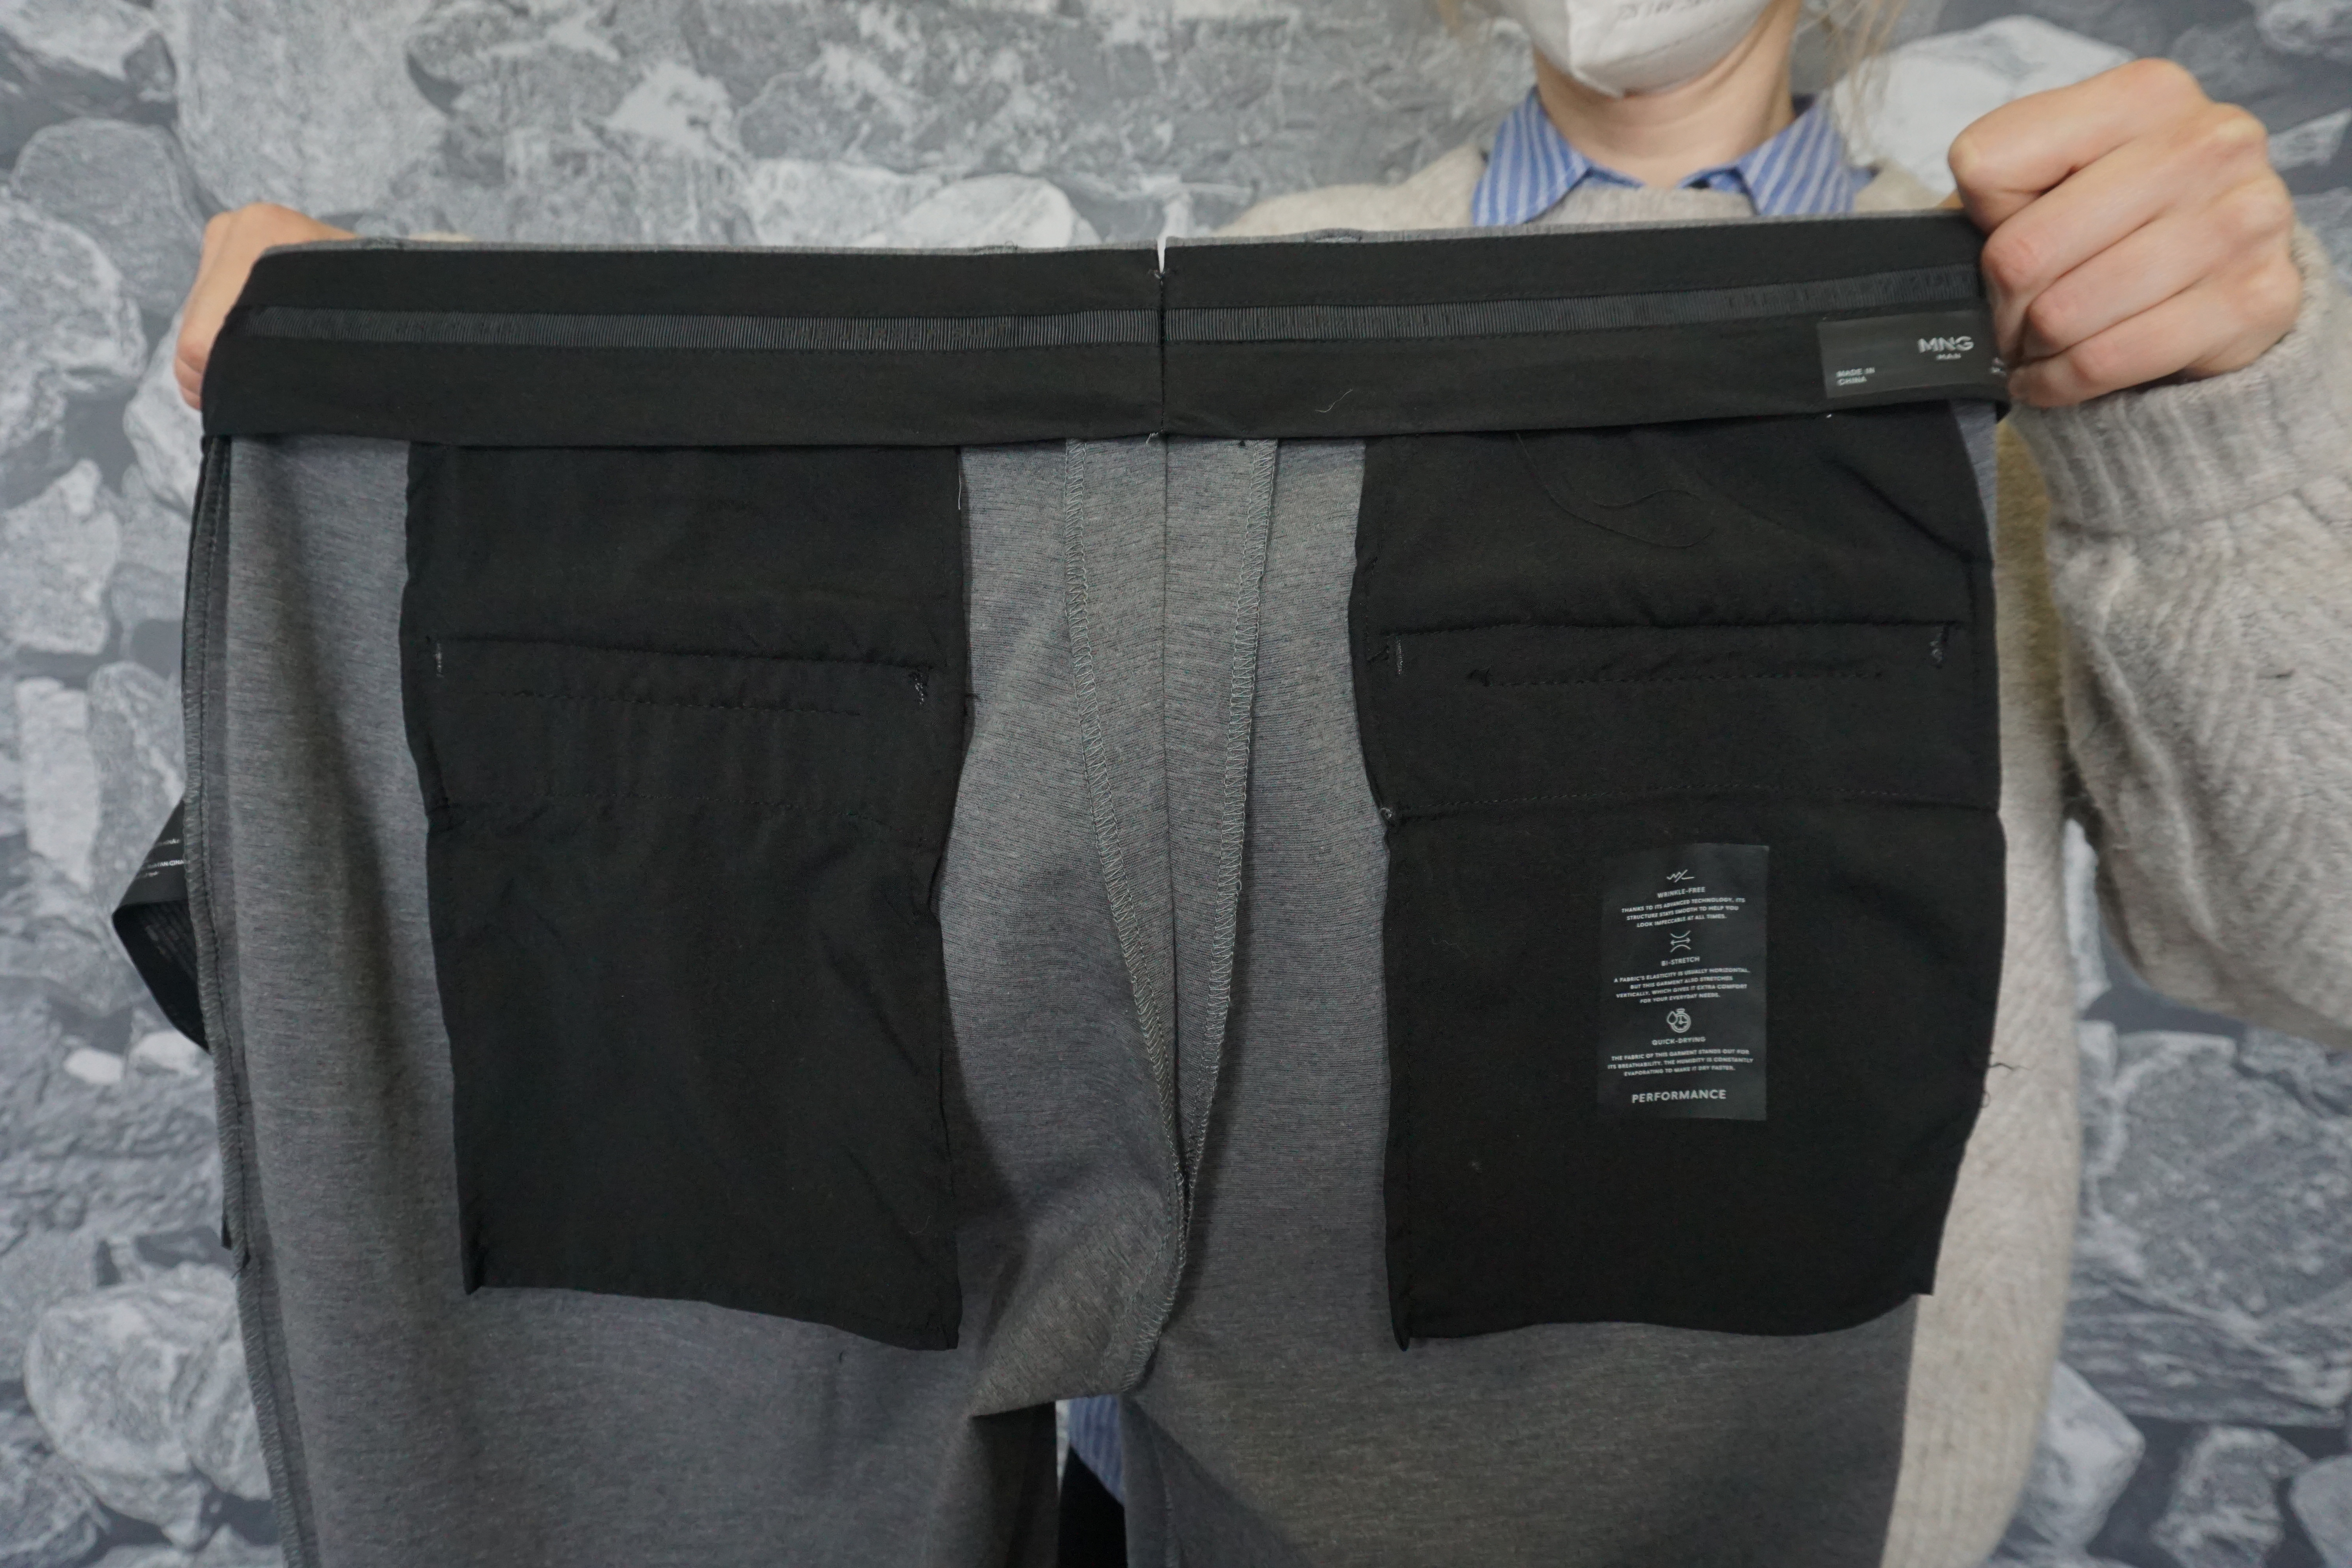
Step 2 | IF NECESSARY Capture the insides of the sleeves and hemlines
If the inside of the sleeves has different details than the front (e.g. buttons, slits, etc.), it is best to capture them too to attach to the garment in post-processing. If the sleeves are the same from front to back, you can create it by referring to Step 4 in the Full Mannequin approach.
Step 3 | Remove the background and the visible mannequin parts
Using your preferred image editing software, remove the background and the visible mannequin parts. By the end of this step, you only want the frontal image of the garment you captured on a transparent background.
In this step, you can also make the garment bigger but always check the quality of the image (i.e. check if details become pixelated, blurry, and so on).
Step 4 | Polish the garment
Inspect the result from Step 2 and fix visible errors such as crooked outlines, unwanted creases, dust, loose threads, and so on. While fixing these errors, make sure that the garment still looks natural and realistic.
This step also involves putting in the insides you captured or creating them as described in Step 4 in the Full Mannequin approach.
Step 5 | Color Correction (Match the colors of the insides if you added them)
It is possible that the color, brightness, and contrast of the insides and the front of the garment will not match. More importantly, you want your image to match the actual color of your garment. In post-processing, you can adjust these aspects using your chosen image editing software.
As a rule of thumb, the insides should look a bit darker, as they would be hit by less light if they had been actually photographed at the same time as the front of the garment, which is the effect we are going for.
Step 6 | Export
You can export the garment according to the file type you need. For
GARMENT_2Dproducts used for Virtual Photography and Virtual Tryon, we prefer .jpg images along with a reference image. For more information, check out our input data specifications here.
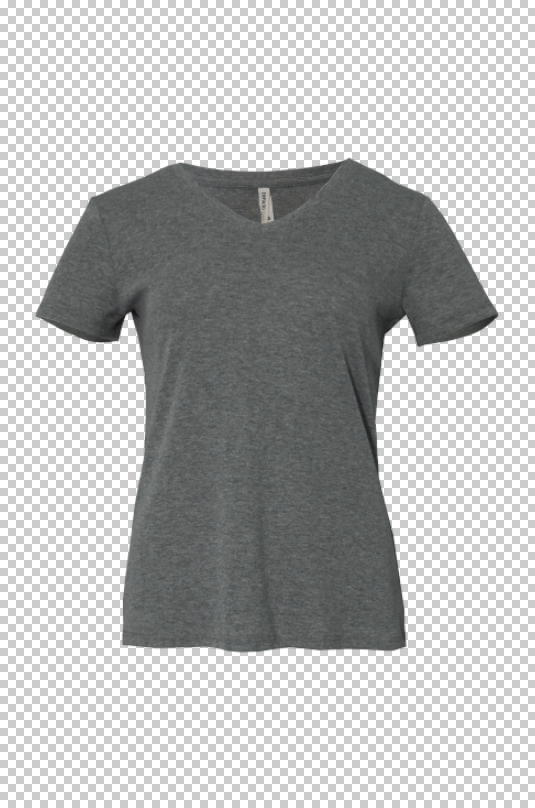
Examples
Here are other examples of ghost mannequin images captured and processed using a mannequin without a v-chest insert:
Raw Images | Result |
|---|---|
 |  |
 |  |
 |  |
 | |
 |  |