Installation
To add our virtual try-on experience to your store, simply install the PICTOFiT Virtual Try-On app by clicking “Add app” from the respective Shopify marketplace page.
Link: https://apps.shopify.com/pictofit-1
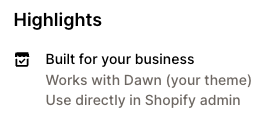
Our app is compatible with Online Store 2.0 themes. This means it’s easy to install and enable, offers app block functionality where applicable, and uninstalls cleanly. On the listing page, you see if our app works out of the box with your current theme. Should you be unsure about the compatibility you can contact our support.
After the installation, you should find PICTOFiT Virtual Try-On under your installed Apps. If you can't see it immediately, you might have to pick it from the “Installed apps” list that pops up at the top.

Then you should be able to see the app in the sidebar.
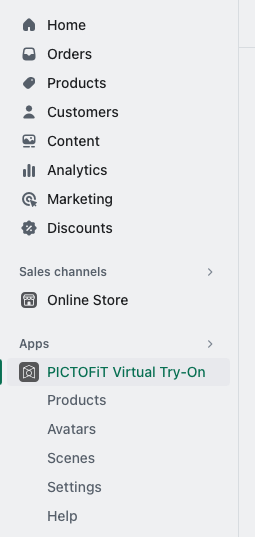
Use the pin icon to always show the app in the sidebar.
Getting Started
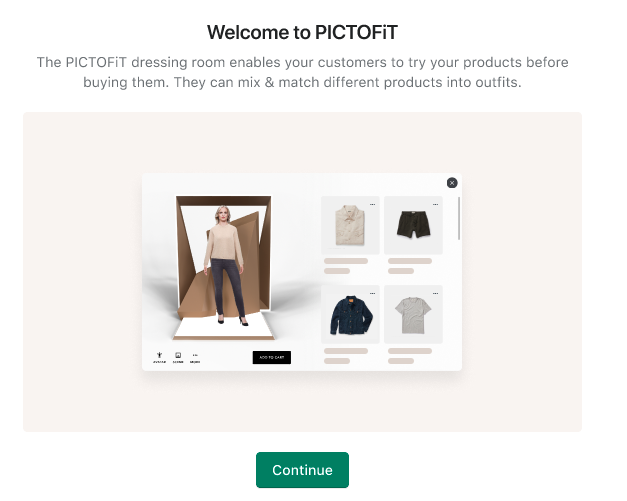
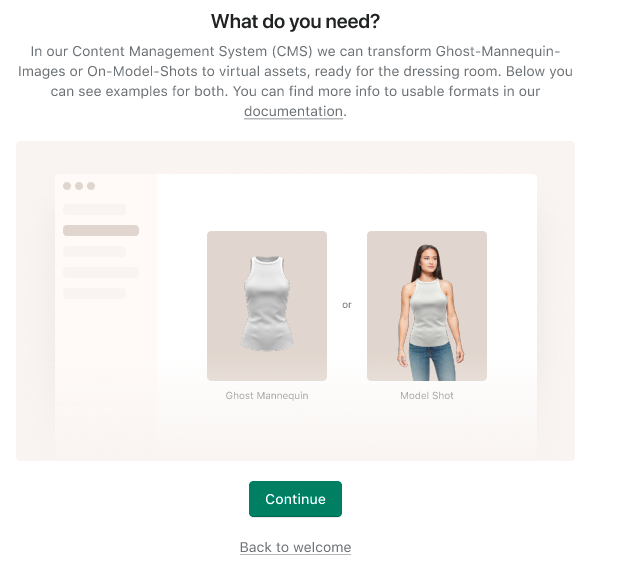
When opening the PICTOFIT Virtual Try-On the first time, you will see an onboarding that explains the dressing room and the required steps to set it up.
Setup Guide
Once you’ve made it through the onboarding, you will be taken to the setup guide. It will help you get your dressing room up & running by listing the necessary steps.
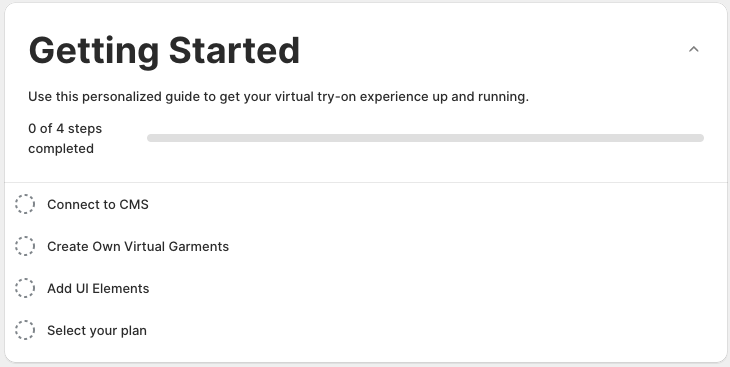
Click on the individual steps to expand them and see a more detailed description of what needs to be done. You can always bring up this guide by clicking on the PICTOFiT Virtual Try-On app in the sidebar.
Don’t hesitate to contact hello@pictofit.com, should you have trouble with any of these steps. We are happy to help you in your journey.
Enabling the App Embed
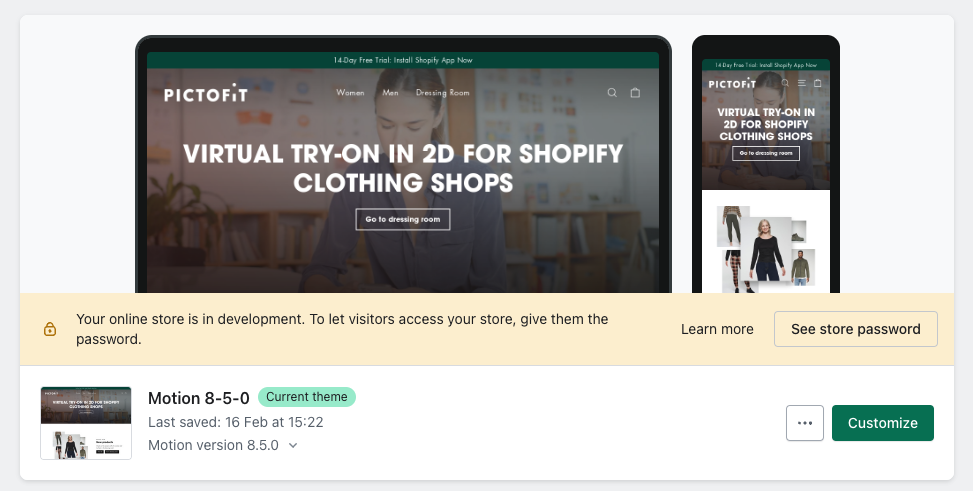
In the Add UI Elements section of the setup guide, click the Edit Theme button. This will take you to the Theme area in your store’s admin page. Next, hit Customize for the theme you want to edit.
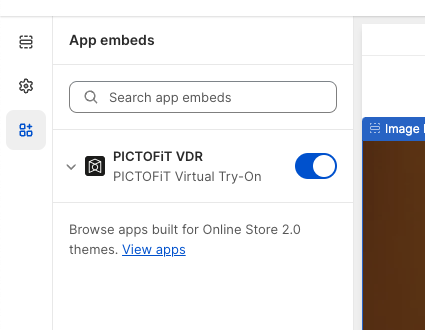
Initially, you need to enable the PICTOFiT VDR app embed in your theme as a prerequisite for the next steps. Edit your theme and select App embeds from the menu on the left. There you should already see the PICTOFiT VDR extension. Click the toggle to enable it.
Open Dressing Room Icon
To allow your shoppers to enter the virtual dressing room, you can add an additional icon to the header section of your template.
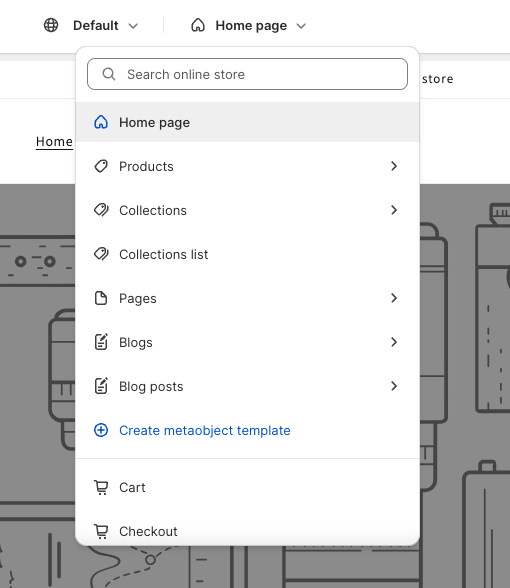
Select your Home page from the drop-down menu on the top of the theme editor.
Now find the Header section in the side bar on the left, click on Add block and select the Open Dressing Room Icon app block.
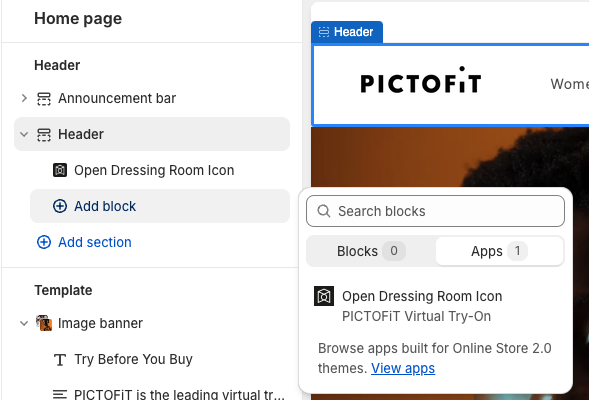
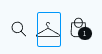
This will insert the hanger icon in the header bar of your shop. You can select the block to adjust size and padding of the icon if necessary.
Some themes have special headers which are not customisable. However, the following option with the navigation link works with every theme.
Open Dressing Room Navigation Link
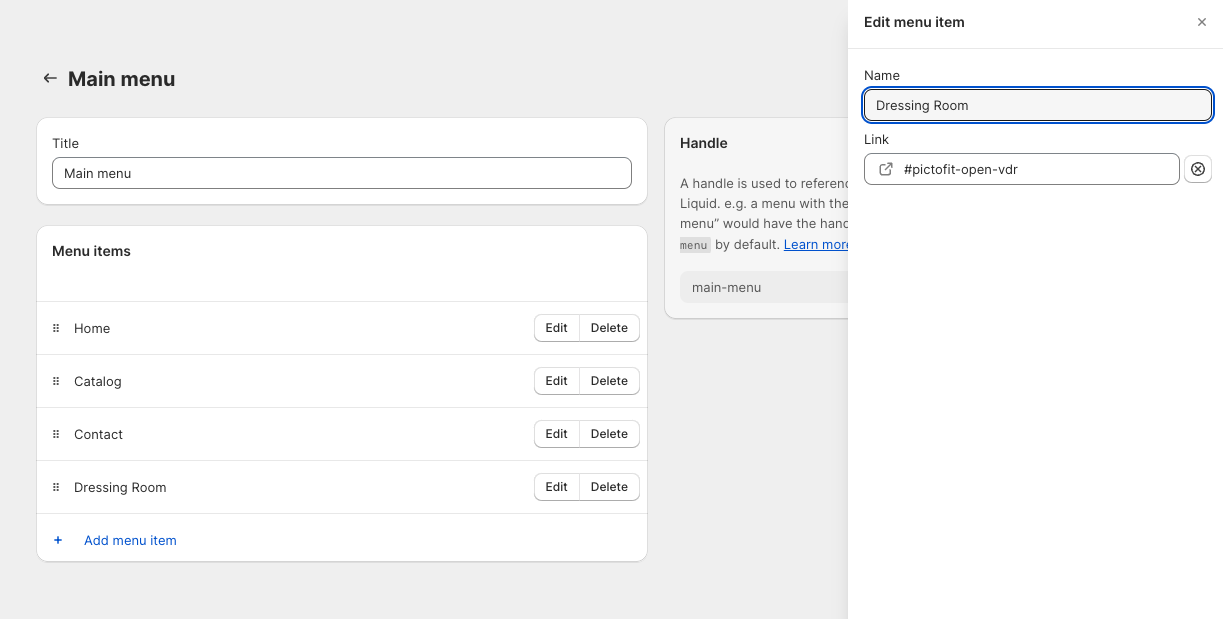
This is the second option to add a link for opening the dressing room. Go to Online Store → Navigation → Main Menu and create a new menu entry called Dressing Room (or whatever you prefer). As a link enter #pictofit-open-vdr. This menu item should show up automatically in your top level menu and allows your shoppers to access the dressing room.
You can also add a link to the dressing room from any other place you like. Simply, add a link to #pictofit-open-vdr for any element and clicking the element will open the dressing room.
Add to Dressing Room Button
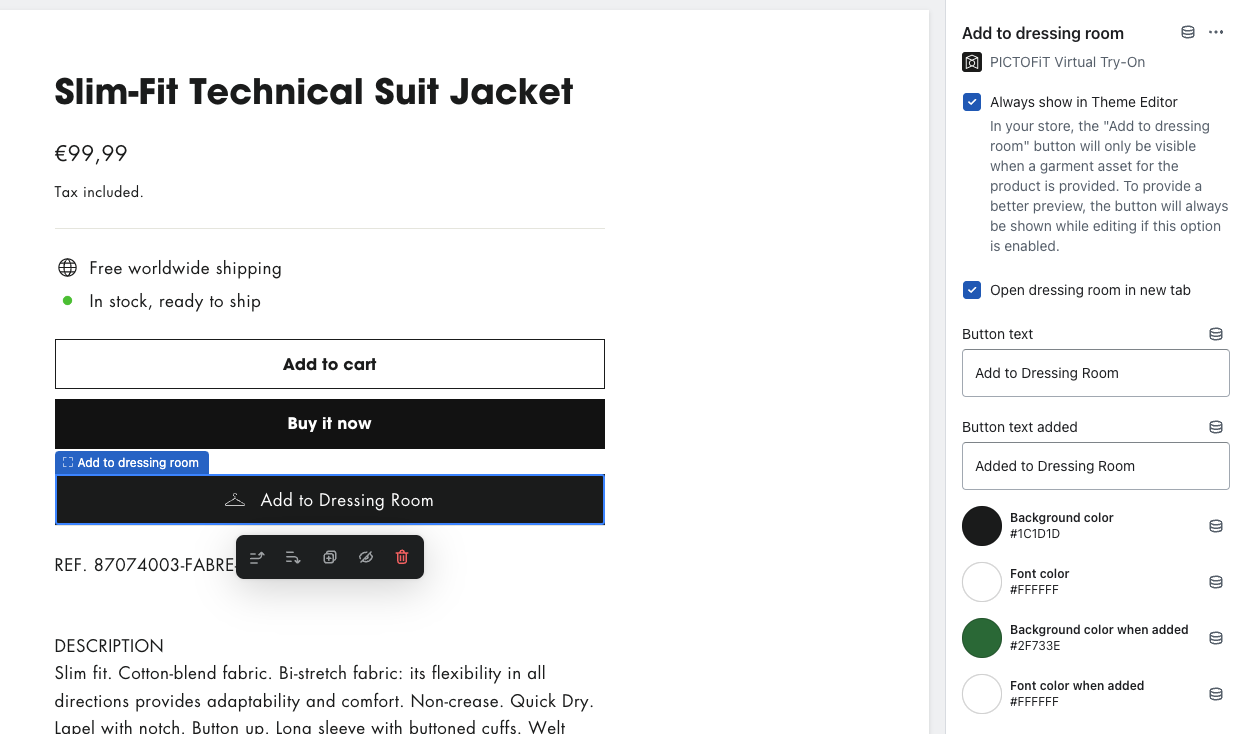
This button allows your customers to add products to the Dressing Room. The button will only be visible for products, for which you have created a virtual garment.
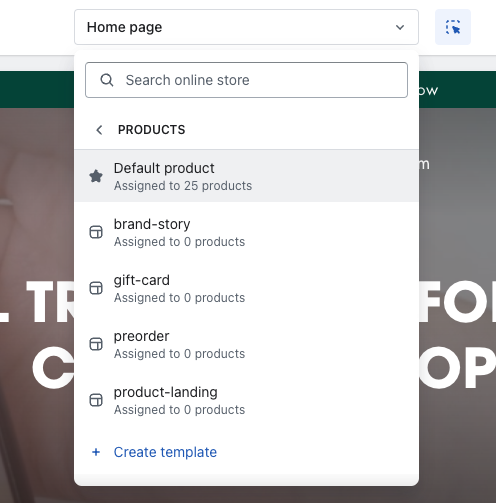
Select your Default product page from the drop-down menu on the top of the theme editor. If you have different product pages and you want to add the button to all of them, you will have to repeat the following steps.
To place the button on the product page, select Add block → Add to Dressing Room Btn. Further customisations of the button like color, size, etc can be done on the right side of the page.
Collection Hanger Icon (Optional)
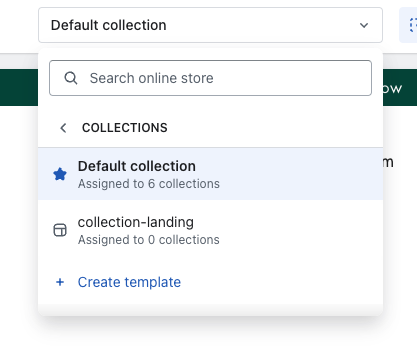
You can add a hanger icon (see picture below) to the product cards on your collections page. Your customers will be able to add products to the dressing room quickly by clicking on the icon. To add it, first select the Default collection from the drop-down menu of the top of the theme editor. If you have different collection pages and you want to add the icon to all of them, you will have to repeat the following steps.
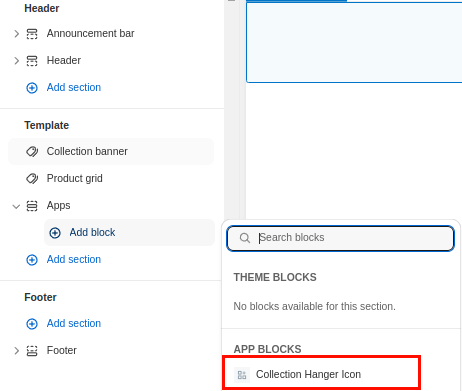
On the left side of the theme editor, expand the Apps section and click Add block → Collection Hanger Icon. Be sure to not use the Open Dressing Room Icon.
After that, you should be able to see the hanger icon for products where you have created a virtual garment.

On the right side of the page, you can further adapt the icon size, line width, etc.
The icon placement method can also be configured in the settings.
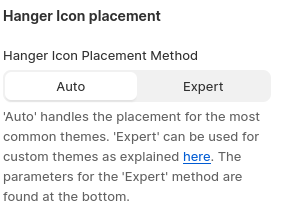
There are two methods available:
Auto: Automatic placement, which works fine for the most common themes
Manual: Intended to be used if automatic placement fails for the selected theme. See Hanger Icon Placement: Expert Mode for more information.